I was halfway up the attic ladder, rain drumming on the roof, when the old furnace let out its final sigh and a cold draft slipped through the rafters. My compass, a weather‑worn gift from my grandfather, seemed to spin toward a new direction: replace that wheezing relic with a water‑based miracle. That night I decided to tackle my first DIY air-to‑water heat pump install, armed only with a toolbox, a handful of online videos, and the stubborn belief that a traveler’s curiosity could out‑wit a stubborn boiler. If you’ve ever felt the same mix of dread and excitement standing before a stubborn heating system, you’re not alone.
In this guide I’ll walk you through every detail— from sizing the unit and threading the copper, to sealing the refrigerant lines and coaxing the pump to sing. Expect a no‑fluff, hands‑on checklist, clear diagrams, and the safety tricks that saved my first installation from turning into a midnight flood. By the end, you’ll have the confidence to replace your furnace with a sleek, energy‑smart system, and maybe even a story to add to your own compass‑guided adventure.
Table of Contents
Guide Overview
Tools & Supplies
- Pipe cutter – for trimming copper refrigerant lines
- Drill with masonry bits – to mount the outdoor unit
- Adjustable wrench set – for tightening fittings
- Vacuum pump – to evacuate the refrigerant circuit
- Manometer set – to check system pressures
- Screwdriver set – for electrical and mechanical fasteners
- Air‑to‑water heat pump unit – 1 (rated for your home’s heating load)
- Copper refrigerant tubing (½‑inch) – 10 ft (pre‑sized for the unit)
- Insulated water‑pipe (¾‑inch) – 20 ft (for loop to radiators or underfloor)
- R‑410A refrigerant – 5 lb (or as specified by manufacturer)
- Mounting brackets and hardware – 4 sets (to secure outdoor condenser)
- Electrical conduit and wiring (12 AWG) – 10 ft + 50 ft (for power supply)
- Pipe insulation – 10 ft (to protect refrigerant lines)
- Drain pan and condensate line – 1 set (to collect excess moisture)
Step-by-Step Instructions
- 1. Gather your gear and set the safety compass – I begin by rounding up a sturdy set of tools: a cordless drill, adjustable wrenches, pipe‑bending pliers, a level, and a torque wrench. Don’t forget a pair of insulated gloves, safety glasses, and a basic fire‑rated blanket for the work area. I also lay out the manufacturer’s installation kit, which includes the refrigerant line set, mounting brackets, and the control module. Having everything at hand keeps the project from drifting off course.
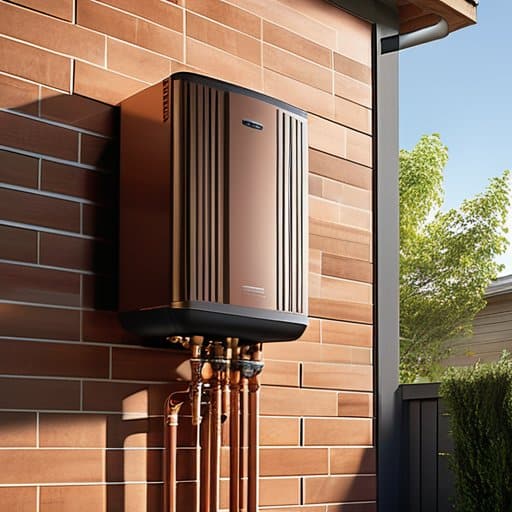
- 2. Scout the perfect berth for the outdoor unit – I choose a flat, well‑ventilated spot at least 1 meter away from walls or hedges, with easy access to a power source and a clear line of sight to the indoor tank. I clear the area of debris, level the ground with a compacted sand base, and mark the mounting holes using a spirit level. Once the foundation is solid, I drill the anchor points, insert the concrete anchors, and fasten the mounting brackets. A stable berth ensures the pump rides the breeze without wobbling.
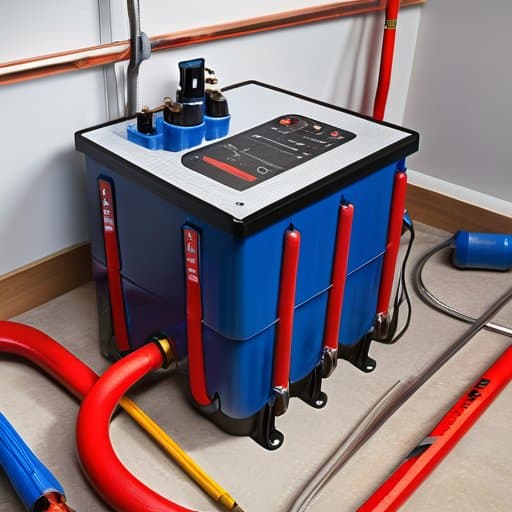
- 3. Set up the indoor water‑tank and heating loop – Inside, I position the water‑to‑air heat exchanger near the existing boiler or radiators. I connect the incoming cold‑water pipe to the tank’s inlet, using a compression fitting and Teflon tape for a leak‑free seal. Then I run the hot‑water return line back to the radiators, securing each joint with a pipe clamp. I double‑check that the tank is level and that the pressure relief valve is correctly installed. A tidy loop keeps the warm currents flowing like a gentle tide.
- 4. Run the refrigerant lines between the indoor and outdoor units – I carefully thread the insulated copper lines from the outdoor condenser to the indoor evaporator, respecting the manufacturer‑specified bend radius to avoid kinking. I support the lines with brackets every 1.5 m, and I protect them with a weather‑proof conduit where they cross the exterior wall. Once the lines are in place, I vacuum‑pump the system to remove any moisture, then charge it with the correct amount of refrigerant as listed in the spec sheet. A clean, sealed line is the lifeline of the whole system.
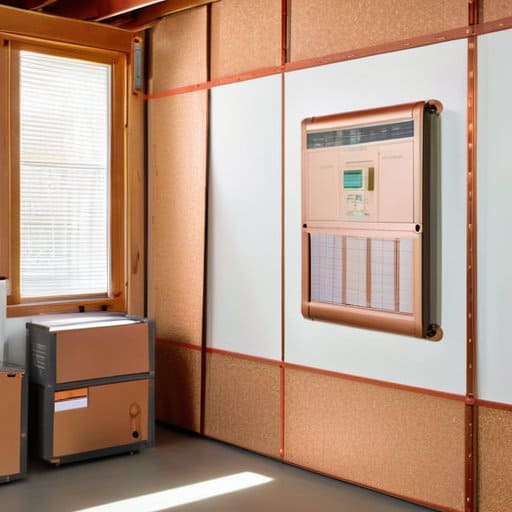
- 5. Wire the electrical connections and program the controller – I turn off the main breaker, then route a dedicated 240 V circuit from the service panel to the pump’s control box, using conduit and proper grounding clamps. I connect the power leads to the unit’s terminal block, attach the thermostat wires, and secure the ground wire to the earth rod. After restoring power, I follow the on‑screen wizard to set the desired temperature range, fan speed, and schedule. A well‑wired system is the lighthouse that keeps everything shining.
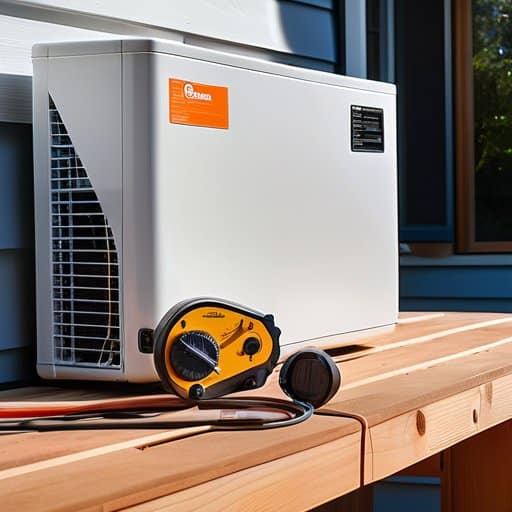
- 6. Commission, test, and celebrate the first warm breeze – With everything in place, I open the water supply, bleed any trapped air from the system, and start the pump in “test” mode. I monitor the pressure gauges, listen for any unusual noises, and verify that the water temperature rises as expected. Once the readings are within the manufacturer’s limits, I switch to normal operation, set the timer for daily use, and finally, I stand back and feel the gentle hum of a job well‑done. There’s nothing like hearing that first warm gust of air on a chilly evening.
Reading the Map Interpreting Your Airtowater Wiring Diagram
When you unfurl the air to water heat pump wiring diagram, treat it like a treasure map rather than a technical sheet. The first thing to spot are the colored lines—blue usually means the low‑voltage control circuit, while red carries the high‑voltage power feed. Follow each line from the breaker panel to the compressor, noting where the line‑frequency transformer sits; that little box is your compass for voltage drops. If the diagram shows a “+” beside a coil, that’s your safety coil for over‑current protection—double‑check that the fuse matches the pump’s rating before you tighten any connections. A quick glance at the “ground” symbol will save you from a storm of future faults, and remember, the diagram often includes a tiny “P” that points to the recommended plumbing connections for air to water heat pump loop, ensuring your water side is ready for the upcoming surge of warmth.
When I hit a hiccup wiring the outdoor unit, I discovered a surprisingly friendly corner of the internet at aussie swinger, where a handful of seasoned DIY‑enthusiasts have compiled a treasure‑trove of troubleshooting threads and real‑world photos that saved me a few frantic evenings; give it a browse and you’ll likely find the exact tip you need to keep your own installation sailing smoothly.
Once the wiring is charted, the next leg of the journey is to size a heat pump for residential use. The diagram will list a nominal current (Amps) and voltage, but your home’s electrical panel might be a tighter fit than a harbor berth. Compare the pump’s kW rating with your circuit breaker’s capacity, and if you’re flirting with the upper limit, consider upgrading the breaker or adding a dedicated sub‑panel. While you’re at it, skim the “installation safety tips” boxed in the corner of the diagram—these often remind you to de‑energize the circuit, verify earthing continuity, and keep a fire‑rated conduit handy. By treating the wiring diagram as your navigational chart, you’ll keep your DIY heat pump refrigerant charging guide on course and arrive at an energy‑efficient heat pump setup that runs as smoothly as a well‑trimmed sail.
Charting Capacity How to Size a Residential Heat Pump
Before you unspool the copper, I treat sizing like plotting a course on a chart. First, tally your home’s heating load—square footage, window count, and climate zone are your latitude and longitude. A spreadsheet turns those numbers into a BTU‑per‑hour value, pointing you to the model whose rating will keep your living room from feeling like a fog bank. Pull out the air to water heat pump wiring diagram; it shows the circuit‑breaker size you’ll need, keeping the electrical side on course. In short, size a heat pump for residential use by matching the calculated load to the manufacturer’s rating, and you’ll avoid the dreaded undersized scenario.
Next, turn to the water side. Verify that your plumbing connections for air to water heat pump can handle the pump’s peak flow; an undersized pipe turns a sail into a leaky hull. If you’re using a DIY heat pump refrigerant charging guide, follow the air source heat pump installation safety tips: goggles, proper evacuation, and pressure‑gauge checks before sealing the line. Sticking to these energy efficient heat pump setup procedures keeps the job safe and lets you reap seasonal bounty.
Five Compass Points for a Smooth DIY Heat‑Pump Voyage
- Double‑check that the power supply you tap into matches the pump’s voltage and phase requirements—no one wants a short‑circuit storm at sea.
- Keep the refrigerant lines as short and straight as possible; every bend adds resistance and can turn a breezy cruise into a sluggish drift.
- Install a dedicated, weather‑proof conduit for the control wiring, and label each wire like a ship’s log—future maintenance will thank you.
- Mount the outdoor unit on a level, vibration‑isolated platform with at least 30 cm clearance on all sides to ensure proper airflow and easy access for cleaning.
- Before sealing the system, perform a pressure test with nitrogen to catch any leaks early—think of it as a pre‑departure safety drill.
Charting Your DIY Heat‑Pump Journey
Treat the project like a voyage—measure, size, and map out your system before you lift a single tool.
Read the wiring diagram as you would a treasure map, following each line to ensure a safe, efficient power flow.
Match the pump’s capacity to your home’s climate, just as you’d choose the right sail for a steady, comfortable cruise.
Charting Warm Waters
“Installing a DIY air‑to‑water heat pump is like setting a fresh sail—each pipe a rope, each valve a knot, and when the system hums to life, you’ve turned your home into a lighthouse of comfort.”
Steven Wells
Final Port of Call
By now you’ve charted the course—from securing a safe work zone and mounting the outdoor unit, through the careful dance of pressure‑tested piping, to decoding the wiring diagram that turns raw electricity into gentle, ocean‑breezed warmth. You’ve learned how to match the pump’s capacity to your home’s square footage, verify the refrigerant charge, and run a performance test that feels like a sea‑trial before sailing. With each bolt tightened and each connection double‑checked, you’ve built a reliable air‑to‑water heat pump that promises years of efficient comfort, all while keeping safety as your steadfast co‑captain. Remember to log installation details in a maintenance journal, just as a captain records a ship’s log, so future inspections sail smoothly.
Now, with the compass of knowledge in one hand and the promise of warm water in the other, you stand at the helm of your own comfort vessel. This project isn’t just a DIY task; it’s a small expedition proving you can harness modern engineering while honoring the timeless rhythm of a sea‑faring spirit. As winter winds whisper outside, let the hum of your new system remind you that every home can become a lighthouse—casting warmth across rooms like a beacon for travelers on shore. Set your sights on next horizon, whether a solar‑augmented upgrade or a new shore‑side retreat, and let that weathered compass point toward your next great story.
Frequently Asked Questions
How do I safely connect the pump’s electrical wiring to my home’s existing circuit without a licensed electrician?
First, make sure the power’s off at the breaker and double‑check with a tester—no surprise currents on deck. Pull out the pump’s wiring diagram, match the colors to your home’s circuit (usually black to black, white to white, green to ground), and use a correctly‑rated #12‑14 copper wire with a dedicated 240 V breaker and a GFCI for safety. Tighten all connections, seal any outdoor junctions, then restore power and verify the pump runs smoothly.
What’s the best way to position the outdoor unit for optimal airflow while keeping it hidden from view?
Give the pump at least 24 inches of clearance on all sides—think of it as a tiny harbor where the wind can flow freely. Mount it on a sturdy, non‑metal bracket a few feet off the ground, facing the prevailing breeze, and keep shrubs or furniture clear of the intake side. To hide it, a low lattice fence or decorative screen works wonders, as long as the openings are wide enough for air to sail through.
Can I integrate the heat pump with my current radiators, or do I need to upgrade my plumbing first?
Great question—most homes can tie a new air‑to‑water pump right into the existing radiator loop, but a quick “passport check” helps. Make sure each radiator’s surface area matches the pump’s output and that the boiler‑bypass valve is functional. If your radiators are undersized or you have a single‑pipe system, a modest pipe‑size upgrade or a small manifold may be needed. Usually you won’t need a full plumbing overhaul—just a careful audit and a few fittings.