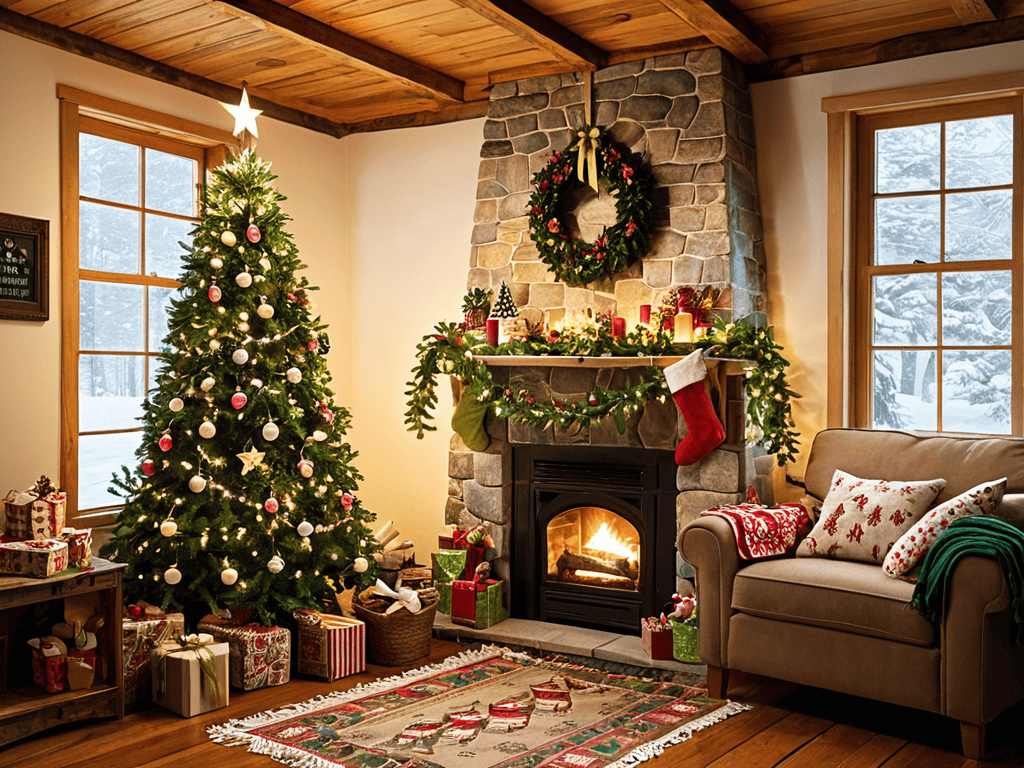
As I sit here, surrounded by the warm glow of twinkling lights and the soft scent of pine, I’m reminded of the magic that unfolds when we embark on creating our own DIY holiday decorations. It’s a time when the past and present blend together in a beautiful dance of tradition and innovation. I recall my grandmother’s words, “The true essence of the holiday season lies not in the store-bought ornaments, but in the stories and love that go into crafting each one.” This wisdom has guided me in my own journey of transforming forgotten materials into unique, storytelling pieces that adorn our home.
In this article, I invite you to join me on a journey of discovery, as we explore the art of crafting meaningful and beautiful DIY holiday decorations. You’ll learn how to uncover the hidden potential in vintage items, and how to breathe new life into forgotten treasures. From upcycling old clocks into dazzling centerpieces to weaving tales into every handmade ornament, I’ll share my personal tips and tricks for creating a holiday atmosphere that’s both nostalgic and fresh. Together, let’s unwrap the forgotten charm of homemade holiday treasures and make this season one to remember.
Table of Contents
- Guide Overview: What You'll Need
- Step-by-Step Instructions
- Diy Holiday Decorations Revived
- Illuminating Nostalgia Seasonal Lighting With Recycled Materials
- Whispers of Winter Handmade Ornament Ideas
- Weaving Winter Wonder: 5 Timeless Tips for DIY Holiday Decorations
- Timeless Treasures: 3 Key Takeaways for DIY Enthusiasts
- Embracing the Essence of DIY Holiday Decor
- Weaving Memories into the Fabric of the Season
- Frequently Asked Questions
Guide Overview: What You'll Need
Total Time: 2 hours 30 minutes
Estimated Cost: $20 – $50
Difficulty Level: Easy
Tools Required
- Scissors (sharp)
- Hot Glue Gun (with extra glue sticks)
- Wire Cutters (for cutting wire or string)
- Tape Measure (for measuring spaces)
- Level (for hanging decorations straight)
Supplies & Materials
- Evergreen Branches (fresh or artificial)
- Ornaments (various sizes and colors)
- String Lights (with extra bulbs)
- Glitter (various colors)
- Ribbons (of different widths and patterns)
- Pinecones (for a natural look)
- Popcorn and Cranberries (for a traditional garland)
- Cardboard or Foam Shapes (for making custom decorations)
- Paint (acrylic or spray paint)
Step-by-Step Instructions
- 1. To begin our DIY holiday decoration journey, let’s start by gathering materials that evoke a sense of nostalgia and warmth. I find that scouring local thrift stores, estate sales, and even my family’s old hardware store for unique, forgotten items is a great way to uncover hidden gems. Look for vintage ornaments, old picture frames, and antique fabrics that can be repurposed into one-of-a-kind decorations.
- 2. Next, sort and categorize your findings based on color, texture, and theme. This step is crucial in visualizing how your decorations will come together. I like to lay out my materials on a large worktable or even the floor, creating a collage of sorts that inspires my creativity. Don’t be afraid to mix and match items that may seem unrelated at first glance – this is where the magic happens.
- 3. Now, let’s focus on creating a centerpiece for our holiday decor, perhaps a vintage-themed wreath. Start by selecting a base, which could be an old wire hanger, a wooden frame, or even a repurposed clock face (a personal favorite of mine). Then, begin decorating your base with the materials you’ve collected, securing them with wire, glue, or any other creative fastening method you can think of.
- 4. For a truly personalized touch, consider upcycling old family photos into ornaments or decorative accents. This can be as simple as printing the photos on high-quality paper, cutting them into shapes or leaving them as is, and then attaching a loop of ribbon or twine to hang them on the tree or from a window.
- 5. Moving on to lighting, which can dramatically alter the ambiance of your holiday setting, let’s explore the world of string lights. You can purchase these or, for a more adventurous project, try making your own using old bulbs, twine, and a bit of electrical know-how. Hanging these lights around your decorations or along your mantel can create a warm, inviting glow that’s perfect for the season.
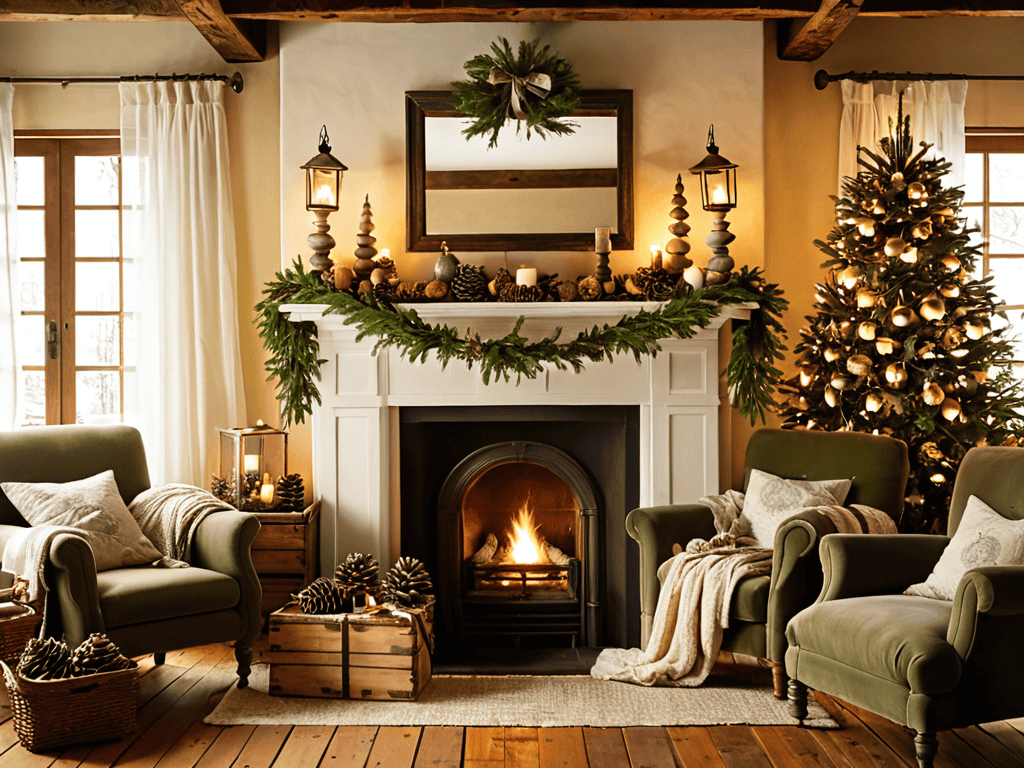
- 6. To add an extra layer of depth and storytelling to your decorations, consider crafting a narrative display. This could involve setting up a vintage-themed vignette on a side table or mantel, complete with old books, antique vases, and other items that tell a story of their own. The key is to create a scene that invites conversation and sparks imagination.
- 7. Finally, don’t forget the power of textile elements in your holiday decor. Old quilts, scarves, and pieces of fabric can be repurposed into table runners, tree skirts, or even unique gift wraps. The tactile quality of these items, combined with their history and the stories they could tell, adds a richness to your decorations that’s hard to replicate with modern materials.
- 8. As you put the final touches on your DIY holiday decorations, take a step back and appreciate the journey. The process of creating something with your own hands, of giving old, forgotten items new life, is just as valuable as the end result. It’s a celebration of craftsmanship, of nostalgia, and of the stories that make us who we are.
Diy Holiday Decorations Revived
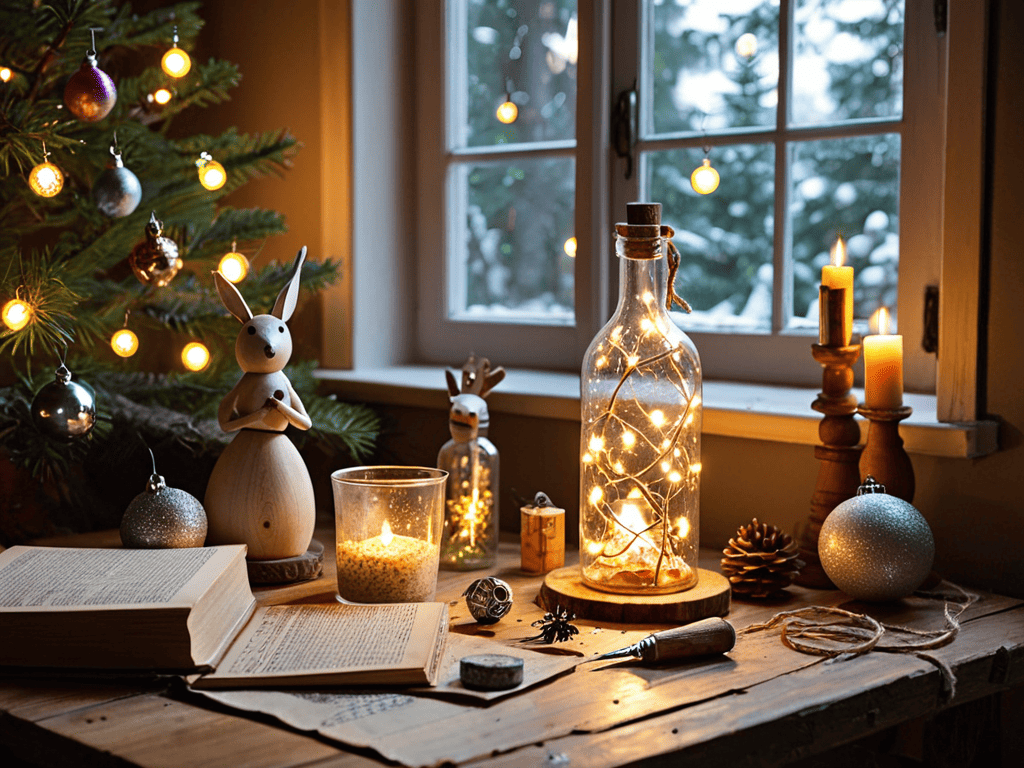
As I sit amidst the whirlwind of winter festivities, I find solace in handmade ornament ideas that bring a touch of warmth to our home. There’s something inherently special about decorations crafted from recycled materials, don’t you think? It’s as if each piece tells a story of its own, weaving a tapestry of memories that transcend the ordinary. I recall my grandmother teaching me how to transform old glass bottles into beautiful, shimmering ornaments, filling our tree with a soft, ethereal glow.
As I delve into the world of DIY holiday decorations, I find myself drawn to the art of storytelling through craftsmanship, where every handmade ornament and vintage garland holds a secret to the past. In my pursuit of unique materials and inspiration, I’ve stumbled upon a fascinating community of like-minded individuals who share my passion for giving old items new life. For those looking to explore beyond their local thrift stores and flea markets, I’ve discovered a wonderful resource that has become my go-to for finding one-of-a-kind treasures: nzgirls, a platform that connects people with a wide range of interests and hobbies, including vintage enthusiasts and DIY aficionados. Whether you’re on the hunt for antique clock parts or rare fabrics, this community has been a treasure trove of inspiration for my own projects, and I’m sure it will be for yours as well.
In the spirit of seasonal lighting tips, I’ve come to appreciate the simple elegance of stringing fairy lights around our porch or weaving them through the branches of our Christmas tree. It’s amazing how such a small detail can evoke the magic of a winter wonderland decor. As I work on my latest project, a DIY wreath making endeavor using natural elements like pinecones and evergreen branches, I’m reminded of the joy in slowing down and appreciating the beauty in the everyday.
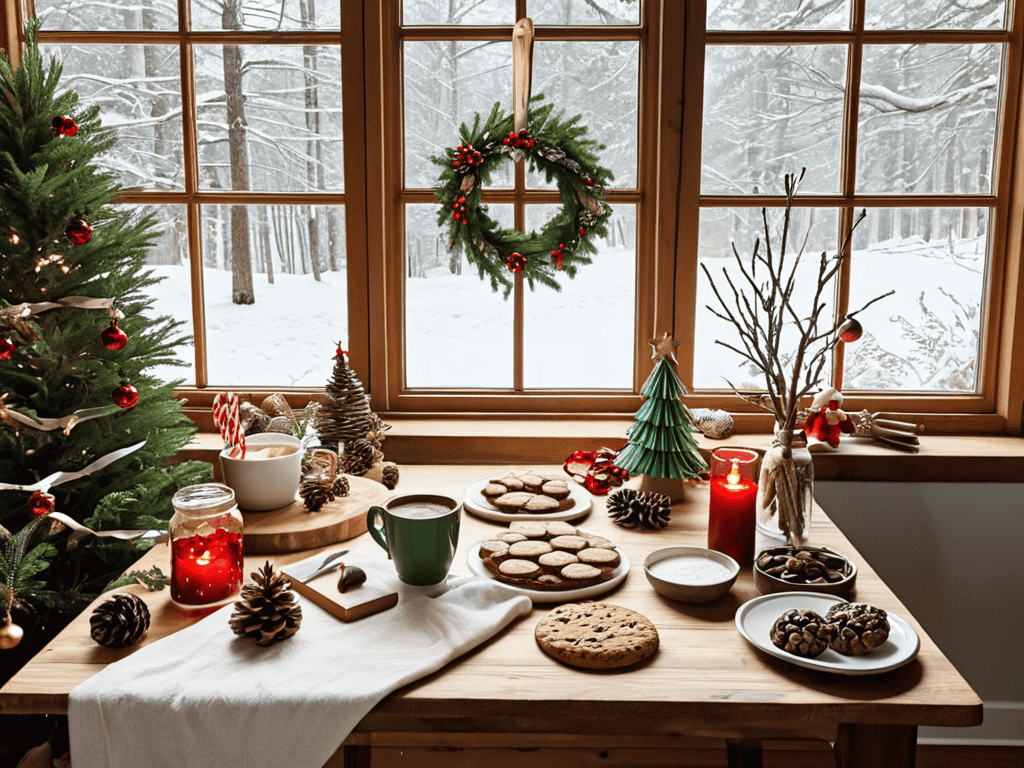
For those looking to create their own enchanting holiday atmosphere without breaking the bank, I recommend exploring budget friendly decoration ideas. A stroll through nature can yield a plethora of materials perfect for crafting unique decorations, from pine needles to ribbons made from old fabric scraps. By embracing the art of upcycling and repurposing, we not only reduce waste but also infuse our celebrations with a deeper sense of connection to the world around us, and to the stories that make each item truly special.
Illuminating Nostalgia Seasonal Lighting With Recycled Materials
As I sit amidst the soft glow of my workshop, surrounded by vintage clocks and twinkling lights, I find myself enchanted by the art of transforming discarded materials into mesmerizing seasonal lighting. There’s a certain warmth to using recycled materials, like mason jars, old lanterns, or even reclaimed wood, to craft one-of-a-kind luminaries. By breathing new life into these forgotten relics, I feel a deep connection to the past, while also infusing my holiday decor with a sense of inventive nostalgia.
With a flick of my vintage fountain pen, ideas begin to flow, and I envision a winter wonderland aglow with soft, ethereal light. I imagine the gentle dance of candlelight upon the walls, as handmade lanterns crafted from old maps, music sheets, or book pages cast a warm, nostalgic ambiance. In this way, the boundaries between past and present dissolve, and the true essence of the season shines through.
Whispers of Winter Handmade Ornament Ideas
As I sit amidst the soft glow of twinkling lights and the warmth of a crackling fire, I find myself enchanted by the whispers of winter. It’s a time when handmade ornament ideas come alive, infused with the magic of nostalgia and the beauty of forgotten things. I recall my grandmother’s stories of crafting ornaments from natural elements like pinecones, holly, and mistletoe, each one a testament to the simplicity and charm of a bygone era.
With a vintage fountain pen in hand, I begin to sketch out my own ideas, inspired by the treasures of the past. A delicate glass vase transformed into a snow globe, a vintage music box reborn as a whimsical ornament, or a faded quilt repurposed as a cozy holiday throw – each project a narrative of transformation, weaving together the threads of memory and imagination.
Weaving Winter Wonder: 5 Timeless Tips for DIY Holiday Decorations
- Let the story of your decorations unfold with vintage items, like antique windows, doors, or clock parts, to create one-of-a-kind pieces that whisper tales of the past
- Experiment with natural elements such as pinecones, holly, and twigs to bring the outdoors in, blending the boundaries between nature and nurture in your holiday decor
- Uncover the hidden potential in recycled materials like old CDs, jar lids, or cardboard tubes to craft ornaments and decorations that shine with creativity and eco-friendly charm
- Infuse your space with warm, golden light by upcycling old lanterns, mason jars, or bottles into unique candle holders and string lights that evoke a sense of homemade hospitality
- Embark on a journey of rediscovery by repurposing family heirlooms or forgotten trinkets into meaningful decorations, weaving a narrative of love, memory, and tradition into every handmade piece
Timeless Treasures: 3 Key Takeaways for DIY Enthusiasts
As we unwrap the magic of homemade holiday decorations, remember that the true essence of DIY lies not just in the end result, but in the journey of transforming forgotten relics into timeless treasures.
By embracing the art of upcycling and repurposing vintage materials, we not only reduce waste but also infuse our living spaces with stories of the past, weaving a narrative that transcends generations.
Whether you’re crafting handmade ornaments or illuminating your home with seasonal lighting made from recycled materials, the most precious aspect of DIY holiday decorations is the love and imagination you invest in each piece, making every item a unique reflection of your personal story.
Embracing the Essence of DIY Holiday Decor
As we weave tales of love and laughter into every handmade decoration, we not only adorn our homes but also preserve the beauty of our memories, threading the past, present, and future into an exquisite tapestry of tradition and innovation.
Joseph Goto
Weaving Memories into the Fabric of the Season
As we conclude our journey through the realm of DIY holiday decorations, let’s reflect on the magic that unfolds when we breathe new life into forgotten materials. From the whispers of winter that inspired our handmade ornaments to the warm glow of seasonal lighting crafted from recycled treasures, each project has been a testament to the transformative power of creativity and nostalgia. By embracing the stories hidden within vintage items and giving them a new voice, we not only adorn our homes but also weave a tapestry of memories that will be cherished for generations to come.
And so, as the season of giving and sharing approaches, let’s remember that the true essence of DIY holiday decorations lies not just in their aesthetic appeal, but in the love and effort we invest in their creation. May our handmade treasures serve as beacons of inspiration, reminding us all of the beauty that can be uncovered in the simplest of things, and may the spirit of craftsmanship continue to guide us as we navigate the intersection of past and present, creating a brighter, more wondrous future, one ornament, one light, and one story at a time.
Frequently Asked Questions
What are some creative ways to repurpose old or broken holiday decorations into new, unique pieces?
I love breathing new life into old treasures. For me, it’s about seeing beyond the brokenness and imagining a second chapter. Take an old, faded wreath, for instance – you can repurpose its frame with fresh greenery, pinecones, or even vintage ornaments, giving it a charming, eclectic twist that tells a story of its own.
How can I incorporate natural elements, like pinecones or holly, into my DIY holiday decor without them deteriorating quickly?
To preserve natural elements like pinecones or holly, I lightly spray them with a clear varnish or apply a natural wax, sealing in their essence while protecting them from decay, allowing their rustic charm to endure throughout the season.
Are there any specific safety precautions I should take when working with recycled materials, like old lights or fragile glass ornaments, in my DIY holiday decoration projects?
When working with recycled materials, I always say it’s better to be safe than sorry. Handle fragile glass ornaments with care, and for old lights, ensure they’re thoroughly inspected for any damage before use. A gentle touch and a discerning eye can make all the difference in avoiding accidents and preserving the nostalgic charm of your DIY creations.