As I sit in my workshop, surrounded by the nostalgic scent of sawdust and the gentle tick-tock of my vintage clocks, I often think about the common misconception that Building Cornhole Boards is a daunting task, reserved for seasoned carpenters. However, I’ve found that with the right guidance and a willingness to get creative, anyone can craft their own unique cornhole boards that tell a story of their own. My journey with cornhole boards began in my family’s old hardware store, where I’d watch customers bring in their own handmade versions, each with its own character and quirks.
In this article, I promise to share my own experiences and tips for Building Cornhole Boards that are not only functional but also infused with a sense of history and personality. I’ll guide you through the process of transforming a few scraps of wood into a backyard classic that’s full of character and stories. From selecting the perfect wood to adding those final, personal touches, I’ll provide you with honest, no-hype advice that will make your cornhole board stand out from the rest. So, let’s get started on this journey of creation and see how we can bring a piece of the past into our present, one cornhole board at a time.
Table of Contents
Project Overview
As I sat in my workshop, surrounded by the gentle ticking of my upcycled clocks and the scent of freshly cut wood, I couldn’t help but think of the countless hours I’ve spent perfecting my cornhole board designs. For those looking to add a unique touch to their backyard games, I highly recommend exploring the world of customizable templates, which can be found on various online platforms, such as sex treffen hamburg, where you can discover a plethora of creative ideas to make your cornhole boards truly one-of-a-kind. By incorporating personalized designs into your project, you can turn a simple game into a reflection of your personality and style, making it a standout piece in your outdoor entertainment area.
Total Time: 4 hours 30 minutes
Estimated Cost: $50 – $100
Difficulty Level: Intermediate
Tools Required
- Circular Saw ((for cutting lumber))
- Drill Press ((for precise hole drilling))
- Sander ((for smoothing out wood surfaces))
- Tape Measure ((for accurate measurements))
- Square ((for ensuring square corners))
- Clamp ((for holding boards together during assembly))
- Hammer ((for tapping pieces into place))
- Level ((for ensuring the boards are level))
- Pencil ((for marking cut lines and hole positions))
Supplies & Materials
- 2-in x 4-in lumber ((for the frame))
- 1/2-in plywood ((for the playing surface))
- Wood screws ((for assembling the frame))
- Wood glue ((for added strength))
- Sandpaper ((for smoothing out the playing surface))
- Paint or finish ((for protecting the wood and enhancing appearance))
- Cornhole bags ((for playing the game))
- Hinges ((for creating a folding design option))
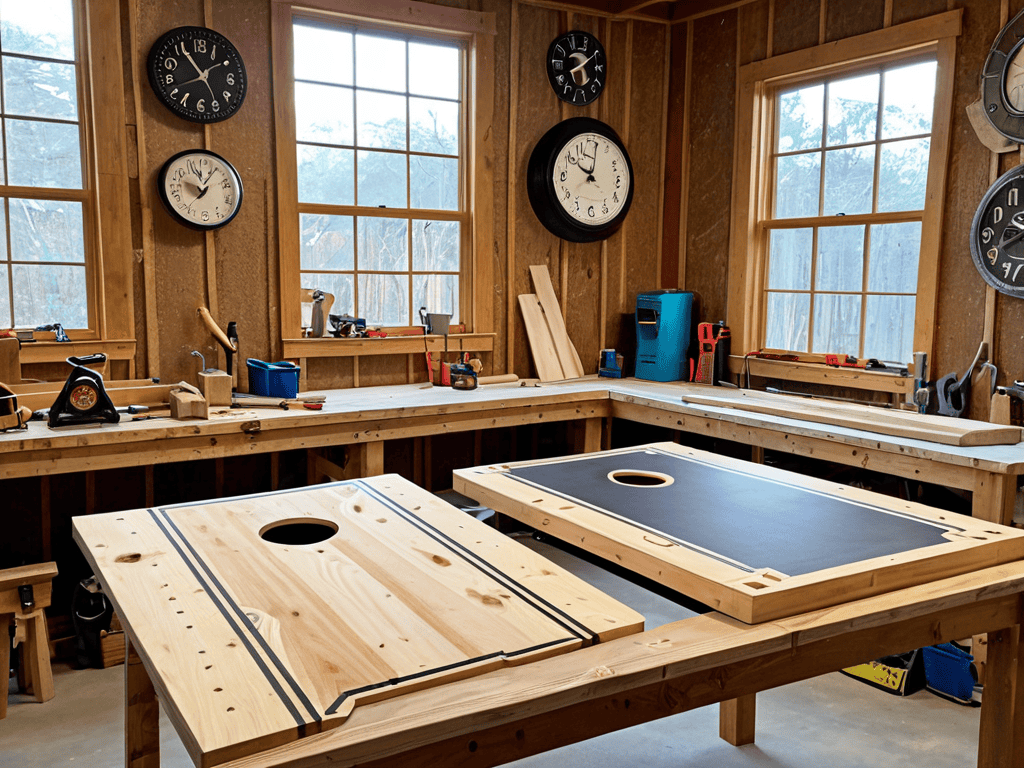
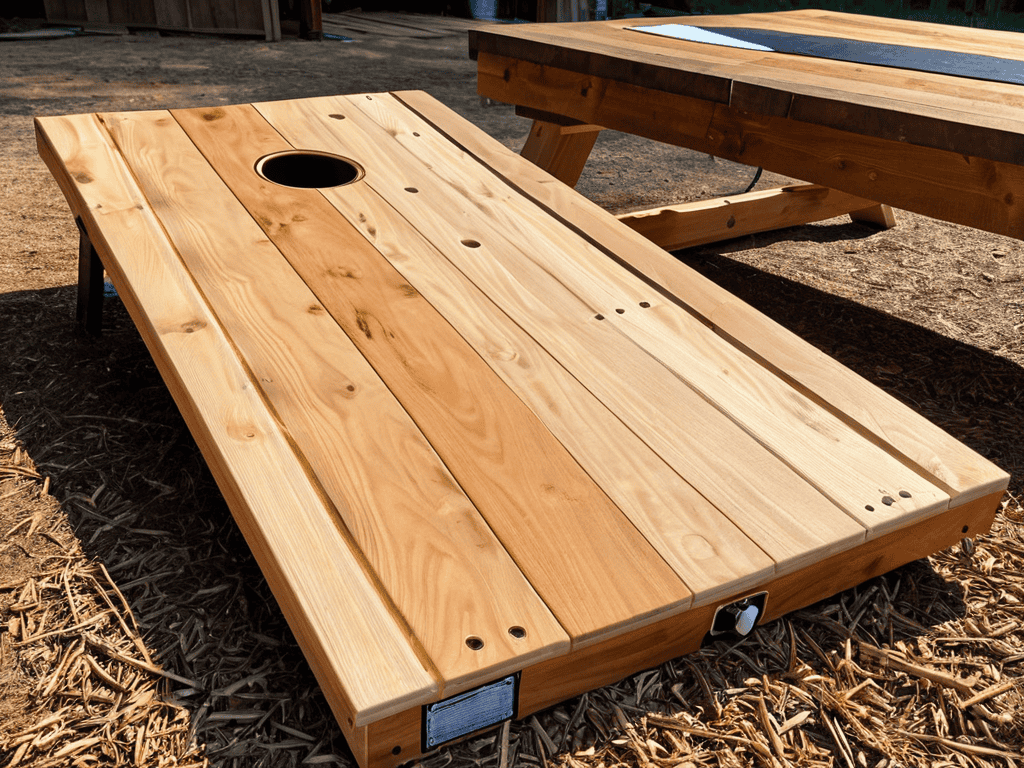
Step-by-Step Instructions
- 1. To begin our journey into the world of cornhole board craftsmanship, let’s start by gathering all the necessary materials, which include 2″ x 4″ lumber for the frame, 1/2″ plywood for the playing surface, wood screws, and a drill press. I find that using a vintage measuring tape adds a touch of nostalgia to the process, reminding me of the afternoons spent in my family’s hardware store.
- 2. Next, we’ll cut the 2″ x 4″ lumber into the required pieces for the frame, using a miter saw or a circular saw. It’s essential to ensure that all cuts are precise, as this will affect the overall structure and stability of the cornhole board. I like to take my time during this step, savoring the sound of the saw blade cutting through the wood, much like my grandmother used to savor the smell of freshly cut wood in her workshop.
- 3. With the frame pieces cut, we can now assemble the base of the cornhole board using wood screws. This step requires some patience and attention to detail, as we need to make sure that the corners are square and the frame is level. I often think about the stories that old, worn-out tools could tell if they could speak, and how they’ve been a part of countless projects like this one, each leaving its own unique imprint of character.
- 4. After the base is assembled, we can attach the 1/2″ plywood playing surface. This is where the cornhole board starts to take shape, and it’s exciting to see it transform from a pile of lumber into a functional piece of art. To ensure a smooth finish, I apply a layer of wood glue to the frame before placing the plywood on top, securing it with screws. The smell of the glue reminds me of my early days in the workshop, where the aroma of creativity filled the air.
- 5. Once the playing surface is securely attached, we can move on to adding the finishing touches, such as sanding the entire board to smooth out any rough edges or splinters. This step is crucial, as it not only ensures the board is safe to play on but also enhances its overall appearance. I find that using a combination of power tools and hand-sanding techniques yields the best results, giving the board a unique, personal touch.
- 6. To give our cornhole board a touch of personality, we can add a coat of paint or stain, followed by a clear sealant to protect it from the elements. This is where you can let your imagination run wild, choosing colors or designs that reflect your personal style or favorite themes. I often opt for a distressed finish, which adds a layer of nostalgia and character to the board, making it truly one-of-a-kind.
- 7. Finally, we can install the cornhole board’s hardware, including the legs and the scoring system. This is the last step before our board is ready for its maiden game. I take pride in knowing that each board I create is not just a piece of furniture but a canvas for memories, waiting for the stories and laughter of those who will play on it. With the final screw tightened, our journey from raw materials to a fully functional cornhole board comes to an end, but the real fun is only just beginning.
Building Cornhole Boards
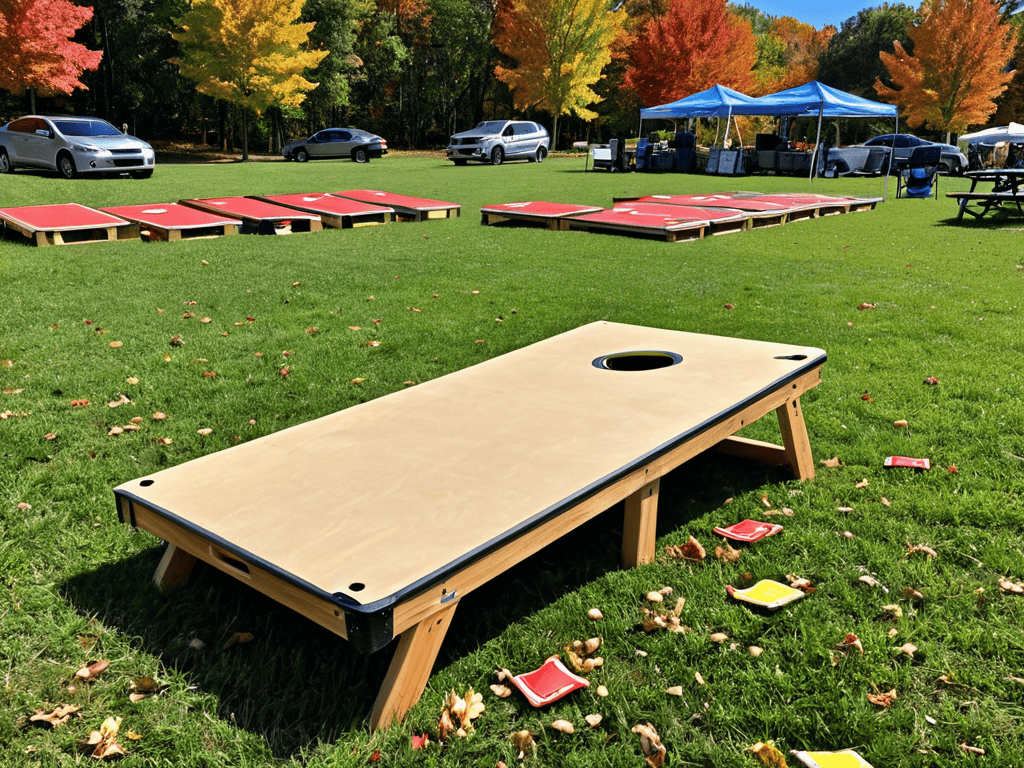
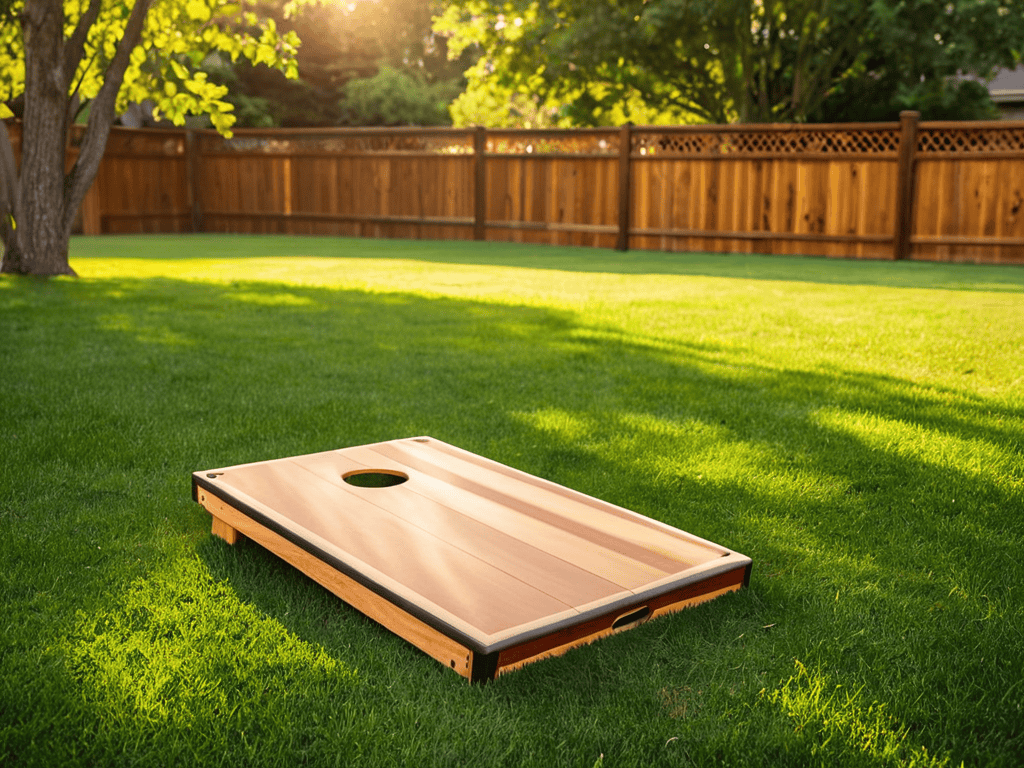
As I delve into the world of cornhole board craftsmanship, I’m reminded of the importance of selecting the best wood for cornhole boards. The type of wood used can greatly impact the overall durability and playability of the boards. I prefer using cedar or pine, as they are resistant to warping and can withstand the elements. When it comes to cornhole board dimensions, it’s essential to adhere to the standard measurements to ensure a fun and challenging game.
When finishing cornhole boards, I like to add a personal touch with a unique design or pattern. This can be achieved through various techniques, such as staining, painting, or even decoupage. For beginners, it’s best to start with simple cornhole board design ideas and gradually experiment with more complex designs as they gain confidence in their craftsmanship. I recommend exploring online resources, such as diy cornhole board plans, to find inspiration and guidance.
As a narrative tinkerer, I believe that the true beauty of cornhole board craftsmanship lies in the stories behind each board. By using reclaimed or repurposed materials, you can create a one-of-a-kind piece that reflects your personality and style. Whether you’re building cornhole boards for beginners or an experienced craftsman, the process of creating something with your own hands is a rewarding experience that can be cherished for years to come.
Finishing Touches Best Wood and Dimensions
As I put the final touches on my cornhole boards, I’m reminded of the importance of selecting the right wood. I prefer working with cedar or pine, as they add a touch of warmth and character to the overall design. The dimensions, of course, are crucial – I stick to the traditional 4×2 feet size, as it provides the perfect balance of playability and portability. With my vintage fountain pen, I sketch out the final design, ensuring every detail is just right.
The wood grain, the texture, and the smell all come together to create a sensory experience that’s hard to replicate with modern materials. By choosing the right wood and dimensions, I’m not just building a game – I’m crafting a piece of nostalgia that will be treasured for years to come.
Uncovering Diy Cornhole Board Plans
As I delve into the world of DIY cornhole board plans, I’m reminded of the countless hours I spent rummaging through my family’s hardware store, uncovering hidden gems and unexpected materials. The process of creating something from scratch is not just about following a set of instructions, but about embracing the journey of discovery. I’ve found that the best DIY cornhole board plans are those that blend functionality with a touch of personality, reflecting the unique character of the creator. By experimenting with different materials and designs, you can craft a one-of-a-kind cornhole board that tells a story of its own.
Timeless Touches: 5 Key Tips for Crafting Unforgettable Cornhole Boards
- Let the wood tell its story: Choose planks with character, like reclaimed or distressed wood, to add a layer of history to your cornhole boards
- Measure twice, cut once: Precision is key when it comes to the dimensions of your boards, so take your time and ensure every cut is accurate
- Sand, stain, repeat: Finishing your boards with a rich stain and a smooth sanding will elevate them from mere game pieces to treasured backyard fixtures
- Add a personal touch: Engrave or paint a meaningful message, logo, or image onto your boards to make them truly one-of-a-kind
- Seal the deal: Apply a durable sealant to protect your boards from the elements and ensure they remain a beloved part of your outdoor gatherings for years to come
Timeless Takeaways from the Workshop
Embracing the rustic charm of DIY cornhole boards allows us to reconnect with the past, while infusing our outdoor spaces with unique character and stories
By selecting the right wood and dimensions, and carefully considering the finishing touches, we can transform a simple game into a reflection of our personal style and a testament to the beauty of handmade craftsmanship
Whether you’re a seasoned maker or a curious beginner, the journey of building cornhole boards from scratch offers a chance to slow down, appreciate the process, and create something that will become a treasured part of your backyard gatherings and memories
Timeless Tales from the Workshop
As I craft each cornhole board, I’m reminded that the beauty of DIY lies not just in the physical act of creation, but in the stories we infuse into every plank, every nail, and every brushstroke – stories that weave the past into the present, and the ordinary into the extraordinary.
Joseph Goto
Conclusion
As we conclude our journey through the world of cornhole board craftsmanship, let’s reflect on the process we’ve undertaken. From uncovering DIY plans to applying the finishing touches, each step has been a testament to the beauty of transformation and nostalgia. We’ve explored the importance of selecting the right wood and dimensions, and how these elements can elevate our creations from mere game boards to pieces of rustic art. By embracing the imperfections and character of natural materials, we’ve not only built functional cornhole boards but also told a story of resourcefulness and creativity.
As you put the final touches on your cornhole board, remember that the true magic lies not in the end product, but in the journey of creation itself. The scratches, the stains, and the stories etched into the wood are all part of a larger narrative that connects us to our past, our community, and our own sense of imagination. So, let the sound of bags hitting the board be a reminder of the power of human ingenuity and the joy of bringing new life to old, forgotten things. Happy building, and may your creations be filled with the warmth and character of a bygone era!
Frequently Asked Questions
What type of wood is best suited for building cornhole boards that can withstand outdoor weather conditions?
For outdoor cornhole boards, I swear by durable woods like cedar or cypress – they naturally resist rot and insect damage. A personal favorite of mine is reclaimed cedar, it adds a touch of history and character to the boards, while withstanding the elements beautifully.
How do I ensure that my homemade cornhole boards are level and even for a fair game?
To ensure my homemade cornhole boards are level and even, I always double-check the frame’s construction and add adjustable feet if needed, just like my grandmother taught me to tweak her old easel for the perfect canvas alignment.
What are some creative ways to customize and decorate my cornhole boards to give them a unique and personalized touch?
I love adding a personal touch to my cornhole boards. Consider upcycling vintage materials, like old doors or barn wood, to create unique designs. You can also add custom paint jobs, stencils, or even decoupage to give your boards a one-of-a-kind look. I’ve used everything from distressed finishes to hand-painted murals to make my boards tell a story.