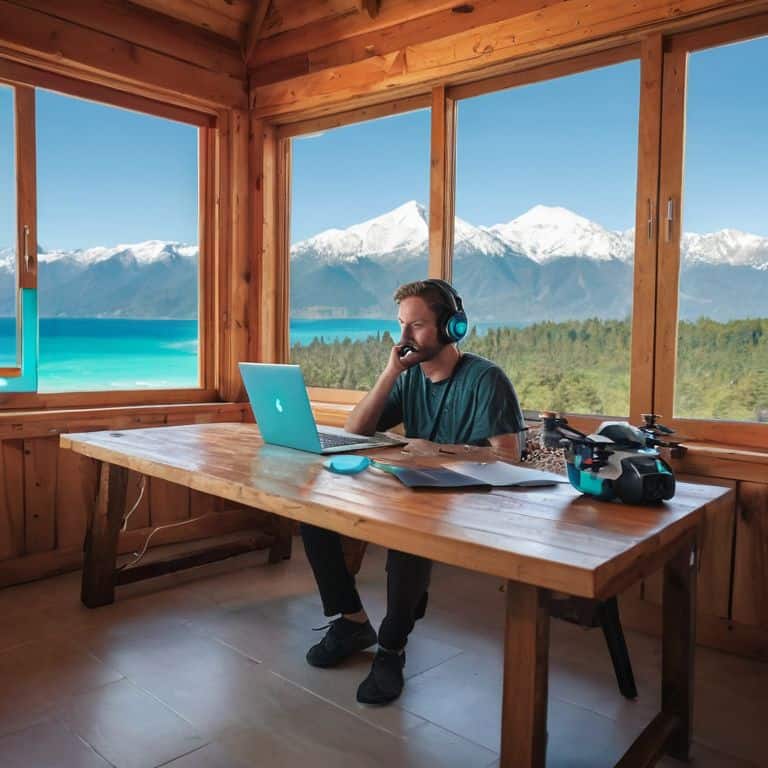
I still remember the thrill of capturing my first drone footage over the majestic Grand Canyon – the vast expanse of rugged landscape unfolding beneath me like a breathtaking canvas. But, as I soon discovered, the real magic happens when you edit travel drone footage. It’s a crucial step that can make or break the essence of your visual storytelling. Many believe that editing drone footage is a daunting task, reserved for tech-savvy professionals, but I’m here to tell you that’s just a myth. With the right approach and a dash of creativity, anyone can turn their aerial clips into a stunning narrative.
As you embark on this journey to edit travel drone footage, I want to assure you that you’re in for a treat. In this guide, I’ll share my personal tips and tricks for transforming your raw footage into a captivating visual experience. You’ll learn how to weave a story that transports your viewers to new heights, and discover the simple yet powerful techniques for making your drone footage truly shine. From the basics of color correction to the art of pacing and music selection, I’ll walk you through the entire process with practical advice and real-world examples. So, buckle up and get ready to take your drone footage to the next level!
Table of Contents
Guide Overview: What You'll Need
Total Time: 1 hour 30 minutes
Estimated Cost: $0 – $100
Difficulty Level: Intermediate
Tools Required
- Computer with video editing software
- External Hard Drive for storing footage
- Mouse or other navigation device
Supplies & Materials
- Drone Footage pre-recorded and transferred to computer
- Video Editing Software such as Adobe Premiere or DaVinci Resolve
- Color Grading Presets optional, for advanced editing
Step-by-Step Instructions
- 1. First, let’s get started with organizing our footage – before we dive into editing, it’s essential to have all our clips in one place. I like to create a folder structure that mirrors the journey I’ve been on, with separate folders for each location and date. This helps me keep track of where each clip was taken and makes it easier to find the perfect shot later on.
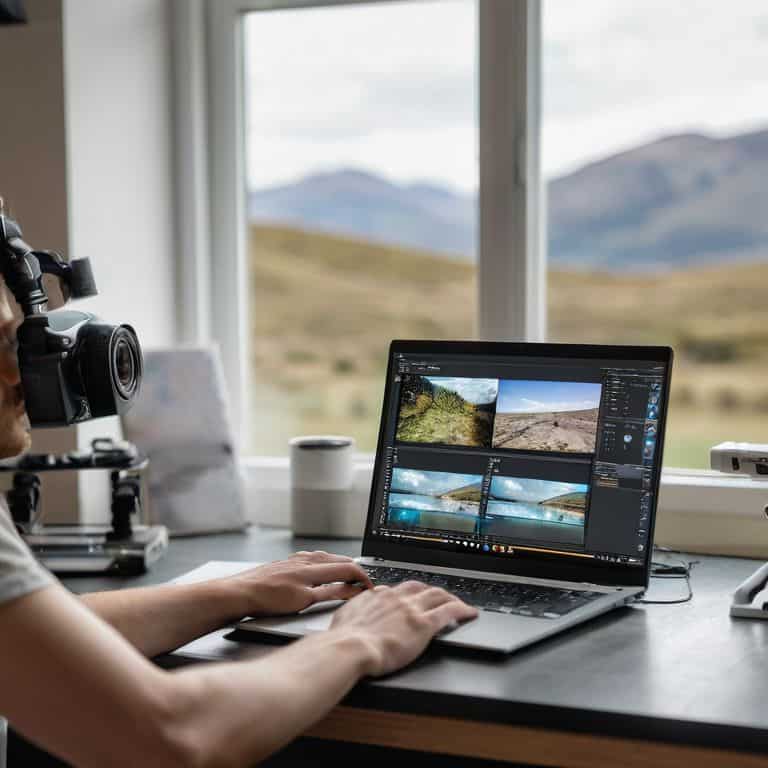
- 2. Next, we need to import our footage into our chosen editing software. I’m a fan of using Adobe Premiere Pro for its versatility and user-friendly interface. As we import our clips, it’s a good idea to _rename them_ with descriptive titles, including the location, time of day, and any notable features of the shot. This will save us a lot of time in the long run when we’re searching for specific clips.
- 3. Now that our footage is imported and organized, it’s time to start reviewing our clips. This is where the magic happens, and we get to relive our adventures all over again. I like to watch through each clip, making note of the ones that stand out to me – whether it’s a stunning sunset, a dramatic landscape, or a fun moment with friends. As we review, we can start to get a sense of the story we want to tell with our footage.
- 4. With our best clips selected, it’s time to start building our story. I like to create a rough cut by placing my clips in the order I think they’ll appear in the final video. Don’t worry too much about the exact timing at this stage – just focus on getting the overall flow of the story right. We can always fine-tune the details later.
- 5. Once we have our rough cut in place, it’s time to start _fine-tuning the edits_. This is where we can get creative with transitions, music, and effects to really bring our story to life. I’m a big fan of using subtle transitions to move between clips, as they help to create a sense of continuity and flow. We can also start to experiment with different music tracks to find the one that perfectly complements our footage.
- 6. As we continue to refine our edit, it’s essential to pay attention to the pacing of our video. We want to make sure that our story flows well and keeps our viewers engaged. I like to watch through my video regularly, making note of any sections that feel slow or dragged out. By cutting out any unnecessary footage and adjusting the timing of our clips, we can create a sense of tension and release that keeps our viewers on the edge of their seats.
- 7. Finally, it’s time to add the finishing touches to our video. This is where we can get creative with _color grading_ and sound design to really make our footage pop. I like to use the Lumetri Color Panel in Adobe Premiere Pro to create a consistent look and feel throughout my video. We can also add sound effects and music to enhance the mood and atmosphere of our story, drawing our viewers in and making them feel like they’re right there with us.
Unlocking Skybound Stories
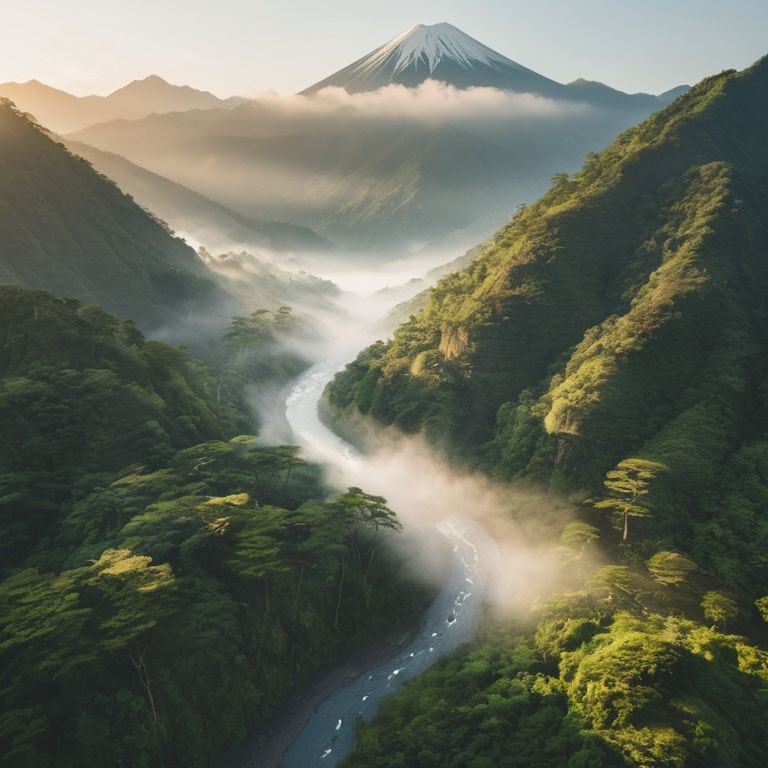
As I sit in my kitchen, surrounded by the aromas of exotic spices, I’m reminded of the thrill of capturing breathtaking aerial views from my travels. When it comes to unlocking skybound stories, aerial video color grading plays a crucial role in setting the tone for your narrative. I recall a trip to Japan, where I experimented with drone footage stabilization techniques to smooth out the footage of a serene mountain landscape. The result was nothing short of mesmerizing.
To take your travel vlog to the next level, consider editing drone footage for youtube with a focus on color correction for drone videos. This can make a significant difference in the overall visual appeal of your story. I’ve found that even small adjustments to the color palette can evoke strong emotions and draw the viewer into the scene. For instance, a warm sunset hue can create a sense of nostalgia, while a cool blue tone can evoke a feeling of serenity.
As a former travel consultant, I’ve seen many beginners struggle with drone video editing for beginners. My advice is to keep it simple and focus on telling a story that resonates with your audience. Drone footage stabilization techniques can be a game-changer, but don’t be afraid to experiment and try new things. Remember, the goal is to create a travel vlog editing style that’s uniquely yours, and that showcases the beauty of our world from a unique perspective.
Mastering Aerial Video Color Grading Techniques
As I sit in my kitchen, surrounded by the aromas of global spices, I’m reminded of the vibrant hues that dance across my travel footage. Mastering aerial video color grading techniques is an art that brings my skybound stories to life. I recall the majestic sunset over the Taj Mahal, where a warm orange glow infused the landscape – a perfect example of how color grading can evoke emotions.
By experimenting with color curves, saturation, and contrast, I can transport my audience to the bustling streets of Tokyo or the serene beaches of Bali. With each tweak, the footage transforms, and the narrative unfolds. Whether it’s enhancing the blues of a tropical ocean or the golden tones of a desert landscape, color grading is the secret ingredient that makes my travel stories truly unforgettable.
Stabilizing Drone Footage for Seamless Travel Vlogs
As I sit in my kitchen, surrounded by the aromas of exotic spices and the hum of my editing software, I’m reminded of the importance of stabilizing drone footage. It’s a crucial step in creating seamless travel vlogs that transport viewers to new heights. I recall the time I captured stunning footage of the Taj Mahal at sunrise, but the gentle breeze had caused a slight wobble in the video. Thankfully, with the right tools and techniques, I was able to smooth out the footage, making it look like it was shot on a perfectly still day.
By applying stabilization techniques, you can eliminate camera shake and rolling shutter effects, ensuring your travel vlogs are as smooth as a perfectly balanced curry. This not only enhances the visual quality but also helps to maintain the viewer’s immersion in the story you’re telling. Whether you’re soaring over mountains or diving into the ocean, stabilized footage will make your audience feel like they’re right there with you, experiencing the thrill of discovery and the beauty of our world.
Elevating Your Travel Vlogs: 5 Essential Tips for Editing Drone Footage
- Start with a clear storyline: Before diving into the editing process, take some time to reflect on the narrative you want your travel vlog to tell – what moments do you want to highlight, and how will your drone footage bring your story to life?
- Experiment with color grading: Play around with different color palettes and grading techniques to give your drone footage a unique, cinematic feel that complements the tone of your travel story
- Stabilize your shots: Invest in a good video editing software that offers robust stabilization tools, and use them to smooth out any shaky footage and create a more professional look
- Pay attention to pacing: A well-edited travel vlog should have a mix of fast-paced and slow-motion shots – experiment with different editing rhythms to keep your viewers engaged and interested
- Add context with music and sound effects: Music and sound effects can make or break the atmosphere of your travel vlog – choose a soundtrack that complements your narrative, and don’t be afraid to add sound effects to enhance the sensory experience of your drone footage
Three Key Takeaways for Editing Travel Drone Footage
Embracing the art of storytelling through travel drone footage requires a combination of technical skills, such as mastering aerial video color grading techniques, and creative vision to weave your clips into a compelling narrative
Stabilizing your drone footage is crucial for creating seamless and professional-looking travel vlogs that transport your viewers to new heights and destinations around the world
By experimenting with different editing styles and techniques, such as adding music, transitions, and effects, you can transform your raw drone footage into captivating skybound stories that inspire others to explore and appreciate the beauty of our global community
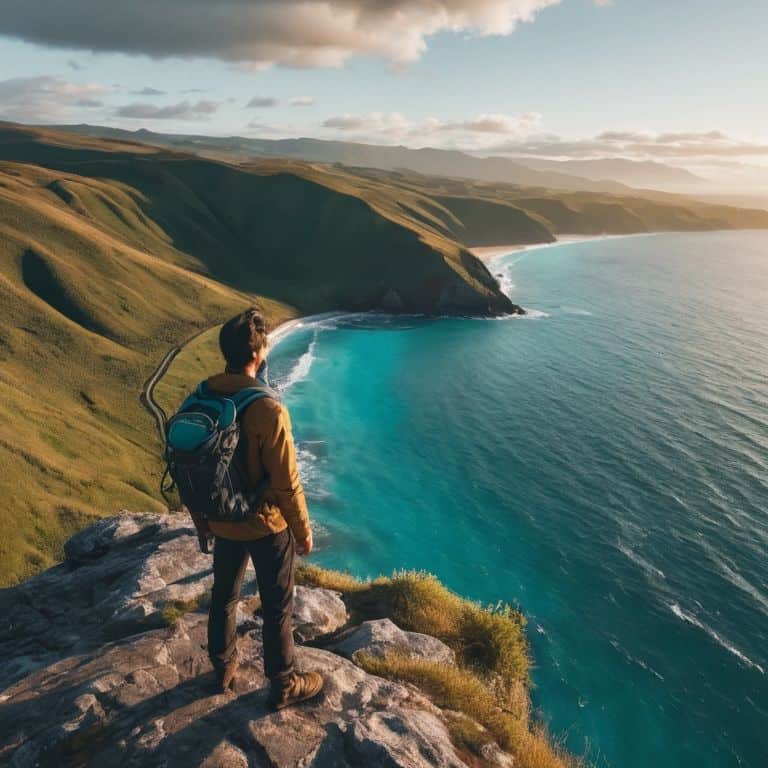
Weaving Stories from the Sky
As we edit our travel drone footage, we’re not just stitching together clips – we’re crafting a tapestry of memories, weaving the threads of culture, landscape, and adventure into a narrative that invites others to step into our shoes and see the world through our lens.
Ethan Mitchell
Skybound Stories: The Final Cut
As I reflect on our journey through the world of travel drone footage editing, I’m reminded of the power of storytelling that lies within each frame. From mastering aerial video color grading techniques to stabilizing drone footage for seamless travel vlogs, we’ve explored the essential steps to transform your raw clips into captivating narratives. Whether you’re a seasoned traveler or an aspiring adventurer, the art of editing travel drone footage is all about weaving magic into your visual tales, making your audience feel like they’re right there with you, soaring over the mountains or diving into the ocean.
So, as you export your final cut and share it with the world, remember that your travel drone footage is more than just a collection of clips – it’s a window to the world, a testament to the beauty and diversity of our planet. Keep exploring, keep creating, and always remember to capture the essence of your journey, one frame at a time. And who knows, maybe one day I’ll be photographing my feet in front of a landmark you’ve inspired me to visit, savoring the flavors of a new destination, and sharing the story of our collective adventure with the world.
Frequently Asked Questions
What are the best software options for editing travel drone footage on a budget?
For editing travel drone footage on a budget, I swear by DaVinci Resolve and Shotcut – they’re free, powerful, and packed with features to bring your aerial adventures to life!
How can I effectively synchronize my drone footage with music to create a captivating travel vlog?
To bring your travel vlog to life, try syncing your drone footage with music that resonates with the mood and rhythm of your adventure – imagine soaring over vast landscapes to an epic orchestral score or cruising over turquoise waters to a laid-back beach vibe, it’s all about creating harmony between sound and sight!
What are some common mistakes to avoid when editing travel drone footage to ensure a professional-looking final product?
When editing travel drone footage, I’ve found that common mistakes to avoid include over-reliance on automated editing tools, neglecting to color-grade consistently, and not paying attention to audio quality – all of which can detract from the immersive experience you’re trying to create, making your footage look amateurish rather than professional.