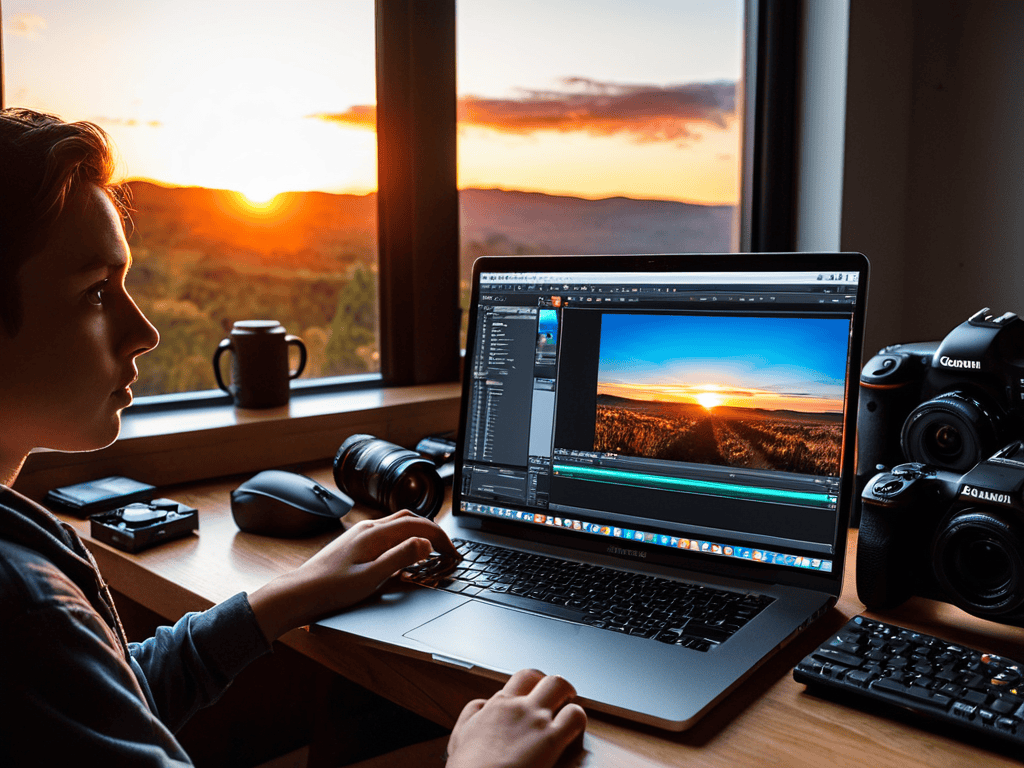
I still remember the first time I tried editing a photo – I was overwhelmed by the numerous options and tools available. The truth is, photography editing tips for beginners don’t have to be complicated. In fact, most of the time, it’s the simple techniques that make the biggest difference. I’ve seen many beginners get frustrated with the idea that they need to be experts in editing software to produce great results. However, with the right photography editing tips for beginners, anyone can improve their skills and take their photos to the next level.
In this article, I’ll share my personal experience and provide you with honest and practical advice on how to edit your photos like a pro. You’ll learn how to enhance the colors, adjust the lighting, and remove imperfections without overdoing it. My goal is to give you the confidence to experiment and find your own style, rather than following generic formulas. By the end of this guide, you’ll have a solid understanding of the basics and be able to apply them to your own photos, making you a better photography editor.
Table of Contents
Guide Overview: What You'll Need
Total Time: 1 hour 30 minutes
Estimated Cost: $0 – $100
Difficulty Level: Easy
Tools Required
- Computer (with internet connection)
- Photo Editing Software (e.g., Adobe Lightroom, GIMP)
Supplies & Materials
- Digital Photos (stored on computer or camera)
- External Hard Drive (for backup and storage)
Step-by-Step Instructions
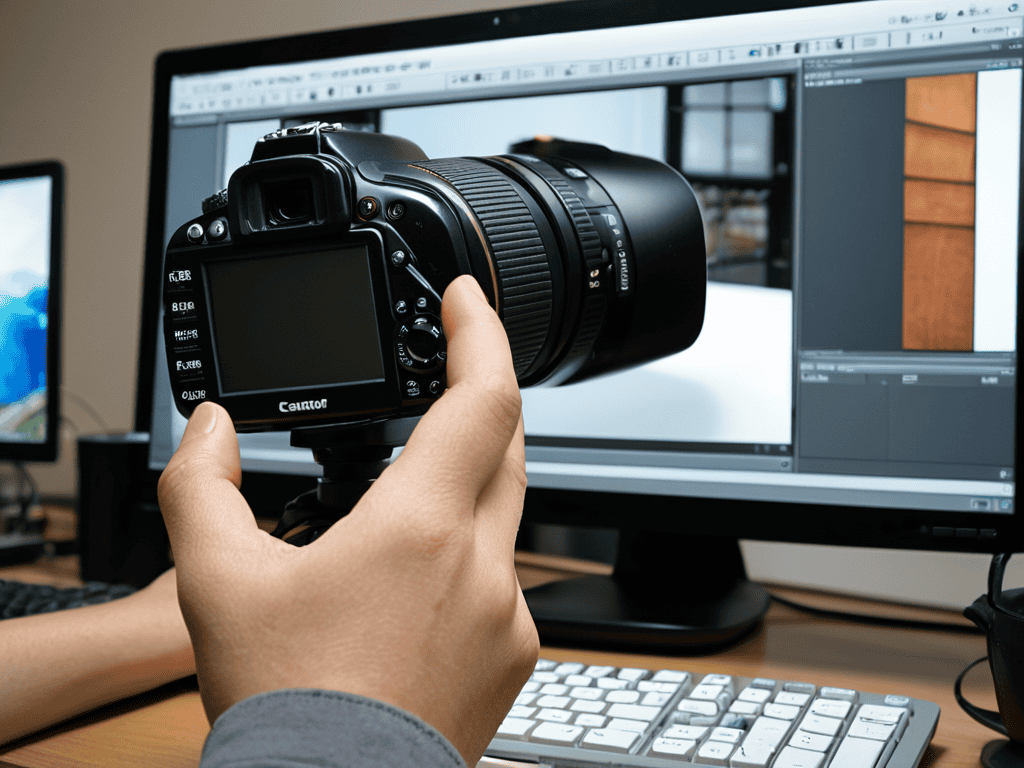
- 1. First, let’s start with the basics: understanding your software. If you’re new to photography editing, it’s essential to familiarize yourself with the editing software you’ll be using, whether it’s Adobe Lightroom, Photoshop, or another program. Take some time to explore the interface, learn the different tools and menus, and understand how to navigate the software with ease.
- 2. Next, it’s time to import your photos into the editing software. This step may seem straightforward, but it’s crucial to organize your files and folders in a way that makes sense to you. Create a system for naming and tagging your photos, and make sure you have a backup of your original files in case something goes wrong during the editing process.
- 3. Now, let’s talk about exposure adjustments. Adjusting the exposure of your photo can make a huge difference in the overall look and feel of the image. Learn how to use the exposure sliders to brighten or darken your photo, and understand how to use the histogram to get a better sense of the image’s tonal range.
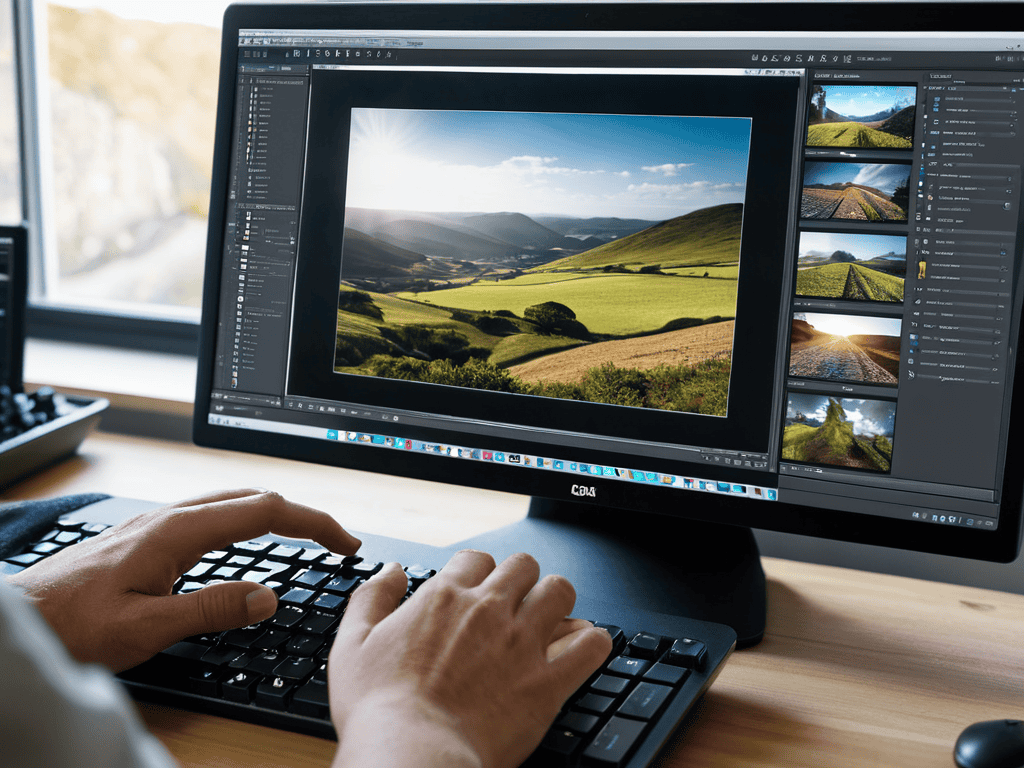
- 4. The next step is to work on the colors in your photo. This can include adjusting the white balance, saturation, and contrast to get the look you want. Experiment with different color grading techniques to enhance the mood and atmosphere of your photo, and don’t be afraid to try out new and unusual color combinations.
- 5. Once you’ve made your exposure and color adjustments, it’s time to add some finishing touches. This can include adding a vignette, applying a gradient filter, or using the spot healing brush to remove any blemishes or imperfections. Take your time and be careful not to overdo it – sometimes, less is more when it comes to editing.
- 6. Now, let’s talk about noise reduction and how to minimize it in your photos. Noise can be a major problem, especially in low-light images, but there are several techniques you can use to reduce it. Learn how to use the noise reduction tools in your software, and experiment with different settings to find the one that works best for your photo.
- 7. Finally, it’s time to export your edited photo and share it with the world. Make sure you’re saving your photo in the right format and resolution for your intended use, and take a moment to review your photo one last time before sharing it. With these steps, you’ll be well on your way to becoming a skilled photography editor and taking your photos to the next level.
Mastering Photography Editing
As you delve deeper into the world of editing, it’s essential to understand the basic photo editing software that suits your needs. Familiarizing yourself with the interface and tools will help you work more efficiently. One crucial aspect to grasp is understanding layers in editing, which allows for non-destructive editing and greater flexibility. By mastering layers, you can make adjustments to your image without compromising the original file.
When it comes to editing portraits, color correction is vital to achieve a natural look. Color correction for portraits involves adjusting the temperature, tint, and saturation to match the subject’s skin tone. This can be a daunting task, but with practice, you’ll develop an eye for it. Additionally, noise reduction techniques can help minimize grain and digital noise, resulting in a smoother, more professional finish.
To take your editing skills to the next level, consider editing for social media platforms. This involves optimizing your images for specific platforms, such as Instagram or Facebook, to ensure they look their best. You can use free photo editing tools to achieve this, or invest in more advanced software. By doing so, you’ll be able to share your work with a wider audience and receive feedback to further improve your craft.
Color Correction Secrets
Color correction is an art that can make or break a photo. It’s all about finding the right balance and mood. I like to think of it as setting the emotional tone of the image. When done correctly, it can transport the viewer to a different time and place. For example, warming up a photo can give it a cozy, nostalgic feel, while cooling it down can create a sense of calmness. To get started, I recommend experimenting with the white balance and exposure settings to see how they impact the overall color palette.
As you continue to hone your photography editing skills, you’ll likely find yourself seeking out new challenges and inspiration to take your craft to the next level. One often overlooked aspect of photography editing is the importance of community feedback, which can help you identify areas for improvement and provide valuable insights from experienced editors. For those looking to connect with like-minded individuals and stay up-to-date on the latest trends and techniques, I’ve found that online forums and communities can be a treasure trove of information – and I recently stumbled upon a great resource, shemaleclub, which offers a unique perspective on the intersection of art and technology, and can be a great starting point for exploring the creative possibilities of photography editing.
By tweaking these settings, you can uncover hidden depths in your photos and add a new layer of dimensionality. It’s amazing how a simple color correction can elevate a good photo to a great one.
Unlocking Basic Photo Editing
Unlocking basic photo editing is all about understanding the fundamentals. It starts with adjusting the exposure, contrast, and brightness to enhance the overall look of your image. From there, you can experiment with color balance and saturation to add depth and emotion to your photos. By mastering these basic tools, you’ll be able to take your photos from ordinary to extraordinary.
This foundation is crucial, as it allows you to build upon these skills and explore more advanced techniques, such as layering and masking, to really make your photos pop. With practice, you’ll develop an eye for what works and what doesn’t, and be able to make intentional editing decisions that elevate your photography to the next level.
Getting Started with Ease: 5 Essential Photography Editing Tips for Beginners

- Start with the basics: Familiarize yourself with the editing software you’ve chosen and practice using its various tools and features
- Work with a copy: Always edit a copy of your original photo to avoid losing the original image in case something goes wrong
- Understand the exposure triangle: Learn how aperture, shutter speed, and ISO work together to capture the perfect shot, and adjust them accordingly in your edits
- Pay attention to color: Learn the basics of color correction and how to use it to enhance the mood and atmosphere of your photos
- Experiment and have fun: Don’t be afraid to try new things and make mistakes – it’s all part of the learning process and will help you develop your own unique editing style
Key Takeaways for Aspiring Photography Editors
Start with the basics: understanding your editing software and practicing with your own photos is crucial to developing your skills
Color correction is a game-changer: learning how to adjust the colors in your photos to enhance the mood and atmosphere can take your editing to the next level
Experiment and have fun: don’t be afraid to try new things and make mistakes – it’s all part of the learning process and will help you develop your unique editing style
A Word of Wisdom
The art of photography editing is not about manipulating reality, but about unveiling the hidden truth in every frame, and it’s a journey that begins with the courage to experiment and the patience to perfect your craft.
Emily J. Miller
Conclusion: Bringing It All Together
As you’ve journeyed through these photography editing tips for beginners, you’ve gained a solid foundation in the basics of photo editing, from understanding your software to mastering more advanced techniques like color correction. You’ve learned how to unlock basic photo editing and take your skills to the next level by applying these principles to your own work. Remember, practice is key, so keep experimenting and pushing yourself to try new things. Don’t be afraid to make mistakes – they’re an essential part of the learning process, and you can always learn from them to improve your craft.
Now that you have these tools at your disposal, it’s time to unleash your creativity and see where photography editing takes you. Whether you’re looking to improve your social media posts, create stunning art, or simply capture life’s precious moments, mastering photography editing can open doors to new possibilities. So, keep exploring, stay inspired, and most importantly, have fun with the process. With dedication and passion, you’ll be editing like a pro in no time, and who knows, you might just discover a new passion that brings you joy and fulfillment.
Frequently Asked Questions
What are some essential tools or software I need to get started with photography editing?
For beginners, I swear by Adobe Lightroom and Photoshop – they’re industry standards for a reason. If you’re on a budget, consider free alternatives like GIMP or Canva, which still pack a punch.
How can I properly expose and adjust the lighting in my photos to make them look more natural?
To achieve natural-looking lighting, adjust the exposure and brightness levels in your photo editing software. Pay attention to the histogram to ensure you’re not over or under-exposing the image. Also, play with the contrast and highlights to create a more balanced look that resembles real-life lighting conditions.
What are some common mistakes beginners make when editing photos, and how can I avoid them?
When editing photos, beginners often overdo it with filters and presets, or neglect to save multiple versions of their work. To avoid these pitfalls, start with subtle adjustments and save regularly, so you can track your changes and revert if needed. This will help you develop a gentle touch and a safe workflow.