As I sit amidst the ticking of my upcycled vintage clocks, I often ponder the misconception that affordable DIY robotics kits are solely the realm of tech-savvy enthusiasts. The truth, however, is that with the right guidance, anyone can embark on this fascinating journey. I recall my first foray into robotics, sparked by a customer’s inquiry at my family’s hardware store, which led me to discover the joy of bringing discarded materials to life. This experience not only deepened my appreciation for the stories behind forgotten items but also inspired me to share my knowledge with others, making affordable DIY robotics kits accessible to all.
In this article, I promise to provide you with practical advice and honest insights into the world of affordable DIY robotics kits. You’ll learn how to navigate the market, choose the right kit for your skills and interests, and most importantly, how to unleash your creativity without breaking the bank. By the end of this guide, you’ll be equipped with the knowledge to transform your space with innovative, handmade robotics projects, and perhaps, like me, find solace in the whispers of the workshop, where the past and present converge in a beautiful dance of innovation and nostalgia.
Table of Contents
- Guide Overview: What You'll Need
- Step-by-Step Instructions
- Crafting Affordable Diy Robotics Kits
- Tinkering Treasures: 5 Key Tips for Bringing Affordable DIY Robotics Kits to Life
- Timeless Treasures: 3 Key Takeaways from Our DIY Robotics Journey
- Timeless Wisdom on DIY Robotics
- Embracing the Future of DIY Robotics
- Frequently Asked Questions
Guide Overview: What You'll Need
Total Time: 2 hours 30 minutes
Estimated Cost: $50 – $100
Difficulty Level: Intermediate
Tools Required
- Microcontroller such as Arduino or Raspberry Pi
- Soldering Iron for circuit assembly
- Wire Cutters for trimming wires to 6 inches
- Pliers for gripping small parts
- Drill Press for making precise holes in metal or wood
Supplies & Materials
- Robotics Kit choose from various affordable options
- Motors DC or servo motors for movement
- Sensors ultrasonic, infrared, or touch sensors for navigation
- Wheels or Tracks for mobility, approximately 2 inches in diameter
- Power Source batteries or a power adapter for 6 volts
- Jumper Wires various lengths, including 3 inches and 12 inches
- Breadboard for prototyping and circuit design
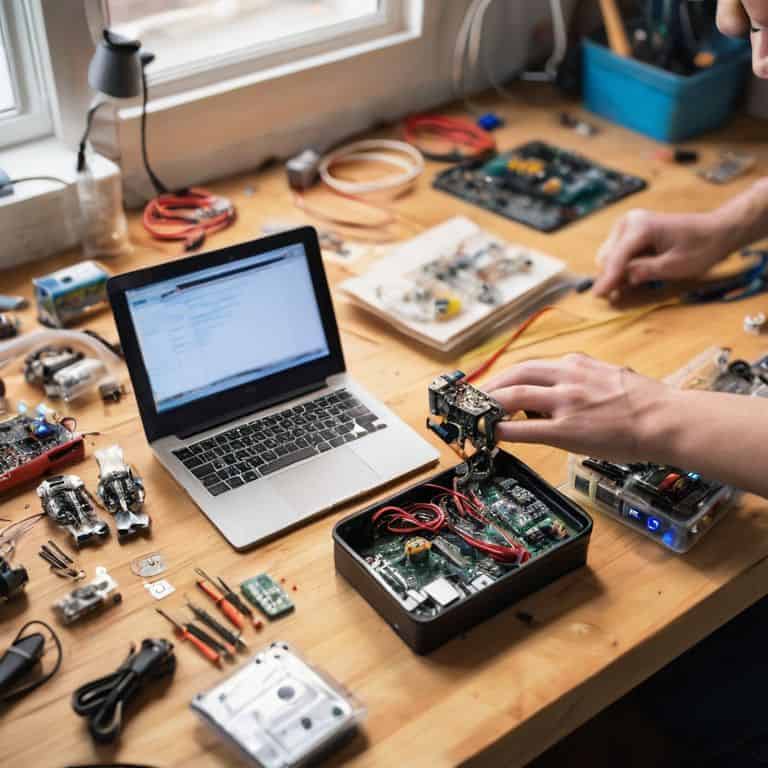
Step-by-Step Instructions
- 1. To begin with, gather your materials, which should include the DIY robotics kit, a workspace with good lighting, and some basic tools like screwdrivers and pliers. I like to lay out all my components and tools before starting any project, as it helps me get a sense of the journey ahead and ensures I don’t miss any crucial parts.
- 2. Next, read through the manual that comes with your kit. It’s essential to understand the overall architecture of your robot and how each component interacts with the others. Don’t skip this step, even if you’re eager to start building, as it will save you a lot of time and frustration in the long run.
- 3. Now, start by assembling the chassis of your robot. This usually involves attaching the wheels, motors, and the main circuit board. Be careful with the electronics, and make sure all connections are secure. It’s a bit like working on one of my vintage clock projects, where every gear and spring has its place.
- 4. After the chassis is ready, move on to configuring the electronics. This might involve soldering some connections, uploading software to the microcontroller, or connecting sensors. Remember, the key to working with electronics is patience and attention to detail. If you’re new to soldering, it might be helpful to practice on a small project before working on your robot.
- 5. With the electronics in place, it’s time to add the power source. This could be batteries or a rechargeable pack, depending on your kit. Make sure you follow the safety guidelines provided with your kit, especially when working with power sources. I always think back to my days in the hardware store, where safety was paramount when dealing with electrical components.
- 6. Next up is programming your robot. If your kit comes with a programmable microcontroller, you’ll need to write and upload code to bring your robot to life. Don’t worry if you’re new to programming; most kits come with sample codes and tutorials to get you started. It’s a great opportunity to learn something new and see the immediate results of your work.
- 7. Finally, test your robot. This is the exciting part where you get to see all your hard work come together. Start with simple tests to ensure everything is working as expected, then gradually move on to more complex tasks. Remember, it’s okay if things don’t work perfectly at first. Troubleshooting is a big part of the DIY experience, and it’s a great way to learn and improve your project.
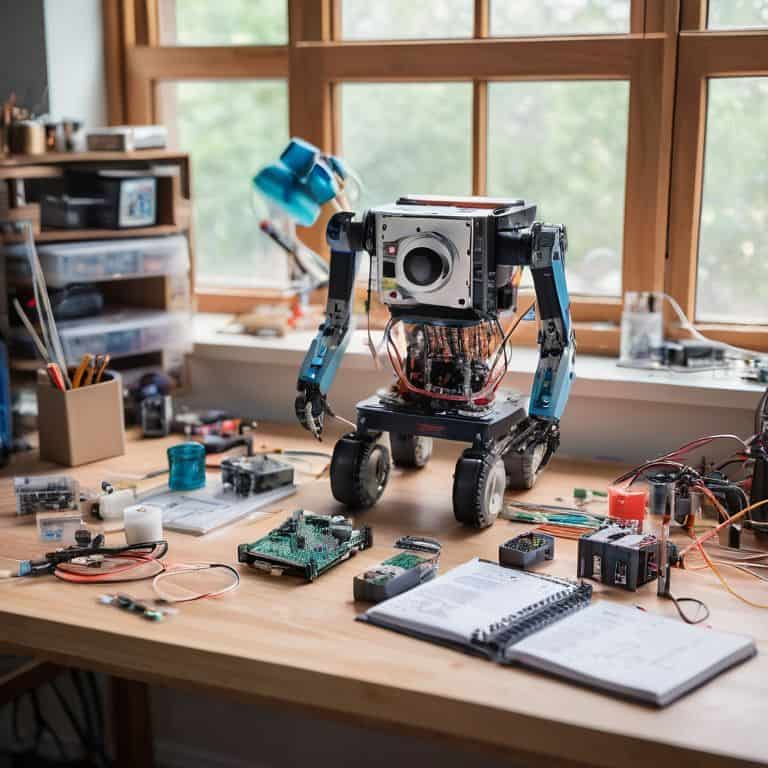
Crafting Affordable Diy Robotics Kits
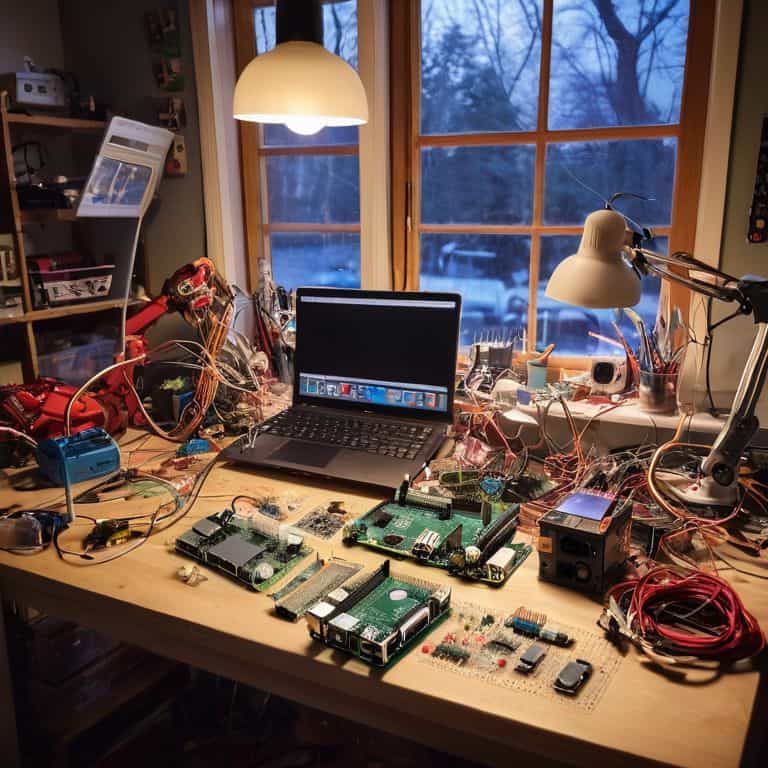
As I sit in my workshop, surrounded by the gentle tick-tock of my upcycled clocks, I find myself pondering the beauty of simplicity in robotics. Crafting DIY robotics kits on a budget requires a deep understanding of how to repurpose materials and leverage open-source platforms. I’ve found that Arduino based robotics projects can be a fantastic starting point, offering a wide range of possibilities for creative expression.
When it comes to bringing these projects to life, I always recommend exploring budget friendly robot sensors that can add a layer of interactivity without breaking the bank. By combining these sensors with a Raspberry Pi, you can create fully functional robots that can navigate and respond to their environment. This approach not only saves money but also fosters a sense of resourcefulness and ingenuity.
For those just starting out, I suggest beginning with simple robotics kits for schools, which often provide a gentle learning curve and a comprehensive introduction to the world of robotics. As you progress, you can gradually move on to more complex projects, such as building an affordable robotic arm kit. Remember, the key to success lies in experimentation and a willingness to learn from your mistakes, so don’t be afraid to try new things and push the boundaries of what’s possible.
Unveiling Raspberry Pi Robot Kits for Beginners
As I sit amidst my collection of vintage clocks, awaiting their transformation into unconventional timepieces, my mind often wanders to the realm of robotics. The Raspberry Pi, with its compact size and versatility, has become a favorite among DIY enthusiasts. I recall my first encounter with this tiny powerhouse, and how it sparked a series of inventive projects in my workshop. For beginners, Raspberry Pi robot kits offer an accessible gateway into the world of robotics, allowing them to craft and program their own creations.
With a vintage fountain pen in hand, I sketch out ideas for Raspberry Pi-based robots, envisioning the endless possibilities. These kits, often bundled with sensors, motors, and comprehensive guides, empower newcomers to bring their imaginative projects to life. As I see it, the beauty of Raspberry Pi robot kits lies not only in their affordability but also in their ability to inspire a sense of wonder and curiosity, much like the thrill of upcycling an old clock into a unique timepiece.
Whispers of Arduino Based Robotics Projects
As I delve into the world of Arduino-based robotics projects, I’m reminded of the countless hours I spent in my family’s hardware store, surrounded by scraps of wood and discarded machinery. It was there that I first discovered the magic of breathing new life into forgotten objects. With Arduino, this sense of transformation is taken to a whole new level. The open-source platform offers a versatile canvas for creators to craft innovative, interactive projects that not only showcase technical prowess but also tell a story of reuse and recycling.
I’ve always been fascinated by the potential of Arduino to turn vintage items into unconventional robots. By combining antique clocks, which I’ve always been passionate about upcycling, with Arduino’s modern technology, I’ve created unique timepieces that whisper tales of the past while embracing the future. This blend of old and new is what inspires me to continue exploring the endless possibilities of Arduino-based robotics, and I hope it will do the same for you.
Tinkering Treasures: 5 Key Tips for Bringing Affordable DIY Robotics Kits to Life
- Start with the basics: Don’t be afraid to begin with simple, Arduino-based projects that can help you build a strong foundation in robotics and programming
- Scour for scraps: Repurpose old materials from around the house or thrift stores to add a touch of nostalgia and uniqueness to your DIY robotics kits
- Join the maker community: Connect with fellow tinkerers online or at local workshops to share knowledge, resources, and inspiration for your affordable DIY robotics kits
- Get creative with code: Experiment with open-source software and programming languages like Python or C++ to breathe life into your DIY robotics projects
- Upcycle and reuse: Breathe new life into discarded items by incorporating them into your DIY robotics kits, such as using an old clock mechanism as a robotic arm or a vintage typewriter as a keyboard interface
Timeless Treasures: 3 Key Takeaways from Our DIY Robotics Journey
I’ve found that the true beauty of DIY robotics kits lies not just in their affordability, but in the stories they tell of human ingenuity and the potential for revival of forgotten technologies
Through my experiences with Arduino and Raspberry Pi based projects, I’ve come to realize that the essence of DIY robotics is not just about building something new, but about breathing life into discarded materials and ideas
Whether you’re a seasoned tinkerer or a curious beginner, I hope that our exploration of DIY robotics kits has inspired you to seek out the hidden treasures of the past, to dust them off, and to reimagine them as something entirely new and wondrous
Timeless Wisdom on DIY Robotics
As I see it, affordable DIY robotics kits are not just about assembling circuits and wires, but about weaving tales of innovation and curiosity, where the past and present converge in a beautiful dance of creativity and resourcefulness.
Joseph Goto
Embracing the Future of DIY Robotics
As I reflect on our journey through the world of affordable DIY robotics kits, I’m reminded of the endless possibilities that await us when we combine creativity with technology. From the humble beginnings of crafting with Arduino to the exciting realm of Raspberry Pi robot kits, we’ve explored a multitude of ways to bring robotics into our lives without breaking the bank. The key takeaway is that DIY robotics is not just about the kits themselves, but about the stories we tell through the process of creation and the narratives of transformation that emerge from our workshops.
As we close this chapter, I want to leave you with a final thought: the true magic of DIY robotics lies not in the kits or the technology, but in the connections we make between our past, present, and future. By embracing this intersection of nostalgia and innovation, we can inspire a new generation of makers to see the beauty in upcycling, repurposing, and reimagining the world around them. So, let’s continue to tinker, to craft, and to tell stories that bring people together, one DIY project at a time.
Frequently Asked Questions
What are some essential tools and materials needed to get started with affordable DIY robotics kits?
As I sketch out my next project with my vintage fountain pen, I’m reminded that getting started with affordable DIY robotics kits requires just a few essential tools and materials, including a soldering iron, wire strippers, and a microcontroller like Arduino or Raspberry Pi, along with some basic crafting supplies like breadboards and jumper wires.
How can I choose the right DIY robotics kit for my skill level and project goals?
When choosing a DIY robotics kit, I consider my project’s scope and my skill level. I ask myself: What story do I want to tell with this build? What challenges do I want to overcome? For beginners, I recommend starting with Arduino-based kits, while more experienced makers might enjoy the versatility of Raspberry Pi kits.
Are there any online communities or resources available for troubleshooting and sharing projects made with affordable DIY robotics kits?
I’ve found solace in online forums like Reddit’s r learnelectronics and r robotics, where makers share their projects and offer troubleshooting tips. Websites like Instructables and Hackster.io also host a wealth of DIY robotics projects and tutorials, perfect for sparking inspiration or finding help when you’re stuck.