As I sat in my workshop, surrounded by the gentle tick-tock of my upcycled vintage clocks, I couldn’t help but think about the common misconception that building a DIY Home Theater System is a daunting task, reserved for the tech-savvy. But the truth is, with a little creativity and resourcefulness, anyone can craft a unique and functional home theater system that transports them to another era. My own journey into DIY home theater systems began when I stumbled upon an old, forgotten speaker in my family’s hardware store, and I saw an opportunity to breathe new life into it.
In this article, I promise to guide you through the process of creating your own DIY Home Theater System, from conceptualization to completion. You’ll learn how to transform forgotten relics into a one-of-a-kind entertainment experience that will make your family movie nights feel like stepping into a timeless cinema. I’ll share my personal story of how I turned my grandfather’s old trunk findings into a stunning home theater system, and provide you with practical, no-hype advice on how to do the same. By the end of this journey, you’ll be equipped with the knowledge and inspiration to create a DIY home theater system that not only enhances your entertainment experience but also tells a story of its own.
Table of Contents
- Guide Overview: What You'll Need
- Step-by-Step Instructions
- Reviving Memories With Diy Home Theater System
- Timeless Tales from the Workshop: 5 Essential Tips for Your DIY Home Theater System
- Timeless Cinematic Echoes: 3 Key Takeaways
- Timeless Cinema Wisdom
- Bringing Timeless Cinemas to Life
- Frequently Asked Questions
Guide Overview: What You'll Need
Total Time: 5 hours 30 minutes
Estimated Cost: $500 – $1000
Difficulty Level: Intermediate
Tools Required
- Drill Press (for precise holes)
- Circular Saw (for cutting lumber)
- Measuring Tape (for accurate measurements)
- Level (for ensuring proper alignment)
- Pliers (for gripping small objects)
- Screwdriver Set (with flathead and Phillips head options)
Supplies & Materials
- 2-in x 4-in lumber (for building the frame)
- 3/4 inch plywood (for the shelf and mounting surfaces)
- Soundproofing Foam (for reducing echo and improving sound quality)
- Speaker Wire (for connecting speakers to the receiver)
- HDMI Cables (for connecting devices to the TV)
- Home Theater Receiver (for processing audio and video signals)
- Speakers (at least 5, including a subwoofer)
Step-by-Step Instructions
- 1. To begin crafting our DIY home theater system, I start by gathering vintage speakers from thrift stores, garage sales, or even my own attic. The hunt for these hidden gems is a significant part of the process, as each speaker tells a story and adds character to our final product. I look for speakers with unique designs or those that still have a rich, warm sound to them.
- 2. Next, I assess the condition of each speaker, checking for any damage or needed repairs. This step is crucial, as it determines which speakers can be used as is and which ones need some TLC. I’ve found that a little bit of _creative repair_ can go a long way in bringing these vintage pieces back to life.
- 3. With my speakers selected and repaired, I move on to designing the enclosure for our home theater system. This is where my background in fine arts and industrial design comes into play, as I aim to create a visually appealing and functional unit. I sketch out my ideas with my trusty vintage fountain pen, considering the space where the system will be placed and the overall aesthetic I want to achieve.
- 4. Now, it’s time to choose the right wood for our enclosure. I prefer working with reclaimed or repurposed wood, not only for its environmental benefits but also for the _unique textures and patterns_ it adds to our design. From old pallets to wooden crates, the possibilities are endless, and each piece of wood brings its own story to the table.
- 5. Once I have my wood, I begin crafting the enclosure. This involves cutting, sanding, and assembling the various components. I take my time with this process, ensuring that every joint is secure and every surface is smooth. The enclosure is more than just a housing for our speakers; it’s a piece of furniture that will be a focal point in the room.
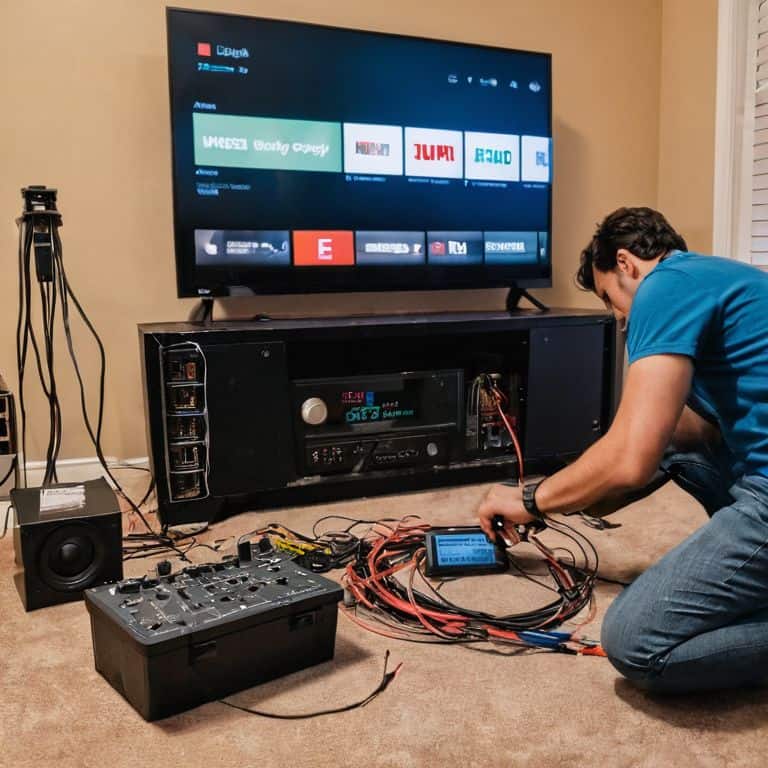
- 6. The next step is to install the speakers and wiring. This requires some patience and attention to detail, as I carefully connect each speaker and ensure that all the wiring is hidden from view. I’m aiming for a _seamless integration_ of technology and design, where the focus is on the sound and the aesthetic of the system, rather than the technical aspects.
- 7. Finally, I add the finishing touches to our DIY home theater system. This might involve applying a finish to the wood, installing any additional components like a vintage-inspired radio dial, or simply placing the system in its new home. The moment of truth comes when I turn it on for the first time, and the room is filled with the warm, rich sound of our vintage speakers, bringing a sense of timeless nostalgia to our family movie nights.
Reviving Memories With Diy Home Theater System
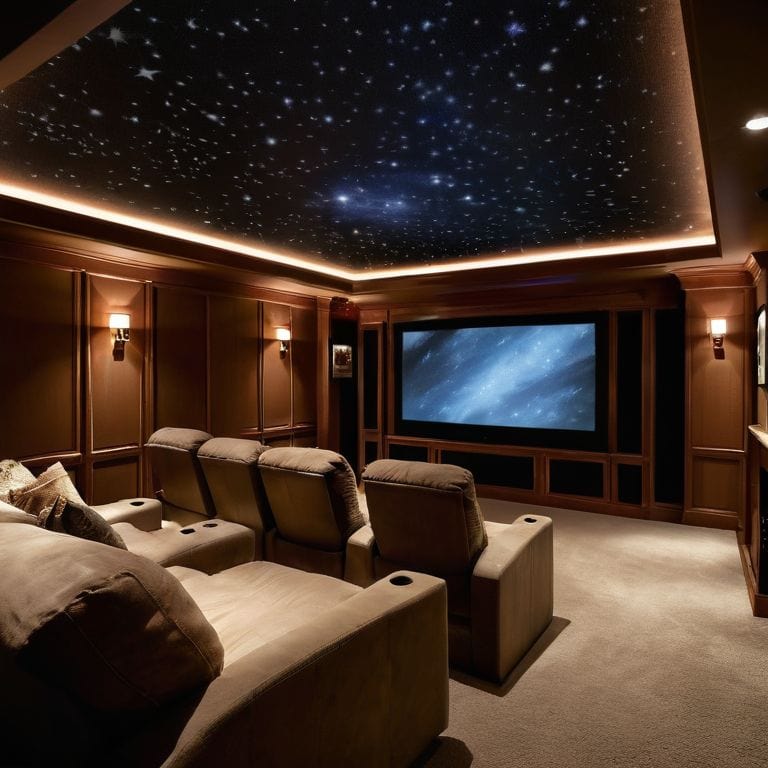
As I worked on my DIY project, I realized that soundproofing a home theater room is just as important as the equipment itself. It’s not just about blocking out external noise, but also about creating an immersive experience that transports you to another world. I used acoustic panels and soundproofing materials to minimize echo and sound leakage, making the room feel like a private cinema.
To bring my vision to life, I had to get creative with the equipment. I opted for one of the best budget home theater receivers on the market, which offered a great balance between quality and affordability. This allowed me to allocate more resources to other aspects of the project, like designing a custom diy sound bar plans that would complement the room’s aesthetic.
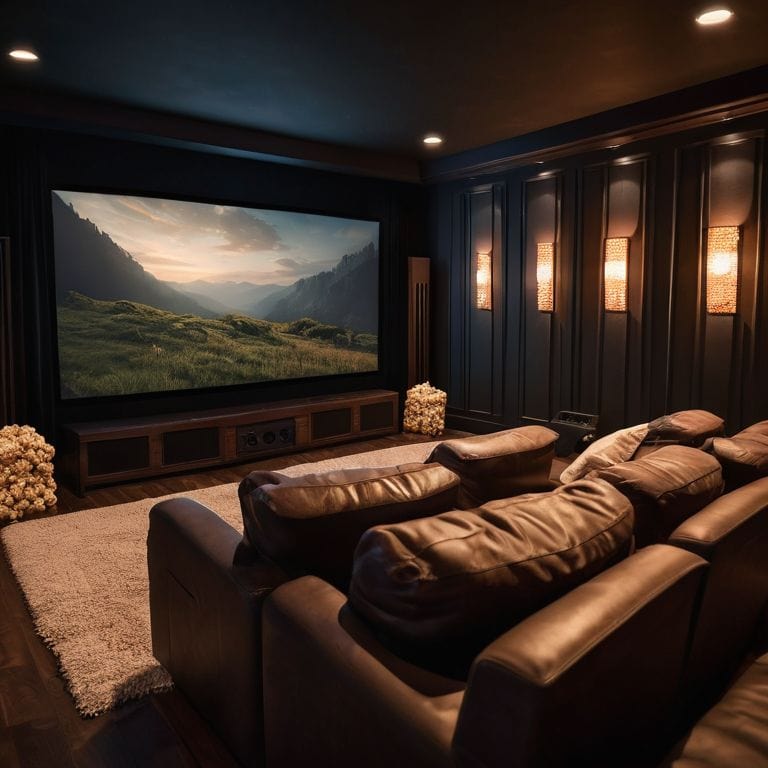
The final touch was adding comfortable home theater seating ideas that would make our family movie nights feel like a special occasion. I repurposed an old vintage couch and added some plush pillows, creating a cozy atmosphere that invites relaxation and enjoyment. With the wireless rear speaker setup in place, we can now fully immerse ourselves in our favorite films, surrounded by the warm glow of nostalgia and the thrill of modern technology.
Unraveling Best Budget Receivers for Timeless Cinemas
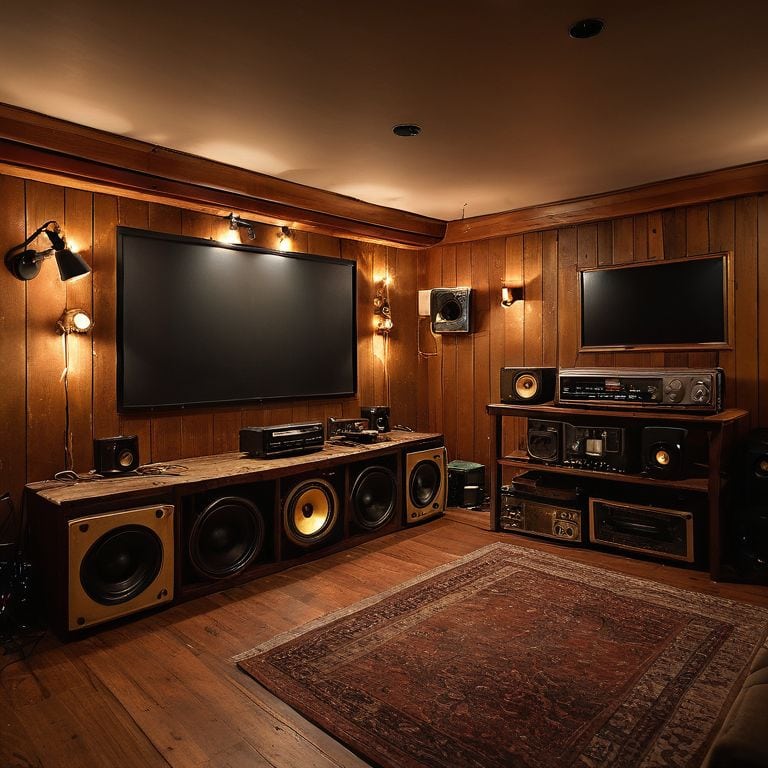
As I delved into the world of DIY home theaters, I discovered that the receiver is the heart of the system, weaving together sounds and visuals into a cohesive cinematic experience. For those on a budget, I’ve found that vintage receivers, with their rich, warm tones, can be a hidden gem. I recall finding an old Onkyo receiver in my father’s storage room, which, after a bit of tinkering, brought our DIY home theater to life with its deep, resonant sound.
When selecting a budget receiver, consider the Yamaha R-S202 or the Onkyo TX-8270. Both offer exceptional sound quality without breaking the bank, allowing you to craft a timeless cinema experience that resonates with the nostalgia of yesteryear’s movie nights.
Whispers of Soundproofing a Forgotten Art
As I delve into the world of DIY home theaters, I’m reminded of the often-overlooked art of soundproofing. It’s a detail that can make or break the immersive experience, much like the gentle tick of my vintage clocks, which I’ve learned to upcycle into unique timepieces. I recall my grandfather’s old workshop, where the creaks and groans of the wooden floor seemed to harmonize with the hum of his tools. Soundproofing, to me, is about capturing that harmony – ensuring that the sounds within our DIY theater stay within, untouched by the outside world.
With a dash of creativity, we can revive this forgotten art, using materials like vintage fabric, reclaimed wood, or even repurposed acoustic panels to create a space that whispers stories of its own. As I sketch out ideas with my trusty vintage fountain pen, I’m inspired by the potential for transformation, and the memories that await us in the whispers of soundproofing.
Timeless Tales from the Workshop: 5 Essential Tips for Your DIY Home Theater System
- Let the Story Unfold: Start by gathering vintage or repurposed materials that speak to you, such as old speakers, wooden crates, or antique radios, to create a unique narrative for your DIY home theater system
- Sketching the Past into the Present: Use a vintage fountain pen to sketch out your design ideas, allowing the fluid motion and tactile experience to connect you with the craftsmanship of the past
- Layering Sound and Memory: Consider the acoustic properties of different materials and how they can enhance or detract from your viewing experience, just as the creaks and groans of an old wooden floor can add character to a room
- The Art of Revival: Don’t be afraid to experiment and combine old and new technologies to create a truly innovative DIY home theater system that not only sounds amazing but also tells a story of transformation and nostalgia
- Illuminating the Details: Pay attention to the small things, like the warm glow of vintage bulbs or the soft sheen of restored wood, which can elevate your DIY home theater from a mere entertainment system to an immersive, cinematic experience that whispers tales of the past
Timeless Cinematic Echoes: 3 Key Takeaways
As I reflect on our DIY home theater journey, I realize that the true magic lies not just in the technology, but in the stories and memories we weave into every detail, from the vintage speaker restoration to the carefully chosen decor.
Embracing the art of soundproofing as a labor of love, rather than a chore, allows us to appreciate the nuances of sound and the immersive experience it creates, much like the intricate mechanisms of my beloved vintage clocks.
By selecting the right budget receiver and balancing it with a mix of vintage and modern components, we can achieve a harmonious blend of past and present, ensuring our DIY home theater system is not just a piece of technology, but a timeless portal to cinematic wonder and shared family moments.
Timeless Cinema Wisdom
As we weave together the threads of forgotten technology and modern ingenuity, a DIY home theater system becomes more than just a project – it’s a testament to the transformative power of nostalgia, where the echoes of the past converge with the excitement of the present to create an unforgettable cinematic experience.
Joseph Goto
Bringing Timeless Cinemas to Life
As I reflect on our journey to create a DIY home theater system, I’m reminded of the power of transformation that occurs when we breathe new life into forgotten relics. From the initial idea sparked by a vintage speaker to the meticulous process of soundproofing and selecting the best budget receivers, each step has been a testament to the beauty of revival. By embracing the stories hidden within these old materials, we’ve not only crafted a unique entertainment space but also preserved a piece of history that will continue to inspire future generations.
As we settle in for our first movie night, surrounded by the whispers of the past, I’m filled with a sense of wonder and awe. The DIY home theater system is more than just a project – it’s a bridge that connects our memories, our stories, and our imagination. So, let us continue to uncover the potential in the forgotten, to transform the old into something new, and to inspire others to do the same, for in the end, it’s not just about the destination, but about the timeless journey we embark upon together.
Frequently Asked Questions
What are some creative ways to repurpose old furniture or materials to create a unique DIY home theater system?
I love repurposing old furniture to craft unique DIY home theaters. Consider upcycling vintage trunks as speaker enclosures, transforming antique doors into projection screens, or even using reclaimed wood to build a one-of-a-kind media console. The possibilities are endless, and each piece tells a story of its own, blending nostalgia with modern entertainment.
How can I ensure that my DIY home theater system is properly soundproofed to prevent disturbing others in the household?
To ensure my DIY home theater system doesn’t disturb others, I use a combination of acoustic panels and cleverly repurposed materials like vintage doors and thick curtains to absorb sound, creating a cozy, immersive experience that’s considerate of those around me.
What are some essential components or features that I should consider including in my DIY home theater system to achieve an immersive cinematic experience?
As I sit amidst my upcycled clock creations, I ponder the essentials for an immersive DIY home theater. For me, it’s about weaving together a rich tapestry of sound and vision. Consider a high-quality projector, a robust sound system with a separate amplifier, and acoustic panels to minimize echo. These elements will transport you to a timeless cinema, where memories and magic unfold.