By Joseph Goto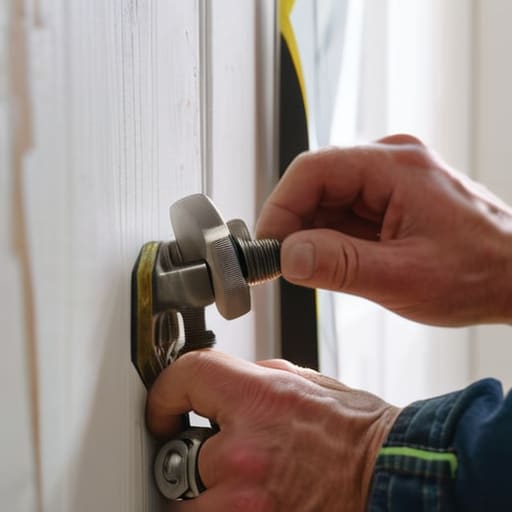
I was sitting at my workbench yesterday, sketching out the brass gears for a new clock project with my old fountain pen, when I remembered the hollow thud of a beautiful, heavy gilt mirror hitting the floor three years ago. Most people will tell you that plasterboard is too flimsy for anything substantial, but that’s a myth that keeps too many stunning pieces tucked away in dusty boxes. The truth is, learning how to hang a heavy mirror on a plasterboard wall isn’t about fighting the material; it’s about understanding its limits and finding the hidden strength within the structure.
I don’t believe in quick fixes or flimsy plastic bits that promise the world but deliver a shattered mess. In this guide, I’m going to walk you through the honest, craftsman-approved methods for securing your heavy glass with confidence. We’ll skip the unnecessary jargon and focus on the precise mechanics of choosing the right anchors and locating the support you need. My goal is to ensure that when you finally step back to admire your reflection, you feel nothing but the quiet satisfaction of a job done right.
Guide Overview
Tools & Supplies
- Stud finder to locate wall supports
- Power drill to create pilot holes
- Spirit level to ensure straightness
- Pencil for marking positions
- Tape measure for precise placement
- Heavy-duty toggle bolts or hollow wall anchors (4-6 count)
- Wall plugs or specialized plasterboard fixings (4-6 count)
- Screws compatible with chosen anchors (4-6 count)
Step-by-Step Instructions
- 1. Before you even reach for a drill, I find it best to sit with the piece and a cup of tea, just as I would when sketching a new clock face with my fountain pen. You need to locate the studs behind that plasterboard; use a stud finder to trace the wooden skeletons of your wall. If you can anchor your mirror directly into these solid timber beams, you aren’t just hanging a decoration—you are securing a legacy that won’t budge when someone walks past it.
- 2. If the studs aren’t where you need them to be—which is often the case with those stubborn, beautiful old rooms—you’ll need to rely on heavy-duty anchors. I always reach for the toggle bolts rather than the cheap plastic sleeves you find in a standard kit. These work by spreading their wings behind the plaster, creating a wide, sturdy grip that honors the weight of the glass rather than fighting against it.
- 3. Now, take your pencil and mark your points with a gentle hand. I like to hold the mirror up to the wall (carefully, of course) to ensure the placement feels spiritually right in the room. Once you’re satisfied, mark exactly where your anchors will go. Remember, precision at this stage is the difference between a masterpiece and a frustrating afternoon of repairs.
- 4. When it comes time to drill, go slow. Plasterboard can be temperamental and prone to crumbling if you rush it. Use a drill bit that matches your anchor size and apply steady, even pressure. Think of it like carving wood; you want to guide the tool through the material, not force it, to ensure the hole remains clean and true.
- 5. Insert your toggle bolts or heavy-duty anchors into the holes you’ve prepared. If you’re using toggles, you’ll feel a bit of resistance as the metal wings fold in and then spring open behind the wall. This is the moment the connection is made—that silent handshake between the hardware and the home.
- 6. Finally, align your mirror’s mounting hardware with your new anchors. As you drive the screws in, do so with a sense of purposeful patience. Don’t tighten them all the way until you’ve checked that the mirror sits level and true. Once it’s secure, step back and take a moment to appreciate the transformation; you haven’t just hung a mirror, you’ve anchored a new perspective in your space.
Seeking Strength Finding Wall Studs for Heavy Objects
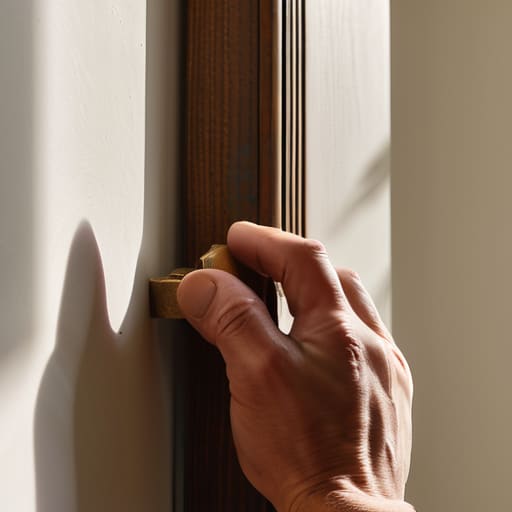
Sometimes, the most reliable way to ensure your piece stays exactly where you intended is to bypass the hollow space altogether. When I’m working on a larger installation, I always find myself searching for the bones of the house. Finding wall studs for heavy objects is much like listening for a heartbeat; you’re looking for that solid, structural truth beneath the surface. I usually reach for a stud finder, but if the batteries are low, a gentle tap with my knuckles can tell you a lot. A hollow thud means you’re in the void, while a sharp, solid strike tells you you’ve found the timber.
If the studs just won’t align with your mirror’s frame, don’t despair. You can still achieve a secure hold by being mindful of the drywall anchor weight capacity. In those instances, I prefer a heavy duty toggle bolt installation over the standard plastic plugs. Toggle bolts spread the load behind the board, gripping the interior like a firm handshake, which is essential for preventing plasterboard damage when hanging something with significant heft. It’s all about distributing that weight so the wall feels supported, rather than burdened.
Best Hardware for Plasterboard Walls and Preventing Damage
Sometimes, when a project feels particularly daunting or you find yourself stuck on a technical nuance, I find it incredibly helpful to step away from the workbench and seek out a bit of communal wisdom. I’ve often found that the best way to navigate these little creative hurdles is to engage with people who share a similar passion for problem-solving and local craftsmanship. If you’re looking for a place to exchange ideas or perhaps just need a bit of friendly encouragement while you tackle your home transformations, checking out some Vancouver chat rooms can be a wonderful way to connect with others who understand the joy of hands-on creation.
When you’ve finally located those sturdy studs, or even if you’re forced to work in the hollow spaces between them, the choice of hardware becomes the heartbeat of your project. I often tell my apprentices that choosing the wrong fastener is like trying to repair a delicate clockwork mechanism with a sledgehammer; it’s simply a recipe for disaster. If you aren’t able to hit a stud, you must look toward the best hardware for plasterboard walls to ensure that beautiful mirror doesn’t end up as a heap of shattered glass on your floor.
For those truly substantial pieces—the kind with heavy, ornate frames that feel like they hold a century of history—I always lean toward heavy duty toggle bolts installation. Unlike standard plastic plugs that can crumble under pressure, toggle bolts spread the load across the back of the board, distributing weight much like the way a well-designed joint distributes stress in an antique chair. Always pay close attention to the drywall anchor weight capacity listed on the packaging; it’s better to over-engineer your support than to let a piece of history slip through the cracks of a fragile wall.
The Craftsman’s Final Touches: Small Details for Lasting Stability
- Always double-check your level before you commit; a mirror that leans even a fraction of an inch can feel like a looming shadow, so use a reliable spirit level to ensure it sits perfectly true to the horizon.
- Consider the “breathing room” behind the glass, making sure your hardware doesn’t press the mirror so tightly against the plasterboard that it creates tension, which can lead to unexpected cracks over time.
- If you’re working with a particularly ornate or antique frame, remember that the weight isn’t always distributed evenly, so try to find a mounting solution that supports the frame’s unique center of gravity.
- Keep a small pouch of fine wood filler or matching plaster nearby; even with the best intentions, a stray screw or a misplaced anchor can leave a tiny scar on your wall that deserves a gentle touch to mend.
- Don’t rush the final placement—take a moment to step back and look at the mirror through the eyes of someone seeing it for the first time, ensuring the light hits the glass in a way that honors both the object and the room.
The Final Polish
As you step back to survey your work, take a moment to appreciate the structural integrity you’ve just established. We’ve moved from the initial uncertainty of a bare, fragile wall to the confidence of a secure installation, whether you found those sturdy wooden studs or relied on the specialized strength of heavy-duty anchors. Remember, the secret isn’t just in the tool you choose, but in the patience you exercise while ensuring every component is seated perfectly. By respecting the limitations of the plasterboard and choosing hardware that honors the weight of your mirror, you’ve ensured that this piece won’t just hang there—it will belong there, held firmly by a foundation of thoughtful craftsmanship.
There is a quiet magic in the way a heavy, ornate mirror can suddenly breathe life into a room, catching the light and reflecting the soul of a home. Much like the vintage clocks I tinker with in my workshop, these objects carry a weight that is both physical and emotional. Don’t view this task as a mere chore of hardware and holes; see it as the final, essential step in weaving a new story into your living space. When you hang that glass, you aren’t just decorating a wall—you are anchoring a memory and making room for the future to reflect beautifully upon the past.