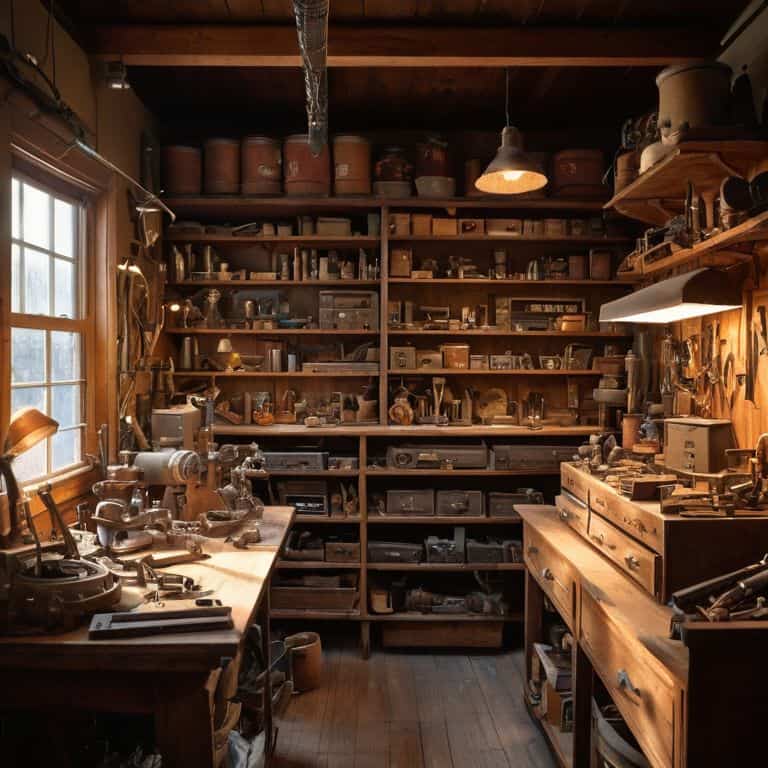
As I sat amidst the dusty shelves of my family’s old hardware store, I couldn’t help but imagine the stories these relics could tell if they were woven into a DIY Smart Home System, where vintage charm meets cutting-edge tech. The common myth that creating such a system is a daunting, expensive task has always frustrated me. In reality, with a little creativity and the right guidance, anyone can turn their home into a smart sanctuary that blends the beauty of the past with the convenience of the future.
In this article, I promise to share my honest, no-nonsense approach to building a DIY Smart Home System. I’ll take you through the process of transforming your space into a unique blend of old and new, where forgotten materials find new life. From upcycling vintage items to integrating smart technology, I’ll provide you with practical advice and real-world examples to inspire your own project. Whether you’re a seasoned DIY enthusiast or just starting out, this guide will empower you to create a smart home that reflects your personality and style, without breaking the bank or sacrificing character.
Table of Contents
Guide Overview: What You'll Need

Total Time: 4 hours 30 minutes
Estimated Cost: $100 – $300
Difficulty Level: Intermediate
Tools Required
- Raspberry Pi (for central hub)
- Wireless Router (for network connectivity)
- Smart Plug (for device control)
- Motion Sensor (for automation)
- Drill (with screwdriver bits)
- Pliers (for wire management)
- Screwdriver (flathead and Phillips)
- Measuring Tape (for running cables)
- Level (for installing devices)
- Computer (for software configuration)
Supplies & Materials
- 6 inches of 22-gauge wire (for connections)
- 1/2 inch of plywood (for mounting devices)
- Smart Home Software (for automation and control)
- Power Strip (for device power)
- Ethernet Cables (for network connections)
- Wire Nuts (for wire connections)
Step-by-Step Instructions
- 1. To begin our DIY smart home journey, start by gathering all the necessary materials, including old devices, sensors, and smart hubs that you wish to integrate into your system. I find that scouring thrift stores and garage sales for vintage items not only adds a touch of nostalgia but also helps in _upcycling_ and reducing electronic waste.
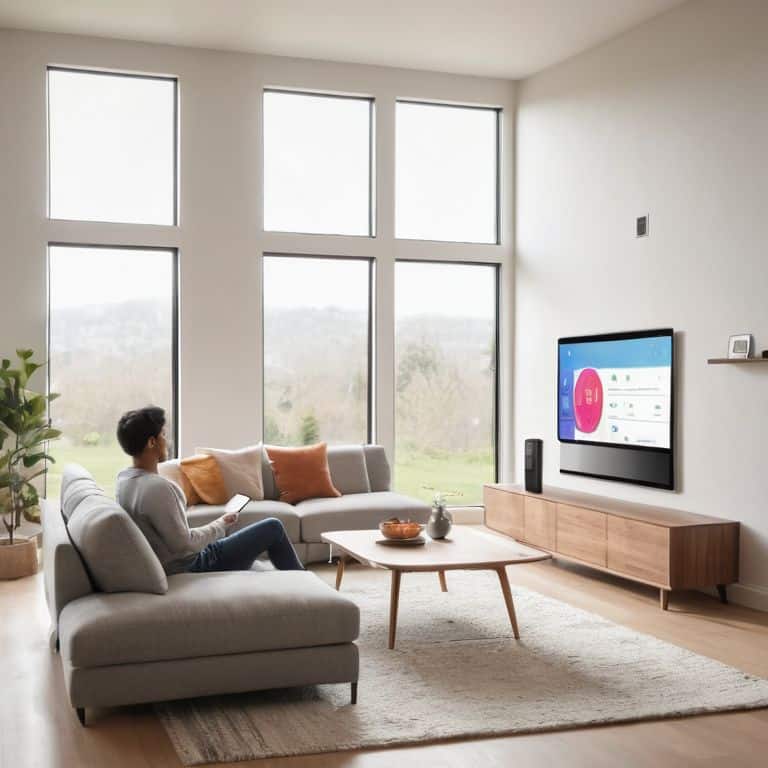
- 2. Next, take some time to _assess your space_ and determine which areas of your home you want to make smart. Consider the rooms where you spend the most time and think about what features would make your life easier, such as automated lighting or temperature control. This step is crucial in planning the layout and functionality of your DIY smart home system.
- 3. Now, let’s move on to connecting our devices. This involves setting up your smart hub and ensuring that all your devices are compatible with it. I recommend using a universal remote or a voice assistant to make the process smoother. Remember to update the software of your devices to the latest version to avoid any compatibility issues.
- 4. The fourth step involves configuring automation scenarios. Here, you’ll use the software provided with your smart hub to set up rules and scenes that automate various tasks in your home. For instance, you can create a “goodnight” scene that turns off all the lights and locks the doors with just one command. This is where you can get creative and tailor your smart home system to your lifestyle.
- 5. With the automation in place, it’s time to integrate sensors into your system. These can be motion sensors, temperature sensors, or even humidity sensors, depending on your needs. I like to think of sensors as the _eyes and ears_ of my smart home, providing real-time data that helps in making informed decisions about energy consumption and comfort.
- 6. To make your smart home system even more user-friendly, consider investing in a voice assistant or a touch-screen panel. These interfaces allow you to control your smart home with ease, even when you’re not physically present. You can also set up remote access to monitor and control your home from anywhere in the world.
- 7. Finally, test and refine your DIY smart home system. This is an ongoing process that involves monitoring the performance of your system, identifying areas for improvement, and making necessary adjustments. I find that keeping a _maintenance journal_ helps in tracking issues and planning regular updates and maintenance tasks.
Crafting Diy Smart Home System
As I delve into the world of voice controlled lighting systems, I’m reminded of the countless hours I spent in my family’s hardware store, surrounded by the gentle hum of machinery and the musty scent of aged wood. It’s here that I discovered my passion for giving old objects new life, a philosophy that now guides my approach to smart home design. By incorporating smart thermostat installation tips into my DIY projects, I’ve been able to create a seamless blend of form and function, where the past and present coexist in perfect harmony.
When it comes to home security camera reviews, I always look for devices that not only provide top-notch surveillance but also complement the aesthetic of my handmade furniture pieces. There’s something to be said about the automated blinds and shades that can be integrated into a smart home network, adding an extra layer of convenience and sophistication to any room. By carefully considering each component, I’m able to craft a space that is both functional and beautiful, a true reflection of my narrative tinkerer’s spirit.
In my experience, the key to a successful smart home setup lies in the smart home network setup, which serves as the backbone of the entire system. By taking the time to carefully plan and configure this network, I’m able to ensure that all of my diy home automation kits work together in harmony, creating a truly immersive and intuitive experience. Whether I’m working with vintage clock mechanisms or cutting-edge smart devices, my goal remains the same: to weave together a tapestry of old and new, creating a space that is at once nostalgic and innovative.
Echoes of Smart Thermostat Harmony
As I delicately wired the vintage thermostat, I envisioned it as a maestro, orchestrating a symphony of comfort and efficiency. By marrying this antique piece with modern smart technology, I aimed to create a harmonious balance between nostalgia and innovation. The gentle hum of the thermostat, now voice-controlled, whispered tales of a bygone era, while its newfound intelligence seamlessly integrated into our daily lives.
With each careful calibration, the room seemed to sigh in satisfaction, as if the very walls were embracing the fusion of past and present. This blend of old and new not only conserved energy but also wove a narrative of transformation, where the relics of yesterday became the cornerstones of a smarter, more enchanting home.
Whispers of Voice Controlled Lighting
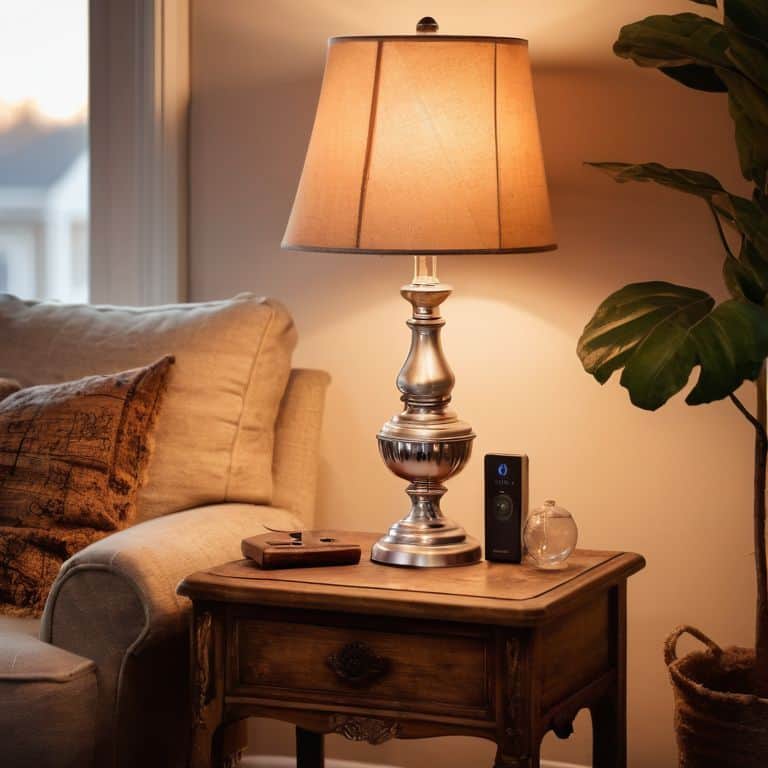
As I tinkered with the DIY smart home system, I found myself enchanted by the prospect of voice-controlled lighting. There’s something magical about uttering a phrase and watching the ambiance of a room transform. I recall my grandmother’s old lamp, with its intricate brass fixture, now revitalized with a smart bulb that dims and brightens at my command. The whispers of the past seem to linger in the soft glow, as if the lamp itself were a keeper of memories. With a few clever tweaks, I’ve managed to integrate this vintage charm into my smart home sanctuary, where the boundaries between yesterday and today blur beautifully.
In this corner of my workshop, surrounded by sketches and half-disassembled clocks, I’ve been experimenting with upcycling old fixtures to create one-of-a-kind voice-controlled lighting pieces. The process is meditative, really – sketching ideas with my trusty vintage fountain pen, then bringing them to life with a mix of modern tech and timeless craftsmanship.
Timeless Touches: 5 Tips to Infuse Your DIY Smart Home with Vintage Charm
- Start with the story: Before integrating any smart technology, take a moment to appreciate the history and potential narrative of the space you’re about to transform, just as I do when upcycling vintage clocks
- Blend the old with the new: Seamlessly merge traditional decor with modern smart devices to create a unique aesthetic that honors both past and present
- Choose materials with character: Incorporate reclaimed or repurposed materials into your DIY projects to add depth and a touch of nostalgia to your smart home
- Consider the flow of time: Design your smart home system with the passage of time in mind, ensuring that each element, from lighting to thermostats, contributes to a harmonious and efficient daily rhythm
- Leave room for serendipity: Don’t overplan – allow for unexpected discoveries and happy accidents during the DIY process, as these often lead to the most innovative and personalized smart home solutions
Timeless Takeaways from the Workshop
I’ve found that the true magic of a DIY smart home system lies not in the technology itself, but in the stories it helps to tell and the memories it assists in creating, much like the nostalgic chime of a vintage clock
By embracing the blend of old and new, we can craft smart home systems that are not only functional, but also carry the essence of our past, making our living spaces truly unique and personal
As I always say, the best DIY projects are those that start with a spark of imagination and a touch of nostalgia, so don’t be afraid to let your creativity shine and give old, forgotten items a new life in your smart home sanctuary
Reflections on Revival
As we weave the threads of yesterday’s ingenuity into the tapestry of tomorrow’s technology, a DIY smart home system becomes more than just a collection of gadgets – it’s a testament to the human spirit’s capacity to reimagine, to reinvent, and to revive the beauty in the forgotten.
Joseph Goto
Weaving the Threads of Innovation
As I reflect on our journey through crafting a DIY smart home system, I am reminded of the beauty of transformation that occurs when we breathe new life into forgotten relics. From the whispers of voice-controlled lighting to the echoes of smart thermostat harmony, each step has been a testament to the power of imagination and resourcefulness. By embracing the narrative of nostalgia, we not only create something functional and efficient but also infuse our living spaces with character and depth. This blend of vintage charm and cutting-edge technology is a true reflection of our capacity to innovate and push boundaries.
As we conclude this chapter in our DIY smart home saga, I invite you to dream big and envision the endless possibilities that await you in the realm of DIY innovation. Remember, the true magic lies not in the technology itself, but in the stories we tell through our creations. So, let us continue to tinker, to craft, and to weave the threads of innovation into the fabric of our daily lives, inspiring others to join us on this wondrous journey of discovery and transformation.
Frequently Asked Questions
What are the most essential components to consider when designing a DIY smart home system that seamlessly integrates with my existing vintage decor?
When merging old charm with new tech, I consider essential components like retrofitting vintage fixtures with smart bulbs, installing discreet voice assistants, and incorporating thermostats with antique-inspired designs to preserve the nostalgic essence of your space.
How can I ensure that my DIY smart home system is compatible with a variety of devices and platforms, from voice assistants to smart thermostats?
To ensure compatibility, I always consider the diverse devices and platforms my DIY smart home system will interact with, from voice assistants to smart thermostats. I research each device’s communication protocols and choose components that support open standards, allowing for seamless integration and a harmonious smart home ecosystem.
What are some creative ways to repurpose or upcycle old materials, such as vintage clocks or hardware, to create unique smart home features that reflect my personal style?
I love breathing new life into old treasures. For me, upcycling vintage clocks and hardware is all about merging nostalgia with innovation. Consider transforming an antique clock into a smart home hub, or repurposing vintage door handles as unique smart lighting switches – the possibilities are endless, and the stories they tell are priceless.