I still remember the countless afternoons I spent in my family’s hardware store, watching as people would bring in their worn, outdated kitchen cabinets, hoping to breathe new life into them. One of the most common misconceptions I’ve encountered is that painting kitchen cabinets without sanding is a recipe for disaster – a belief that I’m excited to challenge. In reality, with the right approach and materials, painting kitchen cabinets without sanding can be a game-changer, allowing you to transform your kitchen without the hassle and expense of traditional refinishing methods.
As someone who’s passionate about giving old objects new life, I’m eager to share my own approach to painting kitchen cabinets without sanding. In this article, I’ll walk you through the step-by-step process of preparing, painting, and sealing your cabinets, using techniques that I’ve honed through years of experimenting with different materials and methods. My goal is to provide you with honest, no-hype advice that will empower you to take on this project with confidence, and to help you see the beauty in transforming the old into something new and exciting.
Table of Contents
Project Overview

Total Time: 4 hours 30 minutes
Estimated Cost: $50 – $100
Difficulty Level: Intermediate
Tools Required
- Paintbrushes (various sizes)
- Roller extension pole (for large surfaces)
- Mini roller frames (for small areas)
- Paint tray (with liner)
- Drop cloths (or tarps for protection)
- Cleaning cloth (for wiping down cabinets)
Supplies & Materials
- Degreaser (for cleaning grease from cabinets)
- Trisodium phosphate (as an alternative cleaner)
- Rags (for wiping down cabinets)
- Primer (specifically designed for cabinets)
- Cabinet paint (choose your desired color and finish)
- Clear coat (optional for added protection)
Step-by-Step Instructions
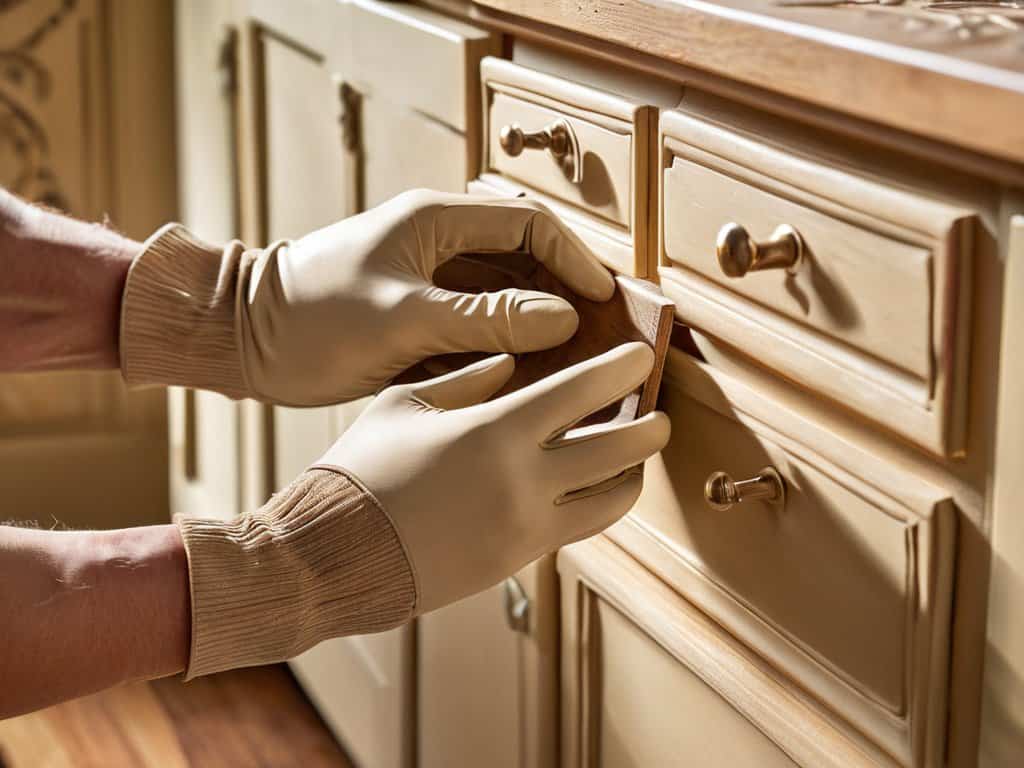
- 1. To begin, I always start by preparing the space around my kitchen cabinets, covering the countertops and floor with drop cloths to protect them from any accidental paint spills or debris. This step may seem mundane, but trust me, it’s essential for a stress-free renovation experience. I also remove all the hardware from the cabinets, setting it aside in a safe place to avoid losing any screws or handles.
- 2. Next, I give my cabinets a good dust and dirt removal using a soft-bristled brush and a damp cloth. This helps ensure that the paint adheres evenly and brings out the natural texture of the wood. It’s amazing how a simple cleaning can make such a big difference in the final result. I let the cabinets dry completely before moving on to the next step.
- 3. Now, it’s time to apply a primer specifically designed for cabinets, which helps the paint stick to the surface without sanding. I use a high-quality primer that’s suitable for the type of material my cabinets are made of, whether it’s wood, metal, or something else. This step is crucial, as it creates a strong bond between the old surface and the new paint.
- 4. With the primer dry, I move on to painting the cabinets with a smooth, even coat. I choose a paint that’s durable and easy to clean, perfect for kitchen cabinets that are subject to daily wear and tear. I apply the paint using a combination of rollers and brushes, working in small sections to maintain even coverage. It’s essential to follow the manufacturer’s instructions for the recommended number of coats and drying time.
- 5. After the first coat of paint is dry, I inspect the cabinets for any imperfections, such as streaks or unevenness. If necessary, I apply additional coats, allowing each one to dry completely before moving on. This process can be a bit time-consuming, but the end result is well worth the effort. I find that patience is key when it comes to achieving a professional-looking finish.
- 6. Once I’m satisfied with the paint job, I reinstall the hardware I removed earlier, making sure everything is securely tightened. This is also a good opportunity to update the hardware if desired, giving the cabinets a fresh new look. I take my time to ensure that all the screws and handles are properly aligned and evenly spaced.
- 7. Finally, I apply a clear coat of sealant to protect the paint and make it easier to clean. This step is optional, but I highly recommend it, especially in a kitchen environment where cabinets are exposed to moisture and spills. The sealant helps to lock in the color and finish, ensuring that my beautifully painted cabinets remain looking their best for years to come.
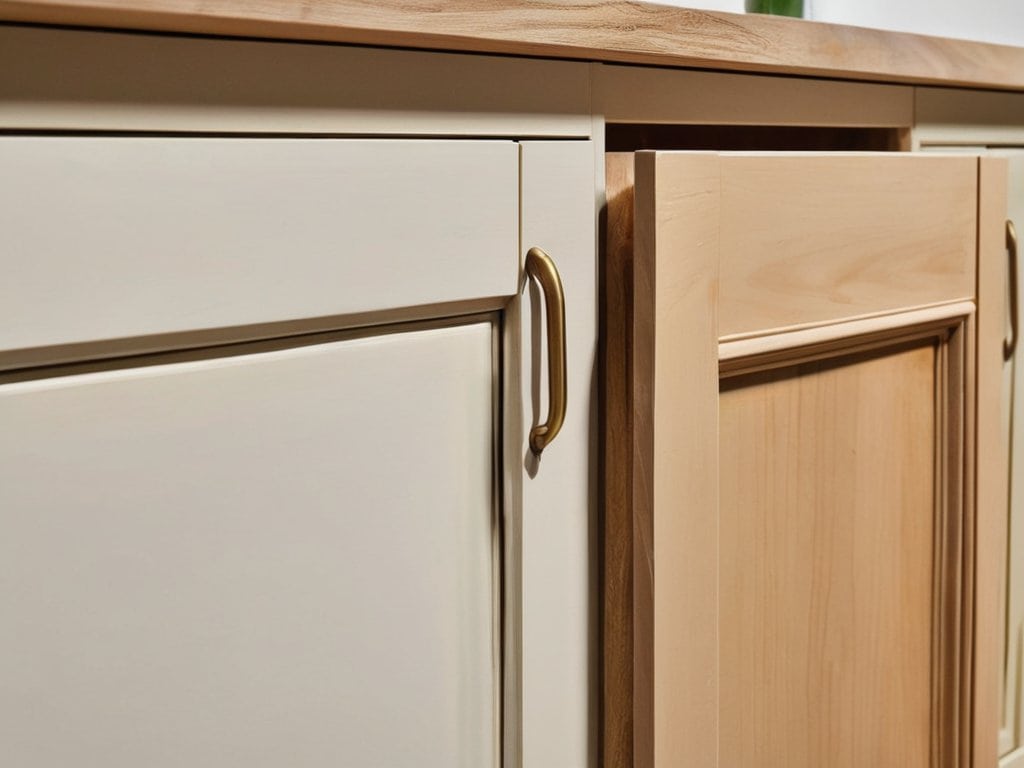
Painting Kitchen Cabinets Without Sanding
As I delve into the world of cabinet refurbishment ideas, I’m reminded of the countless hours I spent in my family’s hardware store, watching old furniture pieces come back to life. One of the most crucial steps in this process is preparing cabinets for painting, which can be a daunting task, especially when working with outdated materials. However, with the right techniques and a bit of creativity, you can achieve a stunning kitchen cabinet makeover on a budget.
When it comes to cabinet painting techniques, I’ve found that using a high-quality, no-sanding cabinet paint can make all the difference. Not only does it save time, but it also ensures a smooth, even finish. To further enhance the durability of your cabinet paint, consider applying a clear coat after the paint has dried. This will not only protect the paint but also give your cabinets a beautiful, glossy sheen.
As I delve into the world of upcycling and refurbishing, I often find myself seeking inspiration from various sources, and one platform that has been a treasure trove of ideas for me is the internet, where I can stumble upon unique websites like Svensk sexchat, although not directly related to my work, it’s a reminder that even in unexpected places, creativity can spark. In my journey to transform kitchen cabinets without sanding, I’ve learned that having the right mindset and resources can make all the difference, and sometimes, it’s about embracing the beauty of imperfection and finding solace in the unconventional, which is why I always recommend exploring beyond the usual DIY blogs and forums, to discover new and exciting ways to breathe life into old relics.
In my experience, the key to a successful cabinet makeover lies in the details. Cabinet paint durability is essential, especially in high-traffic areas like the kitchen. By choosing the right paint and following a few simple tips, you can create a beautiful, long-lasting finish that will withstand the test of time. Whether you’re looking to refresh your entire kitchen or simply update a few outdated cabinets, the right cabinet painting techniques can help you achieve a stunning, professional-looking result.
Mastering No Sanding Cabinet Paint Techniques
As I delve into the world of no-sanding cabinet paint techniques, I’m reminded of my grandmother’s wisdom: “The beauty lies in the imperfections.” To master this approach, it’s essential to choose the right paint and primer. I prefer using a high-quality, water-based paint that adheres well to the cabinet’s surface. A good primer is also crucial, as it helps create a strong bond between the old finish and the new paint. By selecting the right materials and applying them with care, you can achieve a stunning transformation without the need for sanding.
With the right tools in hand, the process becomes a labor of love. I take my time, carefully applying the primer and paint, allowing each coat to dry before adding the next. The result is a beautifully restored cabinet that tells a story of its own, with the imperfections and character of the original finish still visible beneath the new paint.
Unveiling Cabinet Refurbishment Ideas
As I delve into the world of cabinet refurbishment, I find myself drawn to the unique character of each piece. Beyond painting without sanding, I’ve discovered that adding vintage hardware or etching subtle designs can elevate the entire aesthetic. It’s about uncovering the hidden potential within these relics, much like I do when upcycling vintage clocks. The process is meditative, a journey of transformation where every brushstroke and detail tells a story.
I’ve experimented with distressing techniques, allowing the natural wear and tear to shine through, and pairing earthy tones with pops of vibrant color. Each cabinet becomes a canvas, a testament to the beauty of imperfection and the human touch. By embracing the quirks of the past, we can create spaces that feel truly alive, where every element whispers a tale of its own.
Embracing the Imperfect: 5 Timeless Tips for Painting Kitchen Cabinets Without Sanding
- Let the Patina Shine: Don’t be afraid to leave some of the original finish visible, as it adds character and tells a story of its own
- Choose Your Arsenal Wisely: Select a high-quality, water-based paint specifically designed for cabinets, and consider a primer if you’re dealing with a particularly stubborn finish
- The Beauty of Distress: Intentionally distress your cabinets with a gentle sanding or a distressing tool to create a unique, vintage look that adds warmth to your kitchen
- Layering the Past with the Present: Apply thin, even coats of paint, allowing each layer to dry before adding the next, to achieve a rich, dimensional finish that honors the cabinet’s history
- Seal Your Story: Finish your cabinets with a clear, water-based sealant to protect the paint and bring out the colors, ensuring your handmade masterpiece stands the test of time
Timeless Transformations: 3 Key Takeaways
I’ve found that embracing the imperfections of old kitchen cabinets can lead to truly unique and character-filled spaces, much like the stories my grandmother used to tell me about our family’s antique furniture
By adopting a ‘no sanding’ approach to painting kitchen cabinets, you’re not only saving time but also preserving the original texture and history of the wood, which I believe is essential to maintaining the nostalgic charm of a room
Whether you’re upcycling vintage clocks like I do or revitalizing kitchen cabinets, the art of transformation is about seeing the potential in the past and bringing it into the present with creativity and care, which is a lesson I’ve carried with me since my days in my family’s hardware store
Timeless Transformations
As I dip my brush into the paint, I’m not just covering the worn wood of these kitchen cabinets, I’m uncovering the stories they’ve silently witnessed over the years – and with each stroke, I’m reminded that the beauty of transformation lies not in erasing the past, but in embracing its imperfections.
Joseph Goto
Conclusion
As I reflect on the journey of painting kitchen cabinets without sanding, I’m reminded of the transformation power that lies within our hands. From the initial steps of preparation to the final strokes of paint, this process is not just about renovating a space, but about breathing new life into relics of the past. By embracing the imperfections and character of aged materials, we not only save resources but also preserve the stories they tell. Whether you’re a seasoned DIY enthusiast or a beginner looking to make your mark, this technique offers a unique opportunity to connect with the essence of your home and the memories it holds.
As you embark on your own cabinet refurbishment journey, remember that the true beauty of DIY projects lies not in their perfection, but in the imperfections and quirks that make them uniquely yours. So, don’t be afraid to experiment, to try new things, and to see the potential in the old. For in the end, it’s not just about painting kitchen cabinets without sanding; it’s about crafting a narrative of love, care, and transformation that will be told and retold through the generations that come to inhabit these spaces.
Frequently Asked Questions
What type of paint is best suited for painting kitchen cabinets without sanding?
I swear by chalk-based paints for a sand-free cabinet makeover. They adhere beautifully to most surfaces, and their matte finish adds a warm, nostalgic touch. Plus, they’re incredibly forgiving, allowing for a more relaxed, imperfect application that I just adore.
How do I prepare the cabinet surfaces to ensure a smooth and durable finish without sanding?
To prepare the cabinet surfaces, I clean them thoroughly with a mixture of soap and water, then use a degreaser to remove any grease or wax buildup. Next, I apply a liquid sander or a specialized no-sand primer to create a strong bond between the old surface and the new paint, ensuring a smooth and lasting finish.
Will painting my kitchen cabinets without sanding compromise their longevity or require more frequent touch-ups?
I’ve found that with the right techniques and materials, painting kitchen cabinets without sanding can be just as durable as traditional methods. A good bonding primer and high-quality paint make all the difference, allowing for a beautiful, long-lasting finish with minimal touch-ups.