As I sit amidst the whirring gears and half-disassembled robots in my workshop, I’m reminded of the countless hours I’ve spent searching for the essential tools for DIY robotics that would bring my projects to life. It’s a quest many of us embark on, driven by the desire to merge innovation with creativity. The world of DIY robotics is vast and exciting, but it can also be daunting, especially when you’re just starting out. That’s why having the right tools is not just a luxury, but a necessity.
In this list, I promise to share with you the crucial elements that have been my companions through thick and thin in the world of DIY robotics. Over the next few points, we’ll delve into the top 5 essential tools that you need to get started or take your projects to the next level. From the basics that everyone should have in their toolkit to the more specialized items that can make all the difference, I’ll guide you through the process of selecting the best DIY robotics tools for your needs. By the end of this journey, you’ll be well-equipped to tackle even the most ambitious projects with confidence and creativity.
Table of Contents
Tinkering with Precision
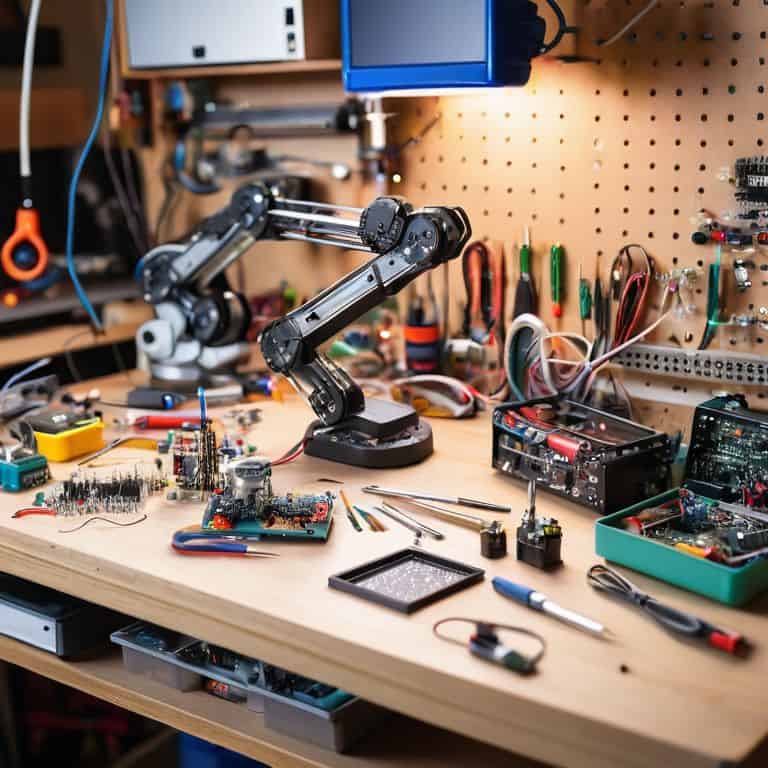
As I delve into the world of DIY robotics, I find myself reaching for my trusty calipers more often than not. These precision instruments are invaluable for measuring the smallest components, from tiny gears to circuit boards. I recall my grandfather, a skilled machinist, teaching me the importance of accurate measurements in bringing a project to life. With calipers, I can ensure that every part fits together seamlessly, much like the intricate mechanisms of my vintage clock restorations. Whether you’re a seasoned maker or just starting out, investing in a good pair of calipers will save you from the frustration of ill-fitting parts and enhance your overall crafting experience. As I work on my current project, a robotic arm, I appreciate how calipers help me navigate the fined-tuned world of robotics with confidence. By combining traditional craftsmanship with modern technology, I aim to create something truly unique, a testament to the beauty of fusion between old and new. With every measurement, I feel a sense of connection to my grandfather’s workshop, where the smell of metal and wood filled the air, and the sound of ticking clocks provided a soothing background melody.
The Pulse of Electronics
When it comes to DIY robotics, understanding electronics is paramount. A good multimeter is your gateway to diagnosing and troubleshooting the complex web of circuits and wires that bring your project to life. I’ve spent countless hours in my workshop, surrounded by vintage electronics and clock components, learning to read the signals and rhythms of the electrical world. My multimeter has become an extension of my hands, allowing me to listen to the heartbeat of my creations and make adjustments accordingly. As I work on my robotic arm, I use my multimeter to test voltage, current, and resistance, ensuring that every component is working in harmony. The process is almost meditative, as I attune myself to the electrical pulses and flows, feeling the project come alive under my fingers. With a multimeter by your side, you’ll be able to fine-tune your masterpiece, coaxing it from a collection of parts into a living, breathing entity that embodies the spirit of innovation and creativity.
Crafting with Code

In the realm of DIY robotics, programming is an essential skill that can make or break your project. I’ve found that a good code editor, like the Arduino IDE, is indispensable for bringing my robotic creations to life. As I sit at my workbench, surrounded by half-finished clock projects and scattered components, I use my code editor to write and refine the instructions that govern my robot’s behavior. The process is both challenging and exhilarating, as I navigate the world of algorithms and data structures to create a symphony of movement and action. With a good code editor, you’ll be able to streamline your workflow, writing and testing code with ease, and debugging your project with precision. As I work on my robotic arm, I appreciate how coding allows me to infuse it with a sense of purpose and personality, making it more than just a collection of parts – a true marriage of art and science. By combining traditional craftsmanship with modern programming techniques, I aim to create something truly unique, a testament to the power of fusion between old and new.
Assembling with Ease
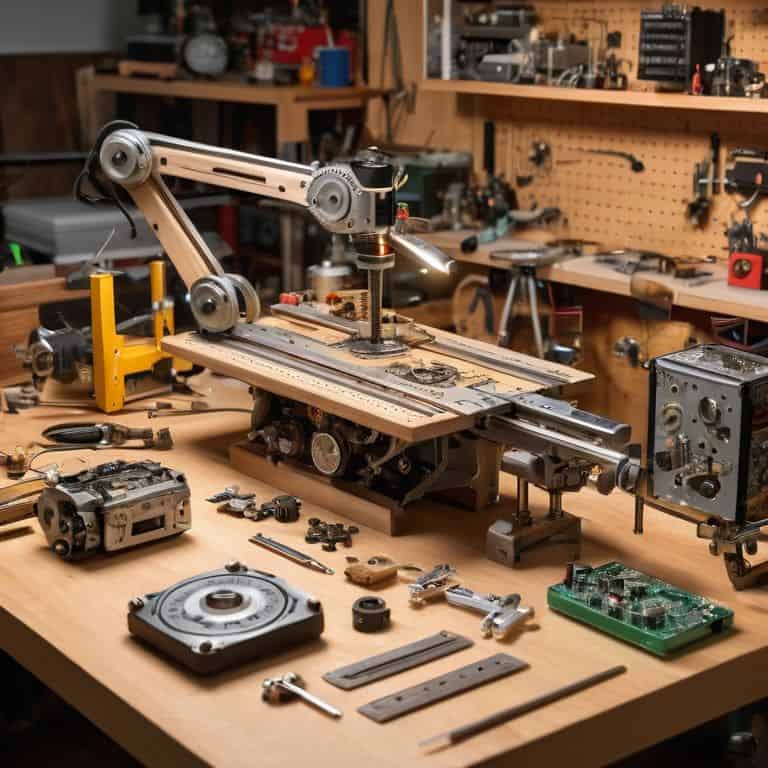
When working on DIY robotics projects, having the right tools for assembly can make all the difference. I’ve found that a good set of needle-nose pliers, wire cutters, and screwdrivers are essential for manipulating small components and bringing your project together. As I work on my robotic arm, I use these tools to carefully assemble and disassemble parts, making adjustments and tweaks along the way. The process is almost therapeutic, as I focus on the tiny details that can make or break a project. With the right tools, you’ll be able to work with precision, avoiding the frustration of stripped screws or damaged components. As I sit at my workbench, surrounded by vintage clock parts and scattered tools, I feel a sense of connection to my grandfather’s workshop, where the smell of metal and wood filled the air, and the sound of ticking clocks provided a soothing background melody. By combining traditional craftsmanship with modern assembly techniques, I aim to create something truly unique, a testament to the beauty of precision in DIY robotics.
Illuminating the Path
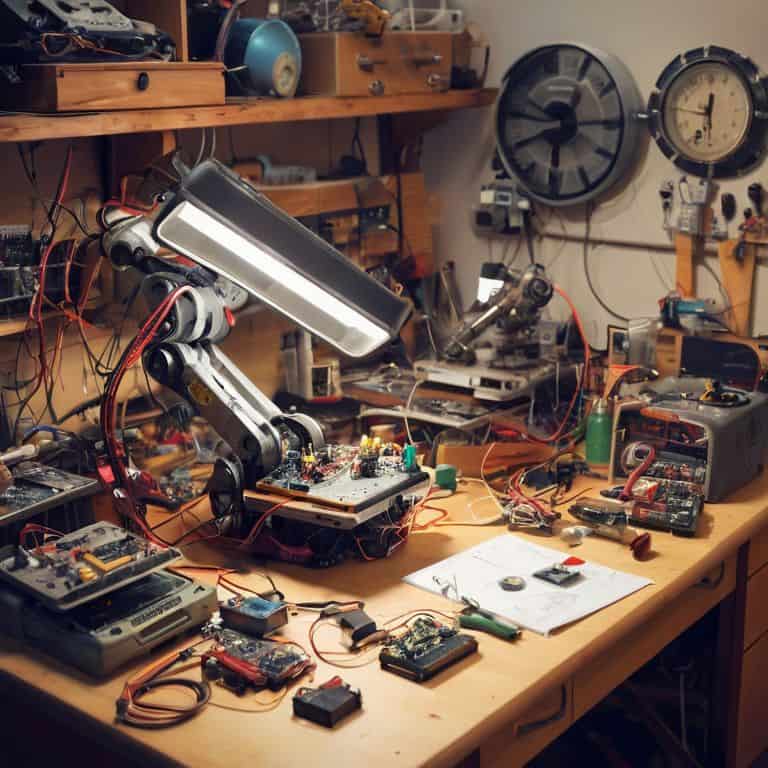
In the world of DIY robotics, good lighting is often overlooked, but it’s a crucial element that can make or break your project. I’ve found that a good work light, like a LED lamp, is invaluable for illuminating your work area, reducing eye strain, and enhancing your overall productivity. As I work on my robotic arm, I use my work light to flood my workbench with a warm, gentle glow, allowing me to see even the smallest details with clarity. The process is almost meditative, as I focus on the intricate dance of components and wires, feeling the project come alive under my fingers. With good lighting, you’ll be able to work with confidence, avoiding the frustration of missed connections or misplaced parts. As I sit at my workbench, surrounded by vintage clock components and scattered tools, I feel a sense of connection to my grandfather’s workshop, where the smell of metal and wood filled the air, and the sound of ticking clocks provided a soothing background melody. By combining traditional craftsmanship with modern lighting techniques, I aim to create something truly unique, a testament to the power of illumination in DIY robotics, and the beauty of creativity that it inspires.
Timeless Takeaways from My Workshop
As I reflect on my journey with DIY robotics, I’ve come to realize that the right tools are merely the catalysts for a world of creativity and innovation – it’s the stories we tell with them that truly bring our projects to life
Embracing the beauty of imperfection, whether in the scratches on a well-loved workbench or the quirks of a vintage component, is essential to crafting unique and character-filled DIY robotics projects that whisper tales of their own
By merging the nostalgia of forgotten materials with the excitement of modern technology, we can create something not just functional, but profoundly personal – a testament to the power of human imagination and the indelible mark we leave on the things we create
A Timeless Truth for Tinkerers
The right tools are not just extensions of our hands, but bridges between our imagination and the stories we craft from scraps and circuits – for in the beauty of DIY robotics lies a timeless dance between the past, the present, and the infinite possibilities of what’s yet to be made.
Joseph Goto
Embracing the Beauty of DIY Robotics
As I reflect on the essential tools for DIY robotics that I’ve shared with you, I’m reminded of the transformative power of creativity and innovation. From the basics of breadboards and jumper wires to the more advanced tools like robotic arms and microcontrollers, each item has the potential to unlock new possibilities and bring your projects to life. By embracing the DIY spirit, you’re not only learning new skills but also becoming part of a community that values experimentation, perseverance, and collaboration.
As you embark on your own DIY robotics journey, I want to leave you with a final thought: the true magic happens not just in the tools you use, but in the stories you tell through your creations. Whether you’re building a robot that helps with daily chores or designing a piece of art that interacts with its environment, remember that every project is an opportunity to weave a narrative that inspires, educates, or simply brings joy to others. So, don’t be afraid to dream big, tinker often, and share your creations with the world – for in doing so, you’ll not only be pushing the boundaries of what’s possible but also igniting a sense of wonder in all those around you.
Frequently Asked Questions
What are some creative ways to repurpose old or discarded materials in DIY robotics projects?
I love breathing new life into discarded treasures. In my workshop, oldCDs become robot eyes, vintage clock gears turn into mechanical limbs, and reclaimed wood transforms into robotic bases. The key is to see beyond the original purpose and imagine the story you want to tell with each material.
How do I choose the right type of motor or actuator for my DIY robotics build?
When selecting a motor or actuator, I consider the project’s weight, movement, and desired precision. For delicate tasks, I opt for stepper motors, while DC motors suit heavier loads. Linear actuators are perfect for straightforward motions, and servo motors offer flexibility. I sketch out scenarios with my vintage fountain pen to visualize the best fit.
Are there any essential safety precautions or considerations I should keep in mind when working with electronics and robotics?
As I work on my DIY robotics projects, I always remind myself to handle electronics with care, keeping loose clothing tied back and avoiding overreach. Proper grounding and insulated tools are also must-haves to prevent shocks. My grandmother’s wise words echo in my mind: “a safe workspace is a creative haven.