By Joseph Goto
As I sat amidst the dusty relics of my family’s old hardware store, I stumbled upon a tattered mirror that sparked an idea – what if I could breathe new life into it by turning it into a DIY Smart Mirror, blending the nostalgia of the past with the innovation of today? The concept of a smart mirror, often perceived as a futuristic and complex project, can be daunting, but I’ve found that with the right approach, it can be a fun and rewarding DIY endeavor. My experience with upcycling vintage clocks has taught me that the true beauty lies not in the technology itself, but in the story it tells when combined with the elegance of a bygone era.
In this article, I promise to guide you through the process of creating your own DIY Smart Mirror, sharing practical advice and honest insights gained from my own experiments. You’ll learn how to transform an old mirror into a functional and unique piece of home decor, complete with a touchscreen display and LED lights. I’ll walk you through the steps, from planning and designing to the final assembly, ensuring that you have all the necessary tools and knowledge to bring your project to life. By the end of this journey, you’ll have a one-of-a-kind smart mirror that not only reflects your image but also tells a story of innovation and nostalgia.
Table of Contents
- Guide Overview: What You'll Need
- Step-by-Step Instructions
- Crafting Diy Smart Mirror
- Bringing Timeless Elegance to Life: 5 Key Tips for Your DIY Smart Mirror
- Timeless Reflections: 3 Key Takeaways from My DIY Smart Mirror Journey
- Reflections of Innovation
- Reflecting on a Job Well Done
- Frequently Asked Questions
Guide Overview: What You'll Need
Total Time: 4 hours 30 minutes
Estimated Cost: $150 – $300
Difficulty Level: Intermediate
Tools Required
- Utility Knife (with extra blades)
- Drill Press (for precise drilling)
- Jigsaw (for cutting curves)
- Soldering Iron (for electronic connections)
- Measuring Tape (for accurate measurements)
- Level (for ensuring the mirror is straight)
- Pencil (for marking cuts and holes)
- Rasp (for smoothing edges)
- Wire Strippers (for stripping insulation from wires)
Supplies & Materials
- 2-in x 4-in lumber (for the frame)
- Plexiglass (for the mirror’s protective cover, 12 inches by 12 inches)
- Two-Way Mirror Glass (for the smart mirror’s display, 12 inches by 12 inches)
- Raspberry Pi (for the brain of the operation)
- MicroSD Card (for storing the operating system and apps, 8 gigabytes)
- Power Supply (for powering the Raspberry Pi)
- LED Lights (for ambient lighting, 6 inches long)
- Electrical Wire (for connecting components, 10 feet long)
- Wood Glue (for assembling the frame)
- Hinges (for attaching the frame to the wall, 2 inches long)
- Mounting Screws (for securing the mirror to the wall, 1 inch long)
Step-by-Step Instructions
- 1. To begin, I gather all the necessary materials, including the vintage mirror I found, a two-way mirror or glass, a display screen, a computer or smart device, and various tools like drills, saws, and sandpaper. I lay them out in my workshop, imagining how they will come together to create this unique piece.
- 2. Next, I carefully clean and prepare the vintage mirror, removing any dirt, grime, or old adhesive that might be stuck to it. I use a gentle glass cleaner and a soft cloth to avoid scratching the surface, taking my time to ensure it’s spotless and ready for the next steps.
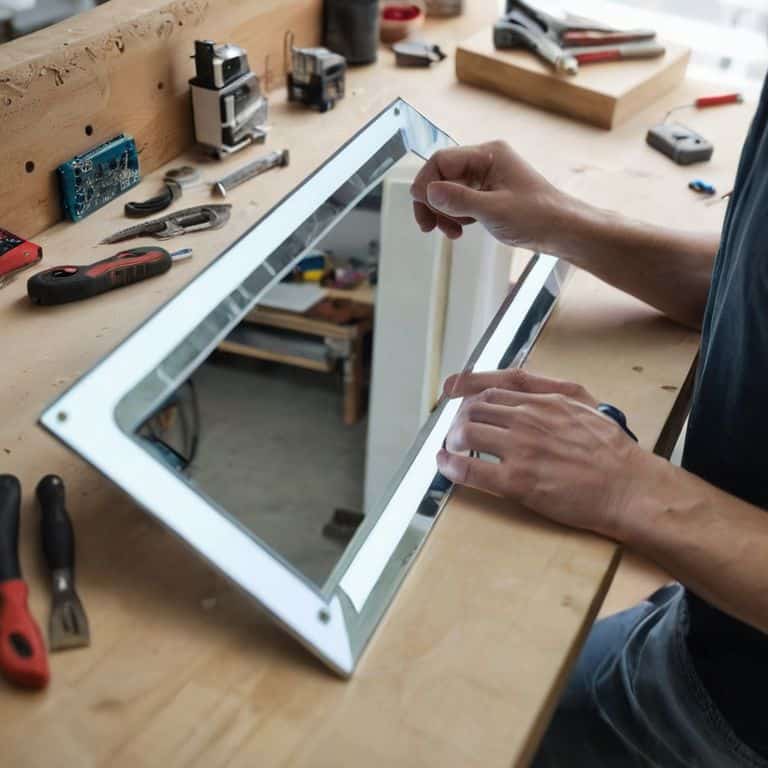
- 3. I then measure and cut the two-way mirror or glass to fit over the vintage mirror, creating a sleek and modern overlay. This step requires precision, so I double-check my measurements to ensure a perfect fit, using my trusty vintage tape measure for an added touch of nostalgia.
- 4. With the glass cut to size, I proceed to assemble the smart components, which include installing the display screen, connecting it to the computer or smart device, and configuring the software. This is the part where the project starts to feel like a fusion of old and new, as the vintage mirror begins to take on a futuristic persona.
- 5. To mount the display screen behind the two-way glass, I use a combination of brackets, screws, and adhesive, making sure it’s securely fastened and evenly aligned. I take a step back to admire my work, envisioning how the soft glow of the screen will enhance the overall ambiance of the room.
- 6. The next step involves adding any additional features, such as touch screen capabilities, voice command integration, or even a frame made from reclaimed wood to enhance the vintage appeal. I experiment with different designs, sketching out ideas with my vintage fountain pen, until I find the perfect blend of functionality and aesthetic appeal.
- 7. Finally, I bring everything together, carefully placing the two-way glass over the display screen and attaching it to the vintage mirror frame. I plug in the device, and with a thrill of excitement, I watch as my DIY smart mirror comes to life, its timeless elegance and modern convenience ready to be enjoyed.
Crafting Diy Smart Mirror
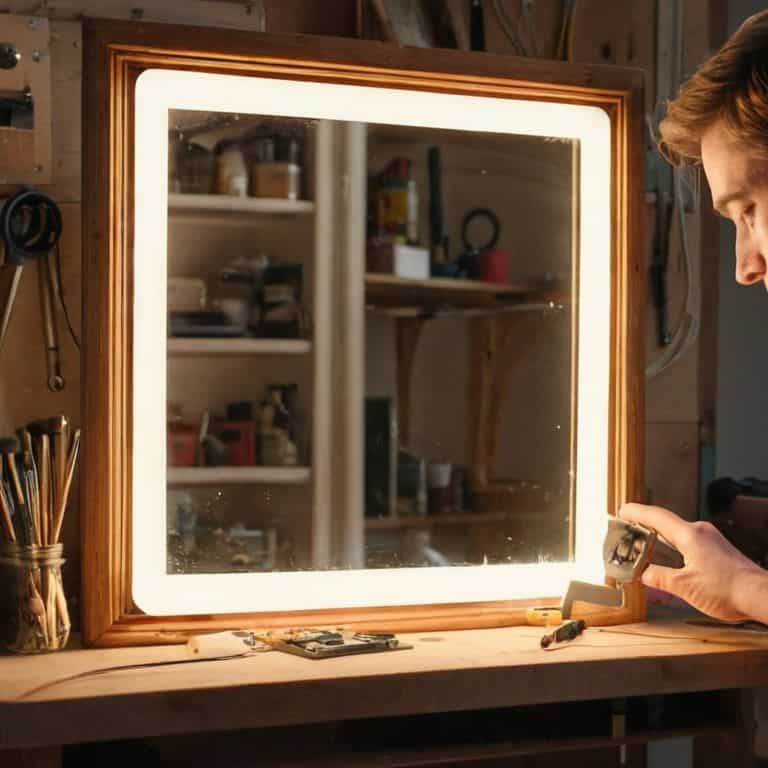
As I delve into the world of mirror display technology, I’m constantly fascinated by the possibilities it holds for transforming ordinary objects into extraordinary pieces. My experience with upcycling vintage clocks has taught me the value of patience and attention to detail, skills that serve me well in crafting unique and functional pieces like my smart mirror. The process of combining traditional materials with modern innovations, such as smart glass innovations, not only challenges my creativity but also allows me to tell a story through each piece.
When it comes to designing the interface, I prefer a more subtle approach, often opting for a voice controlled mirror that seamlessly integrates into the home’s ambiance. This choice reflects my belief in creating pieces that are not only aesthetically pleasing but also intuitive to use. The goal is to enhance the user’s experience without overwhelming them with complexity, much like the elegance of a well-designed led mirror lighting design.
In the context of home automation integration, my smart mirror projects become even more intriguing. By incorporating features that can be controlled remotely or programmed to respond to specific commands, I’m able to bridge the gap between the physical and digital worlds. This fusion of old and new, of traditional craftsmanship and modern technology, is at the heart of my creative process, and it’s what makes each piece truly one-of-a-kind, with a touchscreen mirror interface that’s both functional and beautiful.
Reviving Vintage Charm With Smart Glass
As I worked on integrating the smart glass into my DIY mirror, I couldn’t help but feel a sense of nostalgia wash over me. The way the vintage frame seemed to come alive with the modern technology was nothing short of magical. I carefully applied the smart glass, making sure to preserve the integrity of the original piece. The result was a beautiful blend of old and new, where the elegance of the past met the innovation of the present.
With the smart glass in place, my DIY smart mirror began to take on a life of its own. The subtle glow of the LED lights, the responsiveness of the touchscreen display – it all seemed to harmonize with the vintage charm of the frame. I stepped back to admire my handiwork, feeling a deep sense of satisfaction at having created something truly unique. The smart glass had not only added functionality but had also enhanced the nostalgic appeal of the mirror, making it a true showpiece for any room.
Voice Controlled Mirror for Home Automation
As I delved deeper into the world of smart mirrors, I became fascinated with the idea of integrating voice control into my DIY project. I envisioned a seamless experience where I could simply speak to my mirror, and it would respond by adjusting the lighting, displaying the weather, or even playing my favorite tunes. To bring this vision to life, I incorporated a voice assistant module into my design, carefully calibrating it to respond to a wide range of commands. The result was nothing short of magical – a mirror that not only reflected my physical appearance but also understood my voice, blurring the lines between the physical and digital worlds.
With this voice-controlled mirror, I could effortlessly control other smart devices in my home, creating a harmonious ecosystem of automation and convenience. The nostalgic charm of the vintage mirror now coexisted with the cutting-edge technology of voice control, a perfect blend of past and present.
Bringing Timeless Elegance to Life: 5 Key Tips for Your DIY Smart Mirror
- Illustrate Your Vision: Before diving into the project, sketch out your ideas with a vintage fountain pen – it’s amazing how this simple step can connect you to the craftsmanship of the past and guide your creative process
- Select Materials with a Story: Choose vintage or reclaimed materials that whisper tales of their own, blending them seamlessly with modern smart technologies to create a unique narrative
- Experiment with Smart Glass: Don’t be afraid to push boundaries by incorporating smart glass into your design, allowing you to toggle between a regular mirror and an interactive display with just a touch
- Voice Control for Effortless Interaction: Integrate voice-controlled features to make your smart mirror a hub for home automation, effortlessly adjusting lighting, temperature, or playing your favorite tunes
- Preserve the Past, Innovate the Future: As you work on your DIY smart mirror, remember that the true beauty lies not just in its functionality, but in the story it tells – of transformation, of nostalgia, and of the human touch that brings inanimate objects to life
Timeless Reflections: 3 Key Takeaways from My DIY Smart Mirror Journey
I discovered that blending vintage materials with modern technology can result in a uniquely elegant piece that not only serves as a functional mirror but also as a storytelling piece in my home
By repurposing an old mirror and integrating it with smart glass and voice control features, I learned that DIY projects can be both a tribute to the past and a step into the future, allowing us to appreciate the beauty of nostalgia in our daily lives
Through this project, I realized that the true essence of DIY lies not just in the creation of something new, but in the story it tells and the connections it makes between generations, encouraging others to explore their own creative narratives through upcycling and repurposing forgotten treasures
Reflections of Innovation
In the dance between nostalgia and innovation, a DIY smart mirror becomes more than just a piece of home decor – it’s a testament to our ability to breathe new life into the past, creating a future where tradition and technology entwine in perfect harmony.
Joseph Goto
Reflecting on a Job Well Done
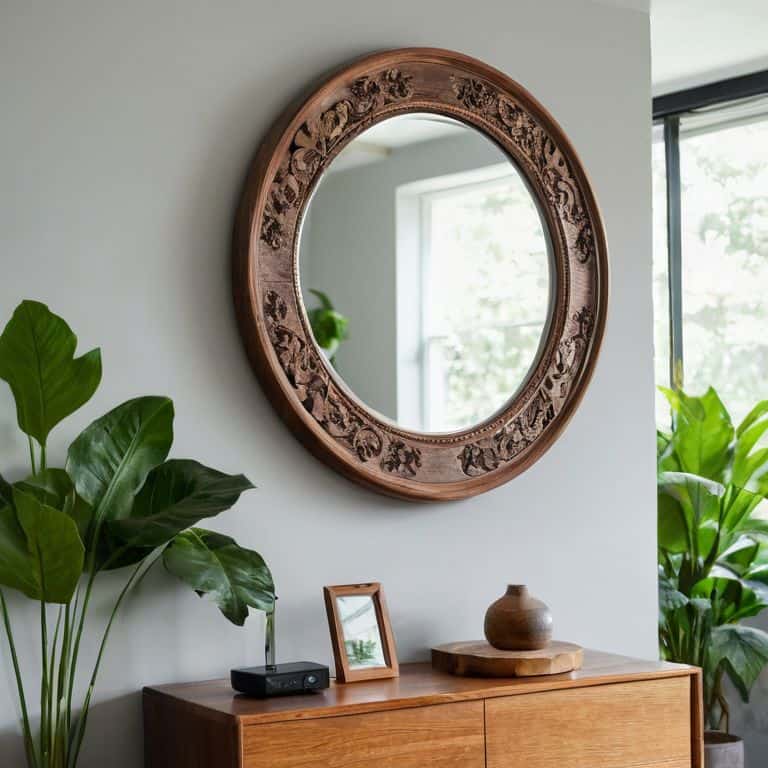
As I look back on the journey of creating my DIY smart mirror, I’m reminded of the importance of patience and the value of blending old with new. From the initial concept to the final touches, this project has been a labor of love, combining vintage charm with modern technology to create a truly unique piece. The process of reviving vintage charm with smart glass and integrating voice control for home automation has not only upgraded my home decor but also told a story of transformation and innovation. It’s a testament to the power of DIY projects to breathe new life into forgotten items and to inspire others to see the potential in upcycling and repurposing.
As I finish this project, I’m left with a sense of pride and accomplishment, knowing that I’ve created something that not only serves a purpose but also tells a story. The DIY smart mirror is more than just a functional piece of decor; it’s a reflection of my passion for bridging the gap between past and present. I hope that my story inspires you to embark on your own creative journey, to explore the world of DIY with an open mind and a willingness to experiment, and to find the beauty in turning the old into something intriguingly new.
Frequently Asked Questions
What are the essential materials and tools required to start a DIY smart mirror project?
To start, I gather my essentials: a vintage mirror, a smart glass panel, LED lights, a touchscreen display, a microcontroller, and some clever wiring. My trusty toolbox is also by my side, filled with favorites like my grandfather’s old screwdrivers and, of course, my vintage fountain pen for sketching out ideas.
How can I ensure a seamless integration of modern smart technology with the vintage aesthetic of my mirror?
To blend modern tech with vintage charm, I consider the mirror’s era and style, then subtly integrate smart features, like hidden sensors or discreetly embedded LEDs, allowing the original aesthetic to shine through while still providing innovative functionality.
What are some creative ways to customize my DIY smart mirror, such as adding voice control or LED lighting, to make it a unique piece of home decor?
To add a touch of personality to my DIY smart mirror, I love experimenting with LED lighting effects and voice control integration, blending nostalgia with modern convenience. I’ve also tried etching vintage-inspired designs onto the glass for a unique, storytelling element that sets my mirror apart as a true reflection of my artisan style.