As I sat amidst the scattered parts of my latest project, a drone frame waiting to be assembled, I couldn’t help but feel a sense of nostalgia wash over me. It reminded me of afternoons spent in my family’s old hardware store, where I’d watch my grandmother’s hands move deftly as she’d assemble peculiar contraptions. Now, it’s my turn to bring this drone to life, and I’m excited to guide you through the process of how to assemble drone frame. I’ve often found that the most daunting part of a project is getting started, and that’s why I want to share my approach with you.
In this article, I promise to provide you with honest and practical advice on assembling your drone frame, without any overly complicated jargon or unnecessary steps. You’ll learn how to transform a collection of parts into a fully functional drone, and I’ll share some of my own tips and tricks for making the process smoother. By the end of this guide, you’ll be confident in your ability to assemble drone frame and take to the skies, with a sense of pride and accomplishment that comes from creating something with your own hands.
Table of Contents
- Guide Overview: What You'll Need
- Step-by-Step Instructions
- Assemble Drone Frame
- Timeless Tips for Assembling a Drone Frame: A Narrative Tinkerer's Guide
- Timeless Takeaways for the Modern Drone Enthusiast
- Reflections on Drone Frame Assembly
- Reflections on Reviving Relics of the Sky
- Frequently Asked Questions
Guide Overview: What You'll Need
Total Time: 2 hours 30 minutes
Estimated Cost: $50 – $100
Difficulty Level: Intermediate
Tools Required
- Allen Wrench for tightening frame bolts
- Pliers for gripping small parts
- Screwdriver for securing motors and electronics
- Tape Measure for verifying frame dimensions
- Level for ensuring frame is properly aligned
Supplies & Materials
- Carbon Fiber Frame Kit including all necessary parts and hardware
- Motor Mounts 4-6 mounts depending on drone configuration
- Electronic Speed Controllers one for each motor
- Flight Controller compatible with chosen frame and motors
- Power Distribution Board for managing power to components
Step-by-Step Instructions
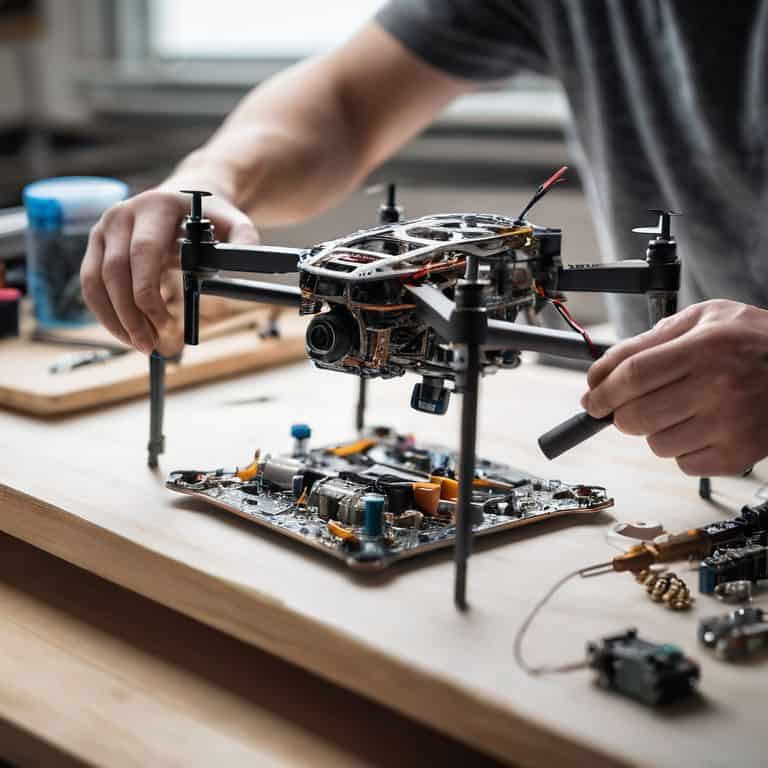
- 1. First, I like to start by unpacking the drone frame kit and laying out all the components on a large, flat surface, much like my grandmother used to do with her eccentric art projects. This gives me a chance to familiarize myself with each piece and plan out the assembly process. As I sort through the parts, I’m reminded of the countless afternoons I spent in my family’s hardware store, watching customers bring in their own projects and sharing stories of creation and ingenuity.
- 2. Next, I carefully read through the manufacturer’s instructions, not just to understand the technical aspects of the assembly, but also to imagine the possibilities of customization and personalization that can make this drone frame truly unique. My mind begins to wander, thinking about how I can incorporate vintage elements or unconventional materials to give the drone a character that reflects my own narrative tinkerer spirit.
- 3. With my plan in place, I move on to assembling the main frame, carefully matching the parts according to the instructions and using the provided tools to secure them together. This part of the process is almost meditative, requiring patience and attention to detail, much like the meticulous work of upcycling vintage clocks into unconventional timepieces.
- 4. The fourth step involves installing the motor mounts, which requires a bit of precision to ensure they are securely attached and evenly spaced. I take my time, double-checking each mount before moving on to the next, remembering the advice my grandmother once gave me: “The beauty of a piece lies not just in its function, but in the story of its creation.
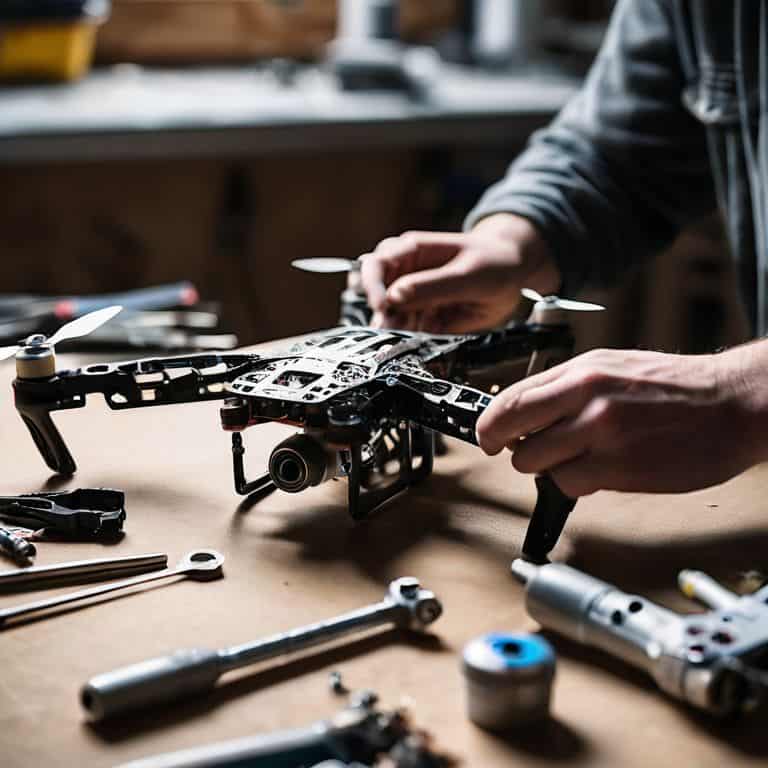
- 5. Once the motor mounts are in place, I proceed to connect the wiring, a step that demands careful attention to avoid any shorts or misconnections. I work methodically, using my knowledge of DIY electronics to troubleshoot any potential issues before they become major problems, much like the problem-solving that occurs when repurposing old clock mechanisms.
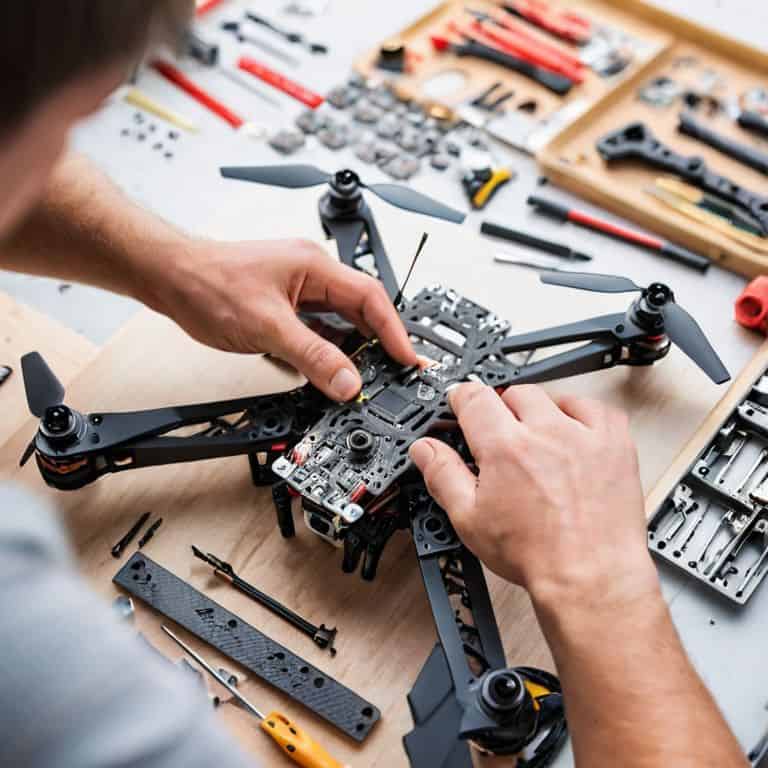
- 6. With the electrical components in order, I then focus on adding the propellers, making sure they are properly secured to the motors and balanced for smooth operation. This step always brings me a sense of excitement, as it’s one of the final stages before the drone is ready to take to the skies, its completion a testament to the transformation of raw materials into a flying work of art.
- 7. Finally, I conduct a series of tests to ensure that all systems are functioning as they should, from the motors to the control system. This is the moment of truth, where all the hard work and attention to detail come together, and I get to see my narrative of creation take flight, quite literally, as the drone buzzes to life under my fingers.
Assemble Drone Frame
As I delve into the world of drone craftsmanship, I’m reminded of my grandmother’s wise words: “The devil is in the details, Joseph.” When it comes to custom drone design tips, it’s essential to consider the type of materials used for the frame. A drone frame materials comparison can help you decide between aluminum, carbon fiber, or wood, each with its unique characteristics and advantages.
In my experience, beginner friendly drone kits often come with pre-assembled frames, but where’s the fun in that? I prefer to start from scratch, using a variety of drone assembly tools to bring my vision to life. A well-stocked toolbox is essential for any drone enthusiast, and I always make sure to have a list of necessary tools handy.
To achieve optimal performance, it’s crucial to focus on tips for drone weight reduction. By using lightweight materials and minimizing unnecessary components, you can significantly improve your drone’s agility and flight time. Additionally, drone frame reinforcement techniques can help ensure your drone’s structural integrity, allowing you to push its limits with confidence.
Custom Drone Design Tips for Beginners
As I delve into the world of drone design, I’m reminded of my grandmother’s wisdom: “The beauty lies not in the parts, but in how they’re woven together.” For beginners, I recommend experimenting with unconventional materials, like reclaimed wood or vintage metal, to give your drone a unique character. This approach not only reduces waste but also infuses your project with a story, much like my upcycled clock creations.
When designing your drone’s frame, consider the narrative you want it to tell. Think about the era it should evoke, the environment it will inhabit, and the purpose it will serve. By embracing this storytelling approach, you’ll find that your design decisions become more intentional, and your drone begins to take on a life of its own.
Drone Frame Materials Comparison Guide
As I delve into the world of drone frame assembly, I find myself pondering the plethora of materials at our disposal. From sleek, modern carbon fiber to sturdy, reliable aluminum, each option tells a unique story of innovation and craftsmanship. I recall my grandmother’s words, “The right material can make all the difference in bringing a project to life.” With this in mind, I’ve come to appreciate the distinct characteristics of each material, weighing their strengths and weaknesses to create a drone frame that not only soars through the skies but also reflects the beauty of its construction.
In my workshop, I’ve experimented with various materials, noting the subtle nuances that set them apart. For instance, the rustic charm of wooden frames, crafted from reclaimed timber, adds a touch of warmth to an otherwise sleek, high-tech device. Meanwhile, durable plastics and 3D-printed components offer a fascinating blend of modernity and versatility. By understanding and comparing these materials, we can unlock new possibilities for our drone designs, marrying form and function in a celebration of creativity and ingenuity.
Timeless Tips for Assembling a Drone Frame: A Narrative Tinkerer's Guide
- Embrace the story of each component: As I sit amidst the scattered parts, I reminisce about the afternoons spent in my family’s old hardware store, where my grandmother’s hands would move deftly, assembling peculiar contraptions – now, it’s my turn to bring this drone frame to life, infusing it with a narrative of transformation and nostalgia
- Choose materials that whisper tales of the past: I find myself drawn to weathered woods, rusty metals, and vintage plastics, for they hold the essence of forgotten eras, waiting to be revived and woven into the fabric of my drone’s frame
- Design with the wind in mind: As a narrative tinkerer, I’m inspired by the gentle breeze that sweeps through the trees outside my workshop, reminding me to craft a drone that not only soars through the skies but also tells a story of harmony with nature
- Illuminate your creation: With a dash of inventive nostalgia, I adore adding vintage-inspired lighting to my drone’s frame, casting a warm, ethereal glow that beckons the observer to step into the tale of its assembly
- Let your drone frame be a reflection of your own story: As I assemble the final pieces, I realize that this drone is not just a machine, but a testament to the beauty of upcycling, a narrative of my own journey as a craftsman, and a symbol of the magic that happens when the past and present converge
Timeless Takeaways for the Modern Drone Enthusiast
As I reflect on our journey to assemble a drone frame, I’m reminded that the true beauty lies not just in the finished product, but in the stories of transformation that each component tells – a testament to the power of nostalgia and creativity in DIY projects.
Embracing the art of upcycling and repurposing materials, as I do with vintage clocks, can add a unique layer of depth and character to your drone’s design, making it truly one-of-a-kind and a reflection of your personal narrative.
Whether you’re a seasoned maker or just starting out, the process of crafting something with your own hands – be it a drone frame or a timepiece – is a journey of discovery, one that invites you to slow down, appreciate the details, and find inspiration in the intersection of past and present.
Reflections on Drone Frame Assembly
As we assemble the drone frame, we’re not just building a machine, we’re bridging the gap between innovation and nostalgia, where the relics of the past meet the possibilities of the future.
Joseph Goto
Reflections on Reviving Relics of the Sky
As I reflect on our journey to assemble a drone frame, I’m reminded of the importance of attention to detail and the value of customization. From choosing the right materials to adding those personal touches, every step is an opportunity to tell a story. Whether you’re a seasoned maker or just starting out, the process of bringing a drone frame to life is a testament to the power of human ingenuity and the beauty of upcycling. As someone who’s passionate about giving old objects new life, I’ve found that the lessons learned from this project can be applied to a wide range of DIY endeavors, from restoring vintage clocks to crafting unique pieces of furniture.
As you conclude your own drone frame assembly project, I hope you’ll take a step back to admire not just the physical creation, but the narrative of transformation that it represents. Remember, the true magic lies not just in the end result, but in the journey itself, the stories that emerge from the process, and the connections we make between the past, present, and future. So, go ahead, take to the skies, and let your drone be a symbol of the infinite possibilities that arise when creativity meets curiosity.
Frequently Asked Questions
What are the most essential tools I need to assemble a drone frame?
As I delve into assembling a drone frame, I find myself reaching for a few trusted companions: my grandfather’s old wrench, a set of Allen keys, and a reliable screwdriver. These, along with some sturdy wire cutters and a drill press, form the foundation of my toolkit, each one a bridge between the past and the innovative world of drones.
How do I ensure the drone frame is properly balanced and aerodynamic?
To ensure balance and aerodynamics, I carefully weigh and position each component, considering the drone’s center of gravity. I also test different configurations, making adjustments until it flies smoothly, much like fine-tuning the intricate mechanisms of my vintage clock upcycling projects.
Can I use recycled or repurposed materials to create a unique and sustainable drone frame?
I love that idea. As someone who upcycles vintage clocks, I’m all about giving old materials new life. For a drone frame, consider repurposing carbon fiber tubes, reclaimed wood, or even 3D printing with recycled plastics. The key is to balance creativity with durability and aerodynamics, ensuring your eco-friendly design still flies smoothly.