By Joseph Goto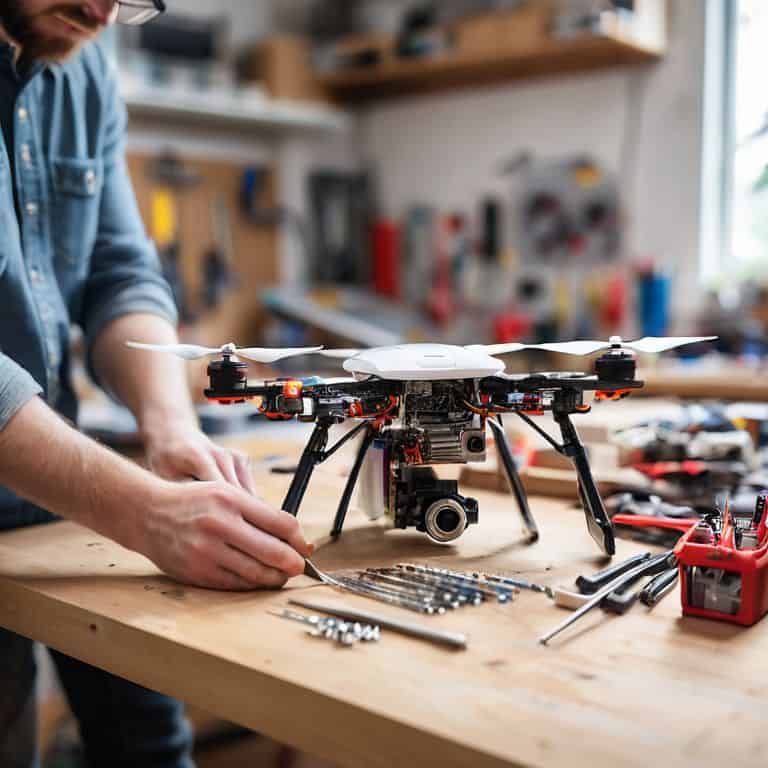
As I sat amidst the scattered gears and wires in my workshop, I couldn’t help but feel a thrill of excitement – DIY Drone Building is a journey that’s as much about discovery as it is about creation. I’ve often found that the most misguided notion about DIY projects is that they’re only for the tech-savvy or the mechanically inclined. But the truth is, with the right guidance and a willingness to learn, anyone can breathe new life into discarded parts and turn them into something truly remarkable.
In this article, I promise to share with you my hands-on experience and practical advice on DIY Drone Building, gleaned from countless hours of tinkering and experimenting. You’ll learn how to navigate the complexities of drone design, from selecting the right components to assembling and testing your very own DIY drone. My goal is to empower you with the knowledge and confidence to turn your ideas into reality, and to inspire you to see the beauty in transforming old, forgotten materials into something truly innovative. Whether you’re a seasoned maker or just starting out, I invite you to join me on this journey of discovery and creation, as we explore the fascinating world of DIY Drone Building together.
Table of Contents
Guide Overview: What You'll Need
Total Time: 5 hours 30 minutes
Estimated Cost: $200 – $500
Difficulty Level: Intermediate / Hard
Tools Required
- Soldering Iron (with temperature control)
- Wire Cutters (for cutting wires to size)
- Pliers (for gripping small parts)
- Drill Press (for precise drilling)
- Utility Knife (with extra blades)
Supplies & Materials
- Carbon Fiber Frame (available in various sizes)
- Brushless Motors (4-6 motors depending on design)
- Electronic Speed Controllers (4-6 controllers depending on design)
- Flight Control Board (with GPS and accelerometer)
- Battery (high-capacity lithium polymer)
- Power Distribution Board (for efficient power management)
- Wire (in various colors and gauges)
- Heat Shrink Tubing (for insulation and protection)
- 6 inches aluminum tubing (for frame reinforcement)
Step-by-Step Instructions
- 1. To begin our DIY drone building journey, let’s start with the framework of our drone. This involves gathering the basic structure components such as the drone’s body, which can be made from a variety of materials including carbon fiber, aluminum, or even 3D printed plastics. I find that using a combination of these materials not only adds strength but also a unique aesthetic to our project. As I sit here with my vintage fountain pen, sketching out the design, I’m reminded of the importance of precision in this initial stage.
- 2. Next, we’ll move on to selecting and installing the motors. This step is crucial as it determines the drone’s maneuverability and overall performance. When choosing motors, consider the size and weight of your drone, as well as the type of flying you plan to do. For instance, if you’re aiming for fast-paced aerial stunts, you’ll need more powerful motors. I recall my grandmother once telling me that the devil is in the details, and this couldn’t be more true when it comes to motor selection and installation.
- 3. With our motors in place, it’s time to think about propulsion. The propellers are what will give our drone the lift and thrust it needs to soar through the skies. When selecting propellers, consider the material—they can be made from plastic, carbon fiber, or even wooden blades for a more vintage look. The size and pitch of the propellers are also critical and must be matched appropriately with the motors for efficient flight.
- 4. The electronic speed controllers (ESCs) are the next component to install. These tiny devices are responsible for regulating the speed of our motors, ensuring they run smoothly and efficiently. It’s a bit like the rhythm section of a band, keeping everything in harmony. When installing ESCs, make sure to follow the manufacturer’s instructions carefully to avoid any short circuits.
- 5. Now, let’s talk about the brain of our operation—the flight controller. This sophisticated piece of technology is what will make our drone responsive to commands, stabilizing its flight and allowing for smooth navigation. Choosing the right flight controller can be overwhelming with all the options available, but look for one that supports the features you want, such as GPS navigation or altitude hold.
- 6. With our electronics in place, it’s time to consider safety features. One of the most important safety features to implement is a reliable battery monitoring system. This system will alert you when your drone’s battery is running low, preventing unexpected crashes and minimizing risks. I always say, a good DIY project is not just about creating something new, but also about ensuring it’s safe for use.
- 7. Finally, before our maiden flight, let’s not forget about regulatory compliance. Depending on where you live, there may be specific rules regarding drone flying, such as no-fly zones, maximum altitudes, and requirements for pilot registration. It’s our responsibility as drone enthusiasts to be aware of and adhere to these regulations, promoting a culture of safety within our community. This final step may not be the most glamorous, but it’s a crucial part of being a responsible DIY drone builder.
Crafting Skies
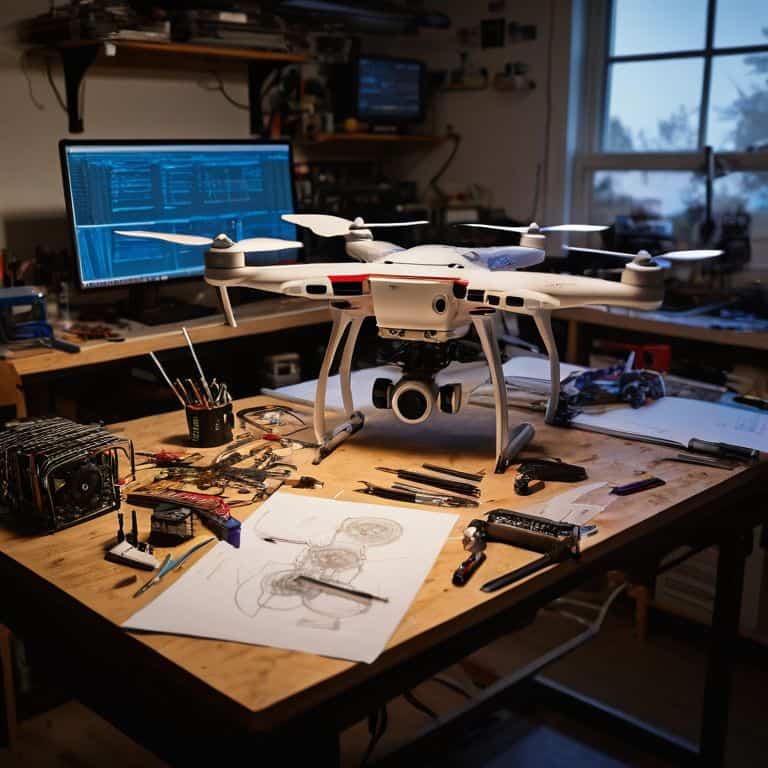
As I delve into the world of crafting skies, I find myself drawn to the nuances of custom drone design software. This tool has been a game-changer in my workshop, allowing me to bring my most ambitious projects to life with precision and ease. With it, I can meticulously plan and simulate the performance of my drone, ensuring that every component works in harmony to create a truly unique flying experience.
When it comes to the physical aspects of building a drone from scratch, drone frame materials comparison is crucial. I’ve experimented with various materials, from carbon fiber to aluminum, each offering its own set of advantages and challenges. Understanding the strengths and weaknesses of these materials has allowed me to make informed decisions, resulting in drones that are not only durable but also remarkably agile.
In the pursuit of optimizing my drone’s performance, I’ve also become fascinated with drone battery life optimization. By carefully selecting the best motors for DIY drones and fine-tuning my FPV system installation, I’ve managed to squeeze out every last bit of efficiency from my designs. This attention to detail has not only improved the overall flying experience but has also inspired me to push the boundaries of what’s possible in the world of DIY drone building.
Reviving Flight With Best Motors
As I delve into the world of DIY drone building, I find myself enchanted by the hum of well-crafted motors. To me, these aren’t just components; they’re the heartbeat of our creations, the pulse that brings our designs to life. When selecting the best motors for our project, it’s essential to consider factors such as durability, efficiency, and compatibility. I recall a particularly memorable upcycling project where I transformed an old clock’s mechanical components into a unique drone part, blending the past with the present in a beautiful dance of innovation and nostalgia.
With the right motors, our DIY drones can soar to new heights, their flight a testament to the magic that happens when human ingenuity meets technological advancements. I’ve seen it time and again – a well-designed drone, powered by meticulously chosen motors, can evoke a sense of wonder and awe in all who witness its graceful movements. As I sit here, surrounded by sketches and half-built projects, my vintage fountain pen lying beside me, I am reminded of the profound impact that thoughtful design and quality components can have on our creations.
Whispers of Custom Drone Design
As I delve deeper into the world of DIY drone design, I find myself enchanted by the endless possibilities of customization. It’s akin to upcycling vintage clocks, where each component tells a story of its own. In drone crafting, every detail, from the frame’s shape to the propellers’ hum, contributes to a unique narrative. I recall my grandmother’s wise words: “The beauty lies not in the object itself, but in the story it tells.” With each custom design, I aim to weave a tale that transcends mere functionality, inviting the user to become a part of the drone’s history.
In this realm of bespoke drone creation, I’m drawn to experimentation, much like when I’m sketching ideas with my vintage fountain pen. The flow of ink on paper mirrors the flow of innovation in my workshop. As I explore novel materials and designs, the boundaries between past and present blur, giving rise to truly one-of-a-kind flying wonders.
Tuning the Craft: 5 Essential Tips for DIY Drone Building
- Embrace the Story in Every Scrap: Before you begin, consider the narrative behind each component – where it came from, what it was used for, and how it can be repurposed to tell a new story in the sky
- Listen to the Whispers of the Workshop: Pay attention to the smallest details, like the hum of a motor or the creak of a wooden frame, as these can inspire unique design elements or solutions
- Bridge the Gap with Vintage Ingenuity: Incorporate elements from older technologies or designs into your drone, not just for aesthetic appeal, but to leverage the wisdom and craftsmanship of the past
- Experiment with Unconventional Materials: Don’t be afraid to try new and unusual materials for your drone’s body or components, as this can lead to innovative designs and functionalities
- Craft with Intent, Fly with Passion: Remember that every DIY project is a journey, and the process of building is just as important as the final product – so enjoy the ride, learn from your mistakes, and let your creativity soar
Timeless Tales from the Workshop: 3 Key Takeaways
As I reflect on our DIY drone building journey, I realize that the true magic lies not in the final product, but in the stories of transformation that unfold during the process – a testament to the power of human ingenuity and creativity.
Through the lens of upcycling and repurposing, we can breathe new life into forgotten materials, giving them a voice in the narratives of our modern world, and inspiring others to see the beauty in the discarded and the overlooked.
Whether you’re a seasoned tinkerer or a curious beginner, the art of DIY drone design offers a unique opportunity to weave together threads of innovation, nostalgia, and self-expression, crafting not just a machine, but a tangible manifestation of your imagination and skill.
Echoes from the Workshop
As we breathe life into discarded parts and forge them into DIY drones, we’re not just building machines – we’re crafting stories of transformation, where the past converges with the future in the skies of our imagination.
Joseph Goto
Embracing the Art of DIY Drone Building
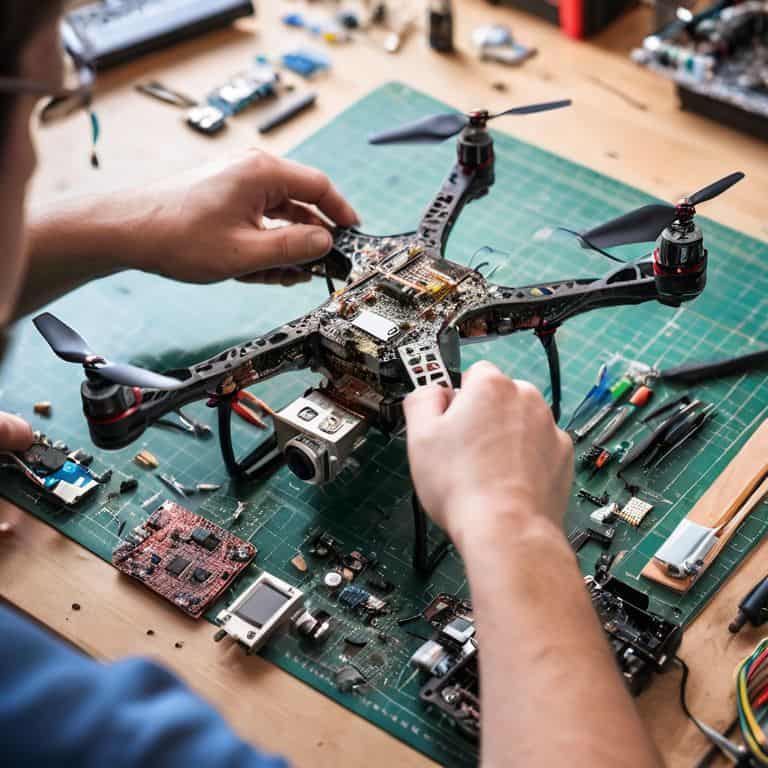
As I reflect on our journey through the world of DIY drone building, it’s clear that the process is just as fascinating as the end result. From the initial steps of gathering materials to the final touches of customization, each phase presents an opportunity to learn, adapt, and innovate. The craft of drone design is not just about following a set of instructions; it’s about understanding the nuances of aerodynamics, the capabilities of different materials, and the limitless possibilities of creative experimentation. By embracing this mindset, we not only build drones but also cultivate a deeper appreciation for the intersection of technology and art.
As we conclude this chapter in our DIY drone building saga, I encourage you to view your creations not just as machines, but as testaments to human ingenuity. The thrill of flight is undeniable, but it’s the journey – the trials, the errors, the moments of brilliance – that truly define our experience. So, let us continue to push the boundaries of what is possible, to innovate with passion, and to never forget the simple joy of watching our creations soar into the skies, carrying with them the stories of our imagination and craftsmanship.
Frequently Asked Questions
What are the essential tools and materials needed to start a DIY drone building project?
As I gather my thoughts on essential tools and materials, my mind wanders to the vintage fountain pen I use to sketch out ideas. For a DIY drone project, you’ll need a solid foundation: a workshop with basic hand tools, soldering iron, wire strippers, and a reliable power source. Materials-wise, think lightweight frames, motors, propellers, and a reliable flight controller – the building blocks of innovation.
How do I ensure the stability and safety of my DIY drone during flight?
To ensure stability and safety, I always prioritize thorough testing and calibration of my DIY drone’s components, paying special attention to the balance of its frame and the responsiveness of its controls, just as I do when fine-tuning the mechanisms of my vintage clock upcycling projects.
What are some creative ways to customize my DIY drone's design and features?
As I tinker with my DIY drone, I love experimenting with vintage camera housings, reclaimed wood accents, and even upcycled clock parts to give it a unique character. Adding a personal touch, like a handmade paint job or a custom 3D-printed propeller, can also make your drone truly one-of-a-kind.