By Joseph Goto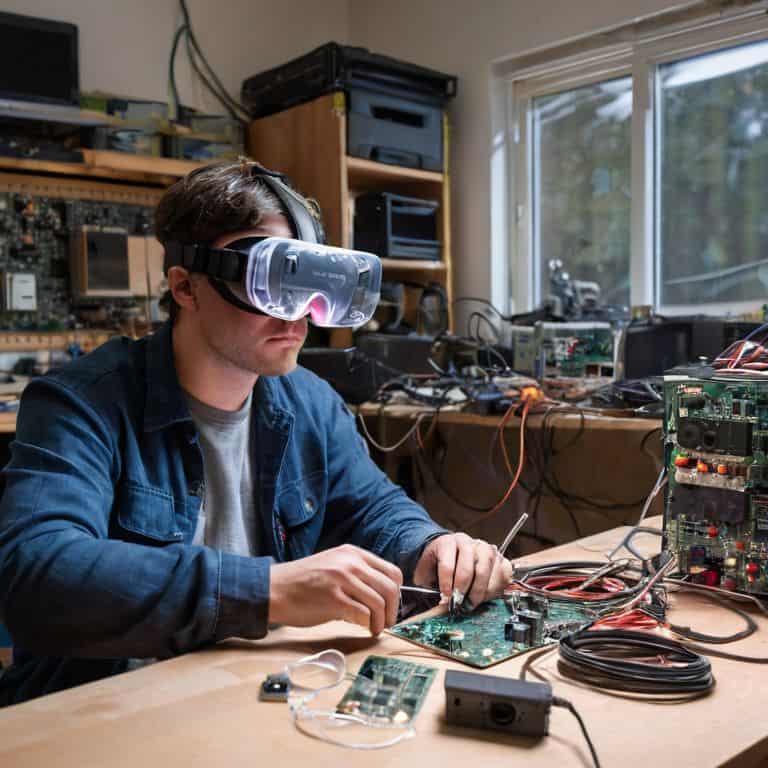
As I sat amidst the dusty shelves of my family’s old hardware store, surrounded by the remnants of a bygone era, I couldn’t help but wonder – what if we could breathe new life into these relics, harnessing them to craft our own DIY Virtual Reality worlds? The notion that virtual reality is solely the realm of cutting-edge technology and hefty price tags is a myth that has always frustrated me. In reality, with a little creativity and resourcefulness, anyone can dive into the world of DIY Virtual Reality and start creating their own immersive experiences.
In this article, I promise to guide you through the process of crafting your own virtual reality time machine from forgotten relics. You’ll learn how to transform old materials into something entirely new, and how to navigate the basics of DIY Virtual Reality without breaking the bank. From upcycling vintage clocks to creating unconventional timepieces, I’ll share my own experiences and tips for bringing the past into the present. By the end of this journey, you’ll be equipped with the knowledge and inspiration to start building your own DIY Virtual Reality projects, and to see the world as a place where the old and the new can blend together in unexpected, exciting ways.
Table of Contents
Guide Overview: What You'll Need
Total Time: 4 hours 30 minutes
Estimated Cost: $100 – $200
Difficulty Level: Intermediate
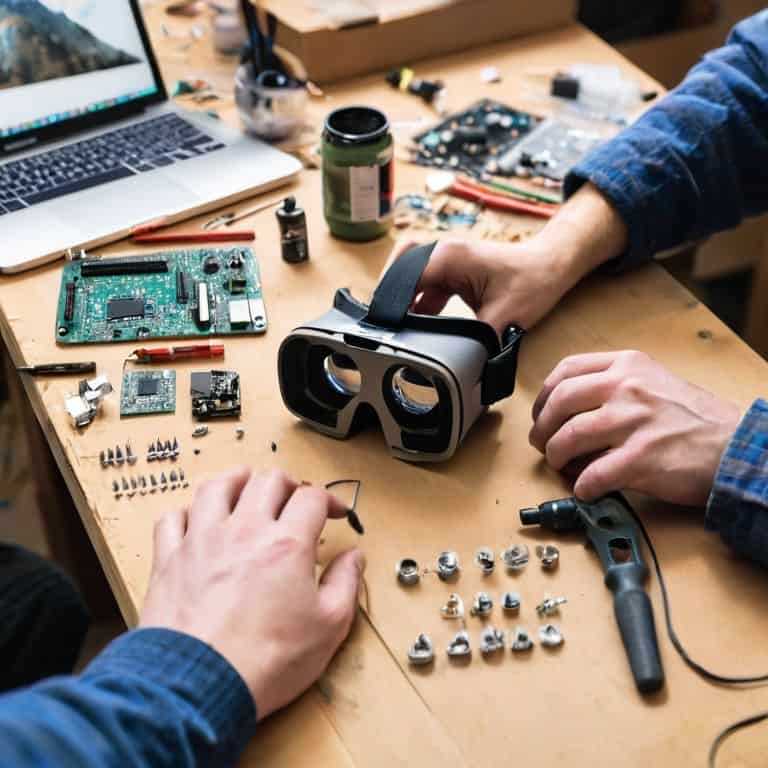
Tools Required
- Computer with strong graphics card (capable of handling VR applications)
- Smartphone or tablet (for use as a VR display)
- Head-mounted display (HMD) kit (optional)
- Soldering iron (for assembling custom components)
- Wire cutters and strippers (for working with electronics)
- Software development environment (such as Unity or Unreal Engine)
Supplies & Materials
- VR headset components (lenses, screens, etc.)
- Sensors and trackers (for motion detection and tracking)
- Electronics (e.g., Arduino or Raspberry Pi) (for custom controller or interface builds)
- Jumper wires (for connecting components)
- Power source (e.g., batteries or USB cables) (for powering devices)
Step-by-Step Instructions
- 1. First, gather the necessary materials, which include a vintage computer, a pair of stereo headphones, and an old smartphone. I like to think of this step as a treasure hunt, where I get to scour through thrift stores and garage sales to find the perfect components for my DIY virtual reality project.
- 2. Next, disassemble the vintage computer to extract its circuit board, which will serve as the brain of our virtual reality time machine. This is where things can get a bit tricky, so be sure to take your time and document every step of the process, as you’ll need to refer back to these notes later on.
- 3. Now, use a 3D printing service or a local maker space to create a custom headset enclosure that will house your smartphone, stereo headphones, and circuit board. I find that sketching out my design ideas with a vintage fountain pen helps me to better visualize the final product and make any necessary adjustments before sending it off to be printed.
- 4. With your headset enclosure in hand, carefully assemble the various components, making sure to solder the circuit board to the headset’s input/output ports. This is a crucial step, as it will determine the overall performance and functionality of your DIY virtual reality system.
- 5. Once your headset is fully assembled, it’s time to start thinking about content creation, which is where the real magic happens. I like to use a combination of blender software and photoshop to create immersive, interactive environments that transport users to another time and place.
- 6. To take your DIY virtual reality experience to the next level, consider adding haptic feedback components, such as vibration motors or tactile sensors, which will allow users to feel as though they’re truly interacting with their virtual surroundings. This is where the art of storytelling really comes into play, as you’ll need to carefully craft an immersive narrative that draws the user in and refuses to let go.
- 7. Finally, test and refine your DIY virtual reality system, making any necessary adjustments to the hardware or software to ensure a seamless and enjoyable user experience. I find that user testing is an essential part of this process, as it allows me to gather valuable feedback and make data-driven decisions about how to improve my design.
Reviving Reality
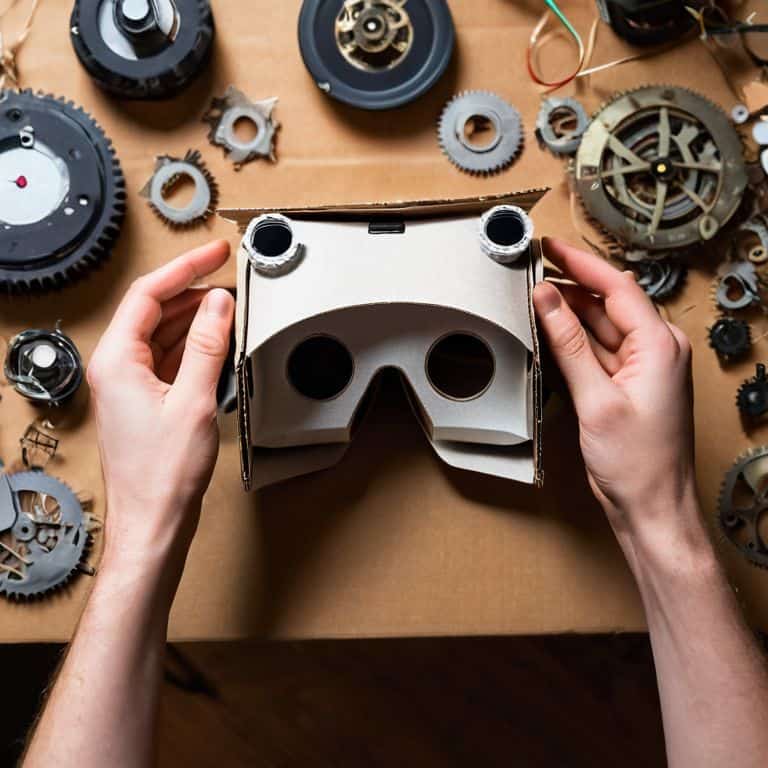
As I delve deeper into the world of virtual reality creation, I find myself drawn to the stories of forgotten materials and their potential for transformation. My experience with upcycling vintage clocks has taught me the value of patience and attention to detail, skills that are equally essential when crafting a cardboard VR headset. The process of bringing new life to old objects is not just about technical skill, but also about understanding the narrative behind each component.
When it comes to vr content creation tools, I believe that the best approach is to experiment and find what works best for your unique project. This might involve exploring open source vr projects or investing in cheap vr headset alternatives that can help you test and refine your ideas. The key is to remain flexible and open to new possibilities, much like the process of tinkering with old clock mechanisms to create something entirely new.
In my own workshop, I’ve found that the journey of vr gaming pc requirements is just as important as the destination. It’s about understanding the intricacies of each component and how they work together to create an immersive experience. By embracing this mindset, we can unlock the full potential of virtual reality and create experiences that are not just visually stunning, but also deeply personal and meaningful.
Crafting Cardboard Vr Headsets
As I delved deeper into reviving reality, I found myself fascinated by the humble beginnings of virtual reality – the cardboard headset. With a few simple tools and some creativity, I began crafting my own cardboard VR headsets, breathing new life into discarded materials. I sketched out my design with my trusty vintage fountain pen, envisioning a world where the old and new coexisted in perfect harmony.
The process was almost therapeutic, as I carefully cut and assembled the cardboard, transforming it into a vessel for immersive experiences. It was a testament to the power of upcycling, where something as mundane as a cardboard box could become a gateway to new worlds. As I worked, I felt a sense of nostalgia wash over me, remembering the countless hours I spent in my family’s hardware store, surrounded by the possibilities of creation.
Unlocking Best Diy Vr Software
As I delve into the world of DIY virtual reality, I find myself enchanted by the plethora of software options that can bring my creations to life. From open-source platforms like A-Frame to innovative tools like Unity, the possibilities are endless. I’ve spent countless hours experimenting with these programs, and I’m excited to share my discoveries with you.
With a vintage fountain pen in hand, I’ve sketched out ideas for immersive experiences that blend the nostalgia of upcycled materials with the cutting-edge technology of virtual reality. By leveraging these software tools, I’ve been able to craft unique narratives that transport users to new dimensions, all while paying homage to the beauty of the past.
Weaving Time and Space: 5 Key Tips for DIY Virtual Reality Enthusiasts
- Embrace the beauty of imperfection: Just as a vintage clock’s uniqueness lies in its worn gears, your DIY VR project’s character will shine through its handmade, imperfect details.
- Experiment with unconventional materials: Think beyond the tech store shelves – old CDs, cardboard tubes, and fabric scraps can become integral parts of your VR experience, telling a story of transformation and creativity.
- Storytelling is key: Infuse your VR project with narrative, whether it’s a historical recreation, a fantasy world, or a personal memoir – the story will breathe life into your creation and connect it to the human experience.
- Don’t be afraid to get vintage: Incorporate old, forgotten items into your VR design, not just for aesthetic but for the history and nostalgia they bring – it’s about bridging the past and the present.
- Lighting is your canvas: Just as a painter uses light and shadow to create depth, you can use lighting effects in your VR project to enhance immersion, create mood, and guide the viewer’s eye through your virtual world.
Timeless Takeaways from the Workshop
I’ve learned that with a dash of creativity, discarded materials can be repurposed to craft immersive virtual reality experiences that not only thrill but also tell a story of transformation and reuse
By embracing the quirks of vintage items, like the intricate mechanisms of old clocks, we can infuse our DIY projects with a unique character that sets them apart from mass-produced alternatives
Ultimately, the true magic of DIY virtual reality lies not in the technology itself, but in the journey of discovery and imagination that unfolds when we combine the old with the new, giving birth to something entirely novel and captivating
Embracing the Future, One Gadget at a Time
As we delve into the realm of DIY virtual reality, remember that the true magic lies not in the technology itself, but in our ability to weave together the threads of past and present, crafting immersive worlds from the very fabric of our collective imagination.
Joseph Goto
Embracing the Future of DIY Virtual Reality
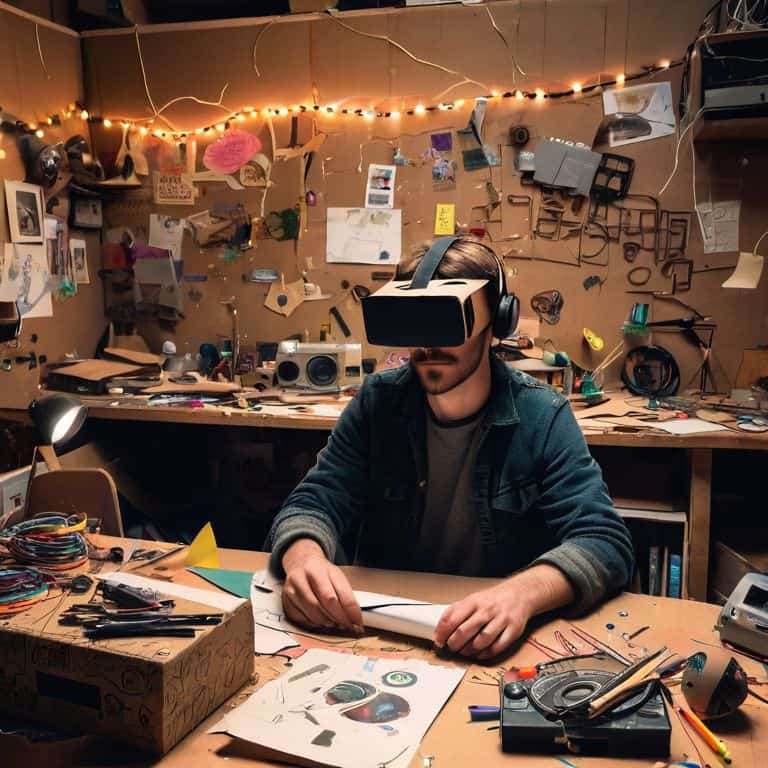
As I reflect on our journey through the world of DIY virtual reality, it’s clear that the true magic lies not in the technology itself, but in the stories we tell with it. From crafting cardboard VR headsets to unlocking the best DIY VR software, each step has been a testament to the power of imagination and resourcefulness. By reviving reality and giving new life to forgotten relics, we’ve not only created our own virtual worlds but also bridged the gap between the past and the present.
As we conclude this chapter in our DIY virtual reality saga, I’m reminded that the most powerful tool in our arsenal is our own creativity. So, let’s continue to push the boundaries of what’s possible, to see the potential for new beginnings in the relics of the past, and to inspire others to join us on this incredible journey. For in the end, it’s not just about the technology – it’s about the stories we create and the worlds we bring to life, one DIY project at a time.
Frequently Asked Questions
What are the most essential materials needed to create a DIY virtual reality headset?
To craft my DIY virtual reality headset, I rely on a few treasured materials: sturdy cardboard, a pair of lenses, a smartphone, and some inventive wiring. A vintage-inspired strap, fashioned from repurposed leather, adds a touch of nostalgia, while a 3D printed casing brings it all together in a beautifully anachronistic blend of old and new.
How can I ensure that my homemade VR headset is compatible with my computer or smartphone?
To ensure compatibility, I check my computer or smartphone’s specs against the DIY headset’s requirements, considering factors like screen resolution, processor speed, and operating system. A quick online search or consulting the device’s manual usually does the trick, helping me bridge the gap between my handmade VR world and the digital realm.
What are some creative ways to repurpose old or recycled materials in DIY virtual reality projects?
I love repurposing old materials in my DIY VR projects. I’ve used vintage clock parts to create interactive controllers and transformed wooden crates into immersive VR pods. Even old CDs and DVDs can become reflective surfaces for DIY VR mirrors. The key is to see the potential in discarded items and breathe new life into them.