By Joseph Goto
As I sat amidst the dusty relics of my family’s old hardware store, I stumbled upon a treasure trove of forgotten parts that whispered tales of a bygone era, inspiring me to craft my own DIY VR headset. The idea of merging yesterday’s remnants with today’s innovation sparked a sense of nostalgia and creativity within me. I’ve often heard people say that building a DIY VR headset is a daunting task, reserved for tech-savvy individuals, but I’m here to tell you that with the right mindset and materials, anyone can bring this project to life.
In this article, I’ll guide you through the process of creating your own DIY VR headset, sharing practical advice and hands-on techniques that I’ve learned through my own trials and errors. You’ll discover how to transform discarded materials into a fully functional VR headset, and I’ll walk you through each step of the way, from conceptualization to completion. My goal is to empower you with the knowledge and confidence to tackle this project, and to inspire you to see the beauty in upcycling and repurposing old materials to create something entirely new and innovative.
Table of Contents
- Guide Overview: What You'll Need
- Step-by-Step Instructions
- Crafting a Diy Vr Headset
- Timeless Tips from the Workshop: 5 Key Insights for Your DIY VR Headset
- Timeless Tales from the Workshop: 3 Key Takeaways
- Timeless Wisdom in DIY Innovation
- Embracing the Art of Revival: A DIY VR Headset Journey
- Frequently Asked Questions
Guide Overview: What You'll Need
Total Time: 3 hours 45 minutes
Estimated Cost: $50 – $100
Difficulty Level: Intermediate
Tools Required
- Utility Knife (with extra blades)
- Hot Glue Gun (with glue sticks)
- Scissors
- Ruler (for measuring 6 inches and 4 inches lengths)
- Screwdriver (for assembling components)
Supplies & Materials
- Cardboard or Foam Board (for headset base, approximately 12 inches by 6 inches)
- Lens Set (with focal length of 2 inches or 3 inches)
- Smartphone Mount (for holding device in place)
- Elastic or Velcro Straps (for securing headset to head, adjustable up to 24 inches circumference)
- Electrical Tape (for securing wires and components)
Step-by-Step Instructions
- 1. To begin crafting my DIY VR headset, I start by gathering essential materials, including a vintage pair of goggles, a smartphone, a cardboard or plastic container, lenses, and various adhesives. The key is to find items that not only serve their purpose but also tell a story of their own, like the old goggles that once belonged to my grandfather, a pilot in the war.
- 2. Next, I carefully disassemble the goggles to understand their internal mechanism, taking note of the _hinge system_ and how it can be adapted to fit the modern components of my VR headset. This step requires patience and a willingness to learn from the past, to see how the craftsmanship of yesterday can be merged with the technology of today.
- 3. With my goggles apart, I then focus on preparing the smartphone for its new role. This involves downloading a VR app and ensuring the phone’s screen is compatible with the VR experience I’m aiming to create. The _VR app_ becomes the brain of my operation, turning my old goggles into a window to new worlds.
- 4. Now, it’s time to construct the body of my VR headset. Using the cardboard or plastic container, I cut out a shape that comfortably houses my smartphone, ensuring it’s secure and easily accessible. The goal here is to create a seamless integration between the old and the new, making user experience the top priority.
- 5. The lenses are a crucial component, as they will dictate the quality of the VR experience. I select lenses that provide a clear, wide-angle view, reminiscent of the _old camera lenses_ my grandmother used to collect. These lenses are not just about functionality; they’re about capturing the essence of a bygone era and bringing it into the present.
- 6. Assembling all the components requires a bit of creativity and a lot of patience. I use a combination of adhesives and _creative fastening techniques_ to ensure everything is securely in place. This is where the story of my VR headset really comes together, as each piece is carefully selected and positioned to enhance the overall experience.
- 7. Finally, testing my DIY VR headset is a moment of truth. I slip on the goggles, now transformed into a portal to virtual worlds, and immerse myself in the experience. The feeling of wearing something that combines the past and the present is _deeply satisfying_, a testament to the power of upcycling and the human spirit of innovation. With a few tweaks here and there, my DIY VR headset is ready, a unique blend of nostalgia and cutting-edge technology.
Crafting a Diy Vr Headset
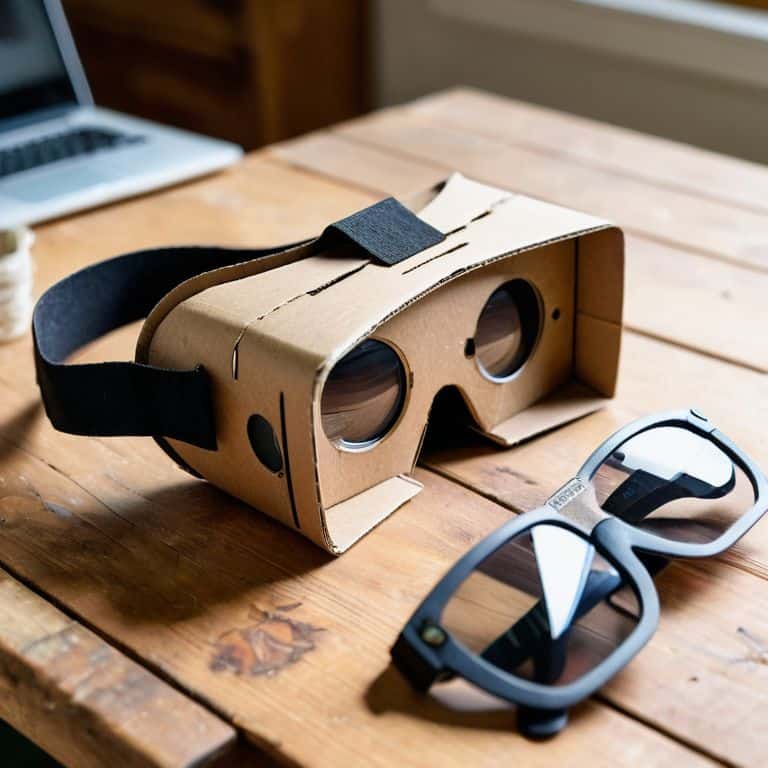
As I delve into the world of virtual reality, I find myself drawn to the art of repurposing everyday materials to create something truly unique. Crafting a bespoke VR experience begins with selecting the right vr lens selection, ensuring that the visuals are crisp and immersive. I’ve discovered that upcycling old glasses or binoculars can provide the perfect foundation for a cardboard vr headset, adding a touch of nostalgia to this futuristic technology.
When it comes to bringing my DIY projects to life, I always consider the importance of smartphone compatible vr headsets. Ensuring that my creations can seamlessly integrate with modern devices is crucial, allowing me to enjoy a wide range of VR content. By focusing on budget friendly vr headset options, I’ve been able to experiment with various materials and designs, pushing the boundaries of what’s possible in this exciting field.
As I continue to tinker and innovate, I’m reminded of the need for vr headset safety precautions. It’s essential to consider factors like eye strain and comfort when designing a VR headset, ensuring that the user experience is both enjoyable and safe. By following these guidelines and exploring diy vr controller instructions, I’ve been able to craft a truly one-of-a-kind VR experience that combines the best of old and new.
Lens of Wonder a Guide to Vr Lens Selection
As I delve into the world of VR lens selection, my mind wanders back to the vintage optics I’ve collected over the years. I recall the thrill of repurposing an old camera lens to create a unique perspective in one of my upcycled clock pieces. Similarly, choosing the right lenses for our DIY VR headset is an art that requires a deep understanding of how light and shadow dance together. With a sketch of my design in hand, crafted with my trusty vintage fountain pen, I begin to consider the focal length, field of view, and material of the lenses.
For our DIY VR headset, I recommend selecting lenses with a focal length between 30-40mm, allowing for an immersive experience without compromising on comfort. By merging the old with the new, we can create a lens that not only transports us to new worlds but also tells a story of its own, much like the tales my grandmother used to tell me about the power of imagination and creativity.
Whispers of Cardboard a Vr Headset Tutorial
As I delve deeper into the world of DIY VR, I find myself enchanted by the humble beginnings of a cardboard headset. It’s a testament to the ingenuity of repurposing everyday materials. With a few simple cuts and folds, a ordinary cardboard box transforms into a gateway to immersive experiences. I recall sketching the initial design with my vintage fountain pen, the scratching of the nib on paper echoing the whispers of possibility.
The cardboard’s tactile nature invites experimentation, allowing me to weave a narrative of transformation. By combining it with modern technology, I bridge the gap between the disposable and the cutting-edge, crafting a unique VR headset that tells a story of its own. As I work, the soft glow of my workshop’s vintage clock collection casts a warm light, reminding me that even in the most modern of pursuits, there’s beauty in the forgotten and the reborn.
Timeless Tips from the Workshop: 5 Key Insights for Your DIY VR Headset
- Embrace the Beauty of Imperfection: Just as a vintage clock’s character is defined by its scratches and worn mechanisms, your DIY VR headset’s uniqueness can lie in its handmade imperfections, so don’t be too hard on yourself if it’s not perfect
- Choose Materials that Tell a Story: Select components that have a history, like repurposing old camera lenses or using wooden frames from antique picture frames, to infuse your VR headset with a sense of nostalgia and character
- Experiment with Unconventional Lenses: Don’t limit yourself to traditional VR lenses; consider using vintage glasses, binocular lenses, or even custom-cut glass to create a truly one-of-a-kind viewing experience
- Illuminate Your Creativity: Sometimes, the best ideas come from the darkest corners – literally. Experiment with different lighting setups in your workshop to inspire new perspectives and ideas for your DIY VR headset
- Sketch Your Vision: Before you start building, take a moment to sketch out your ideas with a vintage fountain pen, just as I do with my upcycling projects. This simple act can help you connect with the creative process and bring your vision to life
Timeless Tales from the Workshop: 3 Key Takeaways
Embracing the beauty of nostalgia in DIY projects can lead to the creation of truly unique and personal items, such as a DIY VR headset that combines vintage charm with modern technology
Selecting the right materials, like upcycled cardboard or reclaimed wood, can add an extra layer of storytelling to your project, making it not just a functional item but a narrative piece that reflects your personality and creativity
By bridging the gap between past and present through hands-on craftsmanship, we can inspire a new wave of makers and tinkerers to see the potential in forgotten materials, fostering a community that values imagination, resourcefulness, and the art of giving old objects new life
Timeless Wisdom in DIY Innovation
As we breathe new life into discarded materials to craft our DIY VR headsets, we not only revive the past but pave the way for a future where technology and nostalgia entwine, reminding us that innovation is not just about what’s new, but also about what’s been rediscovered.
Joseph Goto
Embracing the Art of Revival: A DIY VR Headset Journey
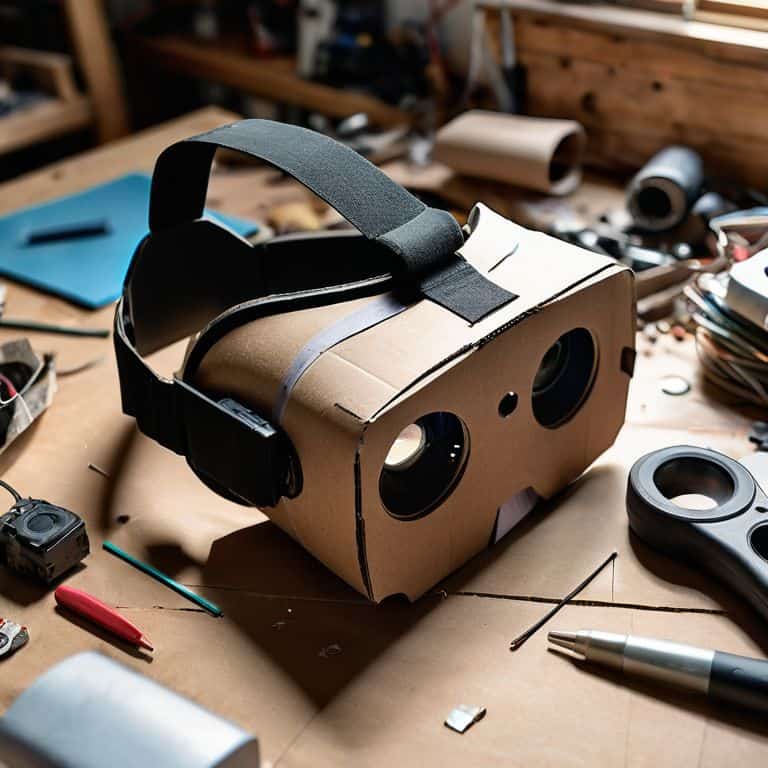
As I reflect on our DIY VR headset adventure, I’m reminded of the whispers from the workshop that first sparked this idea. From the initial gathering of forgotten materials to the meticulous selection of VR lenses, each step has been a testament to the power of creative reuse. By embracing the art of revival, we’ve not only given new life to discarded items but have also managed to forge a unique, functional piece of technology that bridges the past and the present. This project has been a journey of discovery, teaching us that with a little imagination and a lot of heart, we can turn the obsolete into the extraordinary.
Our DIY VR headset stands as a symbol of what can be achieved when we combine inventive nostalgia with a willingness to experiment and learn. As we conclude this chapter in our creative journey, I encourage you to look around you, to see the potential in the forgotten, and to let your imagination run wild. For in the world of DIY, it’s not just about creating something new; it’s about telling a story of transformation, of revival and renewal. And as you hold your finished DIY VR headset, remember that you’re not just a maker; you’re a storyteller, weaving tales of innovation and inspiration, one project at a time.
Frequently Asked Questions
What are the most essential components to consider when designing a DIY VR headset for optimal performance?
When designing a DIY VR headset, I consider the lens, display, and sensor tracking as essential components. Properly calibrated, these elements harmonize to transport you to new worlds, much like the ticking of my upcycled vintage clocks synchronizes past and present.
How can I ensure the VR lenses I choose are compatible with my smartphone and provide a high-quality viewing experience?
To ensure compatibility and a high-quality viewing experience, I consider the smartphone’s screen size and resolution when selecting VR lenses. I also look for lenses with a suitable focal length and field of view, taking into account the device’s pixel density to prevent distortion.
What are some creative ways to repurpose or upcycle materials for the exterior casing of a DIY VR headset to give it a unique and personalized look?
I love giving old materials new life. For a DIY VR headset’s exterior, consider upcycling vintage suitcases, wooden crates, or even antique clock faces – like those I use in my timepiece creations. These unique materials can add a touch of nostalgia and personality to your VR headset, making it a one-of-a-kind treasure.