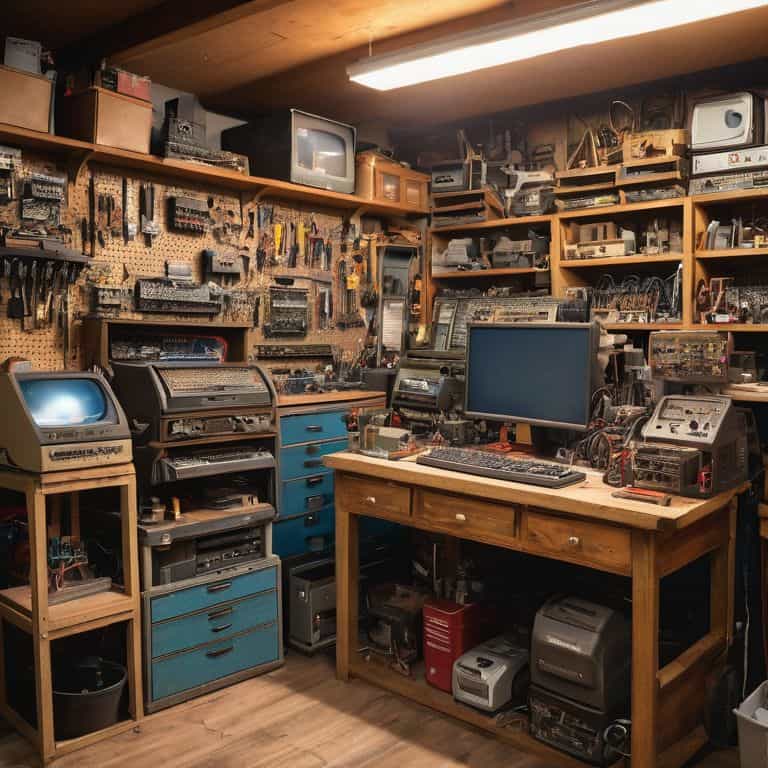
As I sit amidst the clutter of my workshop, surrounded by scraps of circuit boards and faded motherboard manuals, I’m reminded of afternoons spent in my family’s old hardware store, where the dream of building my own DIY Gaming PC first sparked to life. It’s a passion project that’s often shrouded in mystery, with many believing it’s a daunting task reserved for tech enthusiasts. However, I’m here to tell you that breathing new life into forgotten components is not only achievable but also incredibly rewarding.
In this article, I’ll share my personal journey of crafting the ultimate DIY Gaming PC, from sourcing the right materials to bringing it all together. You can expect honest, no-hype advice on how to navigate the process, including tips on selecting the perfect components, overcoming common obstacles, and optimizing performance. My goal is to inspire you to see the beauty in transforming old, discarded parts into a powerful gaming machine that’s truly one-of-a-kind. By the end of this guide, you’ll be equipped with the knowledge and confidence to embark on your own DIY gaming PC adventure, and discover the joy of turning the old into something new.
Table of Contents
- Guide Overview: What You'll Need
- Step-by-Step Instructions
- Reviving Relics Diy Gaming Pc
- Forgotten Furnace Mastering Gaming Pc Cooling Systems
- Whispering Wonders Budget Gaming Pc Build Secrets
- Timeless Tweaks: 5 Essential Tips for Your DIY Gaming PC
- Timeless Treasures: 3 Key Takeaways for Your DIY Gaming PC Journey
- Echoes of Innovation
- Breathing New Life into Forgotten Components: A Nostalgic Journey's End
- Frequently Asked Questions
Guide Overview: What You'll Need
Total Time: 4 hours 30 minutes
Estimated Cost: $800 – $1,200
Difficulty Level: Intermediate / Hard
Tools Required
- Screwdriver (both flathead and Phillips)
- Torx driver (for certain CPU coolers)
- Pliers (for gripping small components)
- Wire cutters and strippers (for cable management)
- Thermal paste applicator (for applying thermal paste to CPU)
- Measuring tape (for measuring cable lengths)
- Cable ties (for securing cables to 6 inches of space behind the motherboard)
Supplies & Materials
- CPU (e.g., AMD Ryzen or Intel Core i9)
- Motherboard (compatible with chosen CPU, with a size of 12 inches in length)
- GPU (e.g., NVIDIA GeForce or AMD Radeon, with a length of 10 inches)
- RAM (at least 16 GB, with a speed of 3200 MHz)
- Storage (e.g., 1 TB SSD or HDD, with a thickness of 0.5 inches)
- Power supply (wattage dependent on system requirements, with a size of 5 inches in width)
- Case (with good airflow, and a size of 18 inches in height)
- Cooling system (e.g., air or liquid cooling, with a fan size of 120 mm in diameter)
- Operating system (e.g., Windows or Linux, on a USB drive with a capacity of 16 GB)
Step-by-Step Instructions
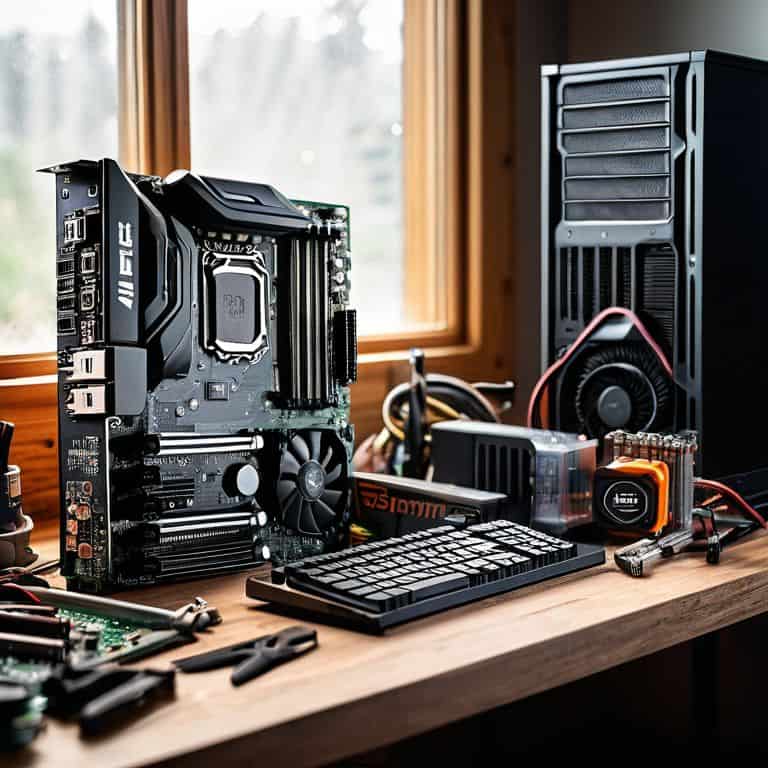
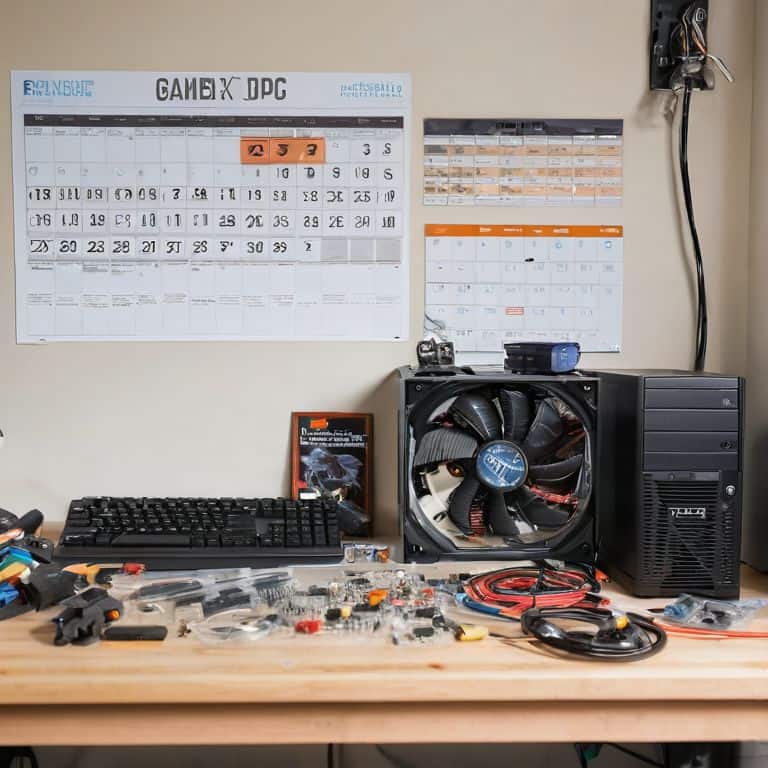
- 1. To begin our journey of creation, let’s start by preparing the workspace. This involves clearing a large, flat area where we can lay out all our components without any clutter or distractions. I find that a well-organized workspace not only helps in keeping track of the numerous parts but also fosters a sense of clarity and focus. As I sit amidst the scattered components, I am reminded of my grandmother’s workshop, where the smell of wood and paint would fill the air, and the sound of her vintage radio playing softly in the background would set the tone for a day of creativity.
- 2. Next, we need to unbox and inventory our components. This includes the CPU, motherboard, RAM, graphics card, storage drive, power supply, and the casing. It’s essential to check each component against the list to ensure everything is accounted for and undamaged. I recall afternoons spent in my family’s hardware store, where the first step to any repair or project was always a thorough inspection of the parts. This meticulous approach not only saves time in the long run but also builds a sense of anticipation and excitement for the project ahead.
- 3. Now, let’s move on to the assembly of the CPU and motherboard. This is perhaps the most delicate part of the process, requiring patience and a gentle touch. First, we need to remove the motherboard from its packaging and locate the CPU socket. The CPU should be handled by the edges to prevent any damage from static electricity. Gently push the CPU into the socket, ensuring it’s aligned properly, and then secure it with the mounting bracket. I remember my first attempt at building a PC; the fear of damaging such a critical component was overwhelming, but with practice, it becomes second nature, much like sketching ideas with my vintage fountain pen before starting any project.
- 4. The installation of the memory (RAM) is the next step. Locate the RAM slots on the motherboard and gently pull out the clips on either side. Align the RAM module with the slot, ensuring the notches on the module match up with the keys in the slot, and then firmly push it in until the clips snap back into place, securing the RAM. It’s a straightforward process but one that requires a bit of force and finesse, much like tuning the mechanisms of my vintage clocks to keep perfect time.
- 5. With the core components in place, we can now focus on the power supply installation. Choose a suitable location within the casing for the power supply unit (PSU), considering factors like airflow and cable management. Secure the PSU using screws provided with the casing. Then, connect the main power cable to the motherboard, along with any other necessary power connections to the drives and graphics card. This step is crucial as it powers the heart of our PC, bringing all the components together to function as a cohesive unit.
- 6. Moving forward, we’ll install the storage drive and graphics card. For the storage drive, locate an available bay in the casing and mount the drive using screws. Connect the SATA cable from the drive to the motherboard and a power cable from the PSU. The graphics card installation involves removing any expansion cards from the PCIe slots on the motherboard to make room, gently aligning the gold contacts on the graphics card with the slot, and then firmly pushing it in until it clicks into place. Secure the graphics card with screws to the casing. These components are what will bring our PC to life, enabling us to run demanding applications and games with ease.
- 7. Finally, cable management and the final assembly are key to a clean and efficient build. Route cables behind the motherboard tray or through cable ties to keep them organized and out of the way of airflow. Connect any front panel headers, USB ports, and fan cables to the motherboard. Close up the casing, and our DIY gaming PC is nearly ready. The last step involves plugging in the power cord, pressing the power button, and watching our creation come to life. The first boot is always a moment of truth, a culmination of hard work and dedication, much like the satisfying tick of a vintage clock’s mechanism after a successful restoration.
Reviving Relics Diy Gaming Pc
As I delve deeper into the world of DIY computer building, I’ve come to realize the importance of budget gaming pc build considerations. It’s not just about slapping together a bunch of high-end components, but rather finding a harmonious balance between performance and affordability. I recall my grandmother’s words of wisdom: “The beauty lies not in the price tag, but in the story it tells.” This philosophy has guided my approach to giving old materials new life, and it’s surprising how often it applies to building a gaming PC.
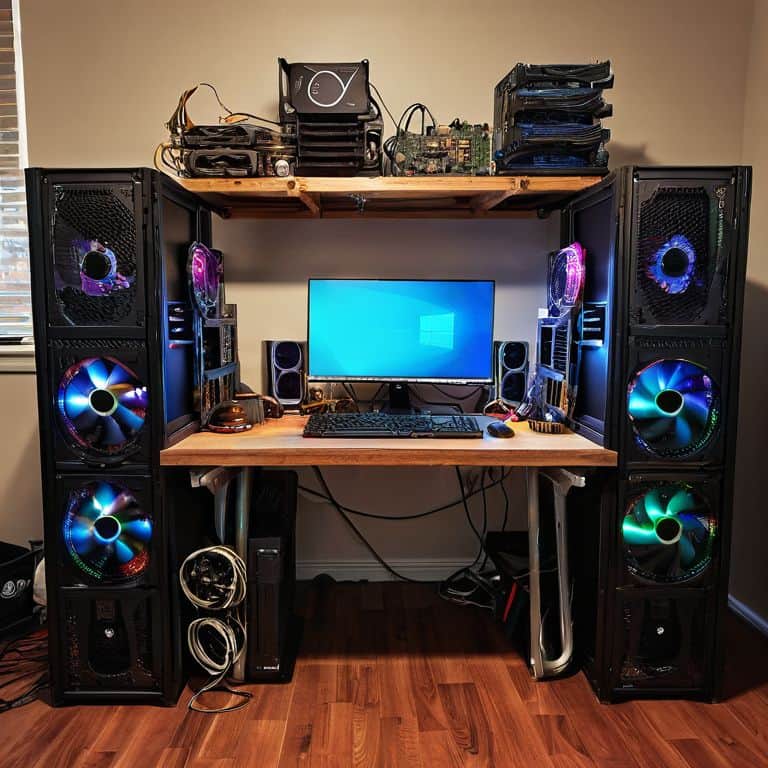
When it comes to keeping your system running smoothly, gaming pc cooling systems play a crucial role. I’ve experimented with various setups, from traditional air cooling to more exotic liquid cooling solutions. The key is to find a system that not only keeps your components at a safe temperature but also adds to the overall aesthetic of your build. For me, there’s something inherently satisfying about watching the temperatures drop as I fine-tune my cooling setup.
In the end, it’s all about creating a system that reflects your personality and meets your gaming needs. Whether you’re a fan of nvidia vs amd graphics cards, the most important thing is to have fun with the process. I’ve found that overclocking for beginners can be a great way to squeeze a bit more performance out of your system, but it’s essential to approach it with caution and patience. As I sit here surrounded by wires and circuit boards, I’m reminded that building a gaming PC is not just about the end result, but about the journey itself.
Forgotten Furnace Mastering Gaming Pc Cooling Systems
As I delve into the world of DIY gaming PCs, I find myself drawn to the often-overlooked aspect of cooling systems. It’s here that the past and present converge, where vintage fans and modern heat sinks blend in a beautiful dance of innovation. I recall my grandmother’s words, “The beauty lies not in the newest, but in the narrative of reuse.” With this in mind, I set out to upcycle an old furnace fan, marrying it with cutting-edge cooling technology to create a unique, whisper-quiet system that not only keeps my gaming PC at optimal temperatures but also tells a story of transformation.
In this corner of my workshop, surrounded by sketches and half-disassembled components, I feel most alive. The soft scratch of my vintage fountain pen on paper as I design, the hum of the repurposed fan as it comes to life, all serve as reminders that even the most forgotten relics can be breathed back into service, their stories intertwined with the pulse of modern technology.
Whispering Wonders Budget Gaming Pc Build Secrets
As I delve into the world of budget gaming PC builds, I find myself enthralled by the art of uncovering hidden gems. Forgotten components, once destined for the scrapheap, now hold the key to unlocking unparalleled performance at a fraction of the cost. My trusty vintage fountain pen scratches out notes as I ponder the perfect harmony of parts. The thrill of the hunt is exhilarating, and I feel like a treasure hunter unearthing secrets.
In this realm, creativity knows no bounds. I’ve breathed new life into vintage graphics cards, paired them with modern CPUs, and watched as they roared back to life, delivering stunning visuals and silky-smooth gameplay. The beauty of budget builds lies not only in their affordability but also in the stories they tell – of revival, of innovation, and of the human spirit’s capacity to transform the discarded into the extraordinary.
Timeless Tweaks: 5 Essential Tips for Your DIY Gaming PC
- Embrace the Art of Upcycling: Consider repurposing vintage computer components, like old CPU coolers or fans, to add a touch of nostalgia to your build
- Listen to the Whispers of the Past: Old motherboard manuals and forgotten circuit boards can hold secrets to unlocking unique features or overcoming common DIY hurdles
- Craft Your Cooling System with Care: A well-designed cooling system is akin to the intricate mechanisms of a vintage clock – it requires patience, precision, and a deep understanding of how each component interacts
- Unconventional Materials, Unlimited Possibilities: Don’t be afraid to experiment with unusual materials, like reclaimed wood or vintage metal, to create a truly one-of-a-kind gaming PC case
- Storytelling Through Screwdrivers: As you work on your DIY gaming PC, remember that every component, every wire, and every screw tells a story – make sure your build reflects your own narrative of innovation and creativity
Timeless Treasures: 3 Key Takeaways for Your DIY Gaming PC Journey
Embracing the past to empower the future, I’ve found that repurposing vintage materials, like old clock parts, can add a unique narrative to your DIY gaming PC build, reflecting your personality and creativity
Much like the meticulous process of upcycling vintage clocks, crafting a DIY gaming PC requires patience, attention to detail, and a willingness to experiment with unconventional components, leading to a truly one-of-a-kind machine
By adopting a narrative tinkerer’s mindset, you’ll not only create a powerful gaming PC but also weave a story of transformation, where forgotten relics become the heroes of your technological tale, inspiring others to see the beauty in the intersection of nostalgia and innovation
Echoes of Innovation
As we breathe new life into discarded components, we not only craft a DIY gaming PC, but weave a tapestry of stories, where each soldered joint and carefully chosen part whispers tales of a bygone era, revitalized by the pulse of modern innovation.
Joseph Goto
Breathing New Life into Forgotten Components: A Nostalgic Journey's End
As I reflect on our journey to crafting the ultimate DIY gaming PC, I’m reminded of the forgotten furnace of creativity that sparked within me during those afternoons in my family’s old hardware store. We’ve traversed the realms of budget gaming PC build secrets, mastering the art of reviving relics and whispering wonders into being. From the meticulous selection of components to the delicate dance of assembling our DIY masterpiece, each step has been a testament to the beauty of transformation and nostalgia. Our DIY gaming PC is more than just a machine – it’s a narrative of human ingenuity, a symphony of old and new, where the past and present converge in perfect harmony.
Our DIY gaming PC is now a reality, a living, breathing entity that pulsates with the rhythm of our imagination. As we boot up our creation, we’re not just launching a machine – we’re unleashing a dream. A dream that reminds us that even in the most discarded, forgotten components, lies a hidden potential waiting to be unearthed. So, let us embark on this wondrous journey, with vintage fountain pen in hand, and sketch the outlines of our next masterpiece, for in the world of DIY, the only limit is the bounds of our imagination, and the stories we choose to tell with the materials we revive.
Frequently Asked Questions
What are the most essential components to upgrade in an old gaming PC to make it compatible with modern games?
As I tinker with vintage clocks in my workshop, I’m reminded that upgrading an old gaming PC requires a thoughtful approach. To breathe new life into yours, focus on swapping out the graphics card, RAM, and CPU – these components will make the most significant difference in running modern games smoothly, much like replacing a clock’s mechanism to give it a new tick.
How can I ensure that my DIY gaming PC build is properly ventilated to prevent overheating?
To prevent overheating, I ensure my DIY gaming PC build has ample ventilation by carefully selecting fans and designing a well-ventilated case, often repurposing vintage metalwork to create unique airflow pathways, just as I do when upcycling old clock parts into functional timepieces.
Are there any specific DIY projects or upcycling methods that can be applied to give my gaming PC a unique, retro aesthetic?
I’m thrilled to share my passion for upcycling with you. For a retro aesthetic, consider repurposing vintage computer parts, like old motherboards or keyboards, as decorative accents. You can also try refinishing or repainting your PC’s casing with a distressed finish to give it a nostalgic look, reminiscent of classic electronics from bygone eras.