I still remember the first time I tried 3D printing troubleshooting – it was like trying to solve a puzzle blindfolded. My dad, an engineer at a pioneering tech company, had given me an old 3D printer to tinker with, and I was determined to get it working. But every print I made seemed to have a new, mysterious issue. It wasn’t until I dove into the world of vintage tech repair that I realized the key to successful 3D printing lies not in the printer itself, but in understanding the troubleshooting process.
In this article, I’ll share my honest, no-hype advice on 3D printing troubleshooting, gleaned from years of experimenting and repairing my own printers. You’ll learn how to identify and fix common issues, from misaligned print beds to clogged extruders, and get back to creating amazing prints in no time. Whether you’re a seasoned maker or just starting out, my goal is to empower you with the knowledge and confidence to tackle even the toughest 3D printing troubleshooting challenges, and unlock the full potential of this incredible technology.
Table of Contents
- Guide Overview: What You'll Need
- Step-by-Step Instructions
- 3d Printing Troubleshooting
- Flying High: 5 Drone-Tested Tips for 3D Printing Troubleshooting
- Key Takeaways for a Smoother 3D Printing Experience
- Navigating the Future of 3D Printing
- Flying High with Troubleshooting Mastery
- Frequently Asked Questions
Guide Overview: What You'll Need
Total Time: 1 hour 30 minutes
Estimated Cost: $0 – $20
Difficulty Level: Intermediate
Tools Required
- Calipers (for measuring layer thickness)
- Pliers (for removing stuck prints)
- Screwdriver (for adjusting printer settings)
- Level (for ensuring printer is level)
- Multimeter (for troubleshooting electrical issues)
Supplies & Materials
- Filament (for testing prints)
- Boron carbide sandpaper (for smoothing out rough prints)
- Isopropyl alcohol (for cleaning the print bed)
- Thermometer (for monitoring printer temperature)
- Replacement parts (such as belts, pulleys, or fans)
Step-by-Step Instructions
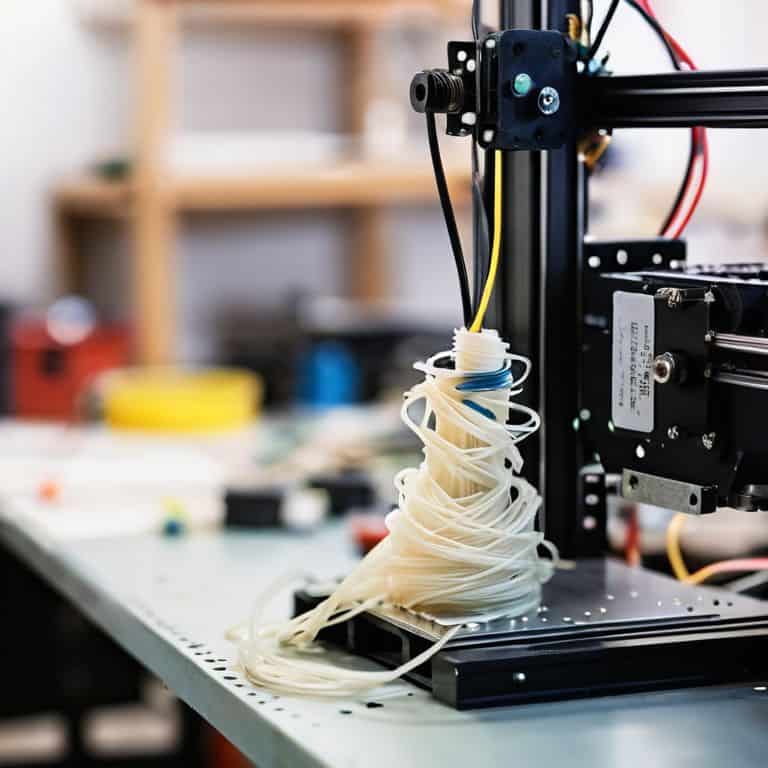
- 1. First, let’s identify the issue with our 3D print. Is it a problem with the print not sticking to the bed, or maybe the layers aren’t aligning properly? Take a closer look at your print and try to pinpoint the exact problem you’re facing. This will help you narrow down the potential causes and solutions.
- 2. Next, check your printer’s calibration. Ensure that the print bed is level and the extruder is at the correct height. I like to think of this step as making sure my drone is properly tuned before taking it out for a fly – you want all systems to be a go before liftoff.
- 3. Now, inspect your filament for any signs of damage or moisture. If your filament is damaged, it can cause a range of problems during printing, from inconsistent layering to complete print failures. I recall a time when I was building a custom drone, and a small issue with the wiring caused a major problem – it’s all about the details.
- 4. Move on to adjusting your print settings. Sometimes, a simple tweak to the temperature, speed, or layer height can make all the difference. It’s like fine-tuning the settings on my vintage gadgets – you need to find the sweet spot for optimal performance.
- 5. The fifth step is to clean your print bed. A dirty print bed can cause adhesion issues, leading to a failed print. Use a gentle cleaning product and a soft cloth to wipe down the bed, making sure it’s free from any debris or residue.
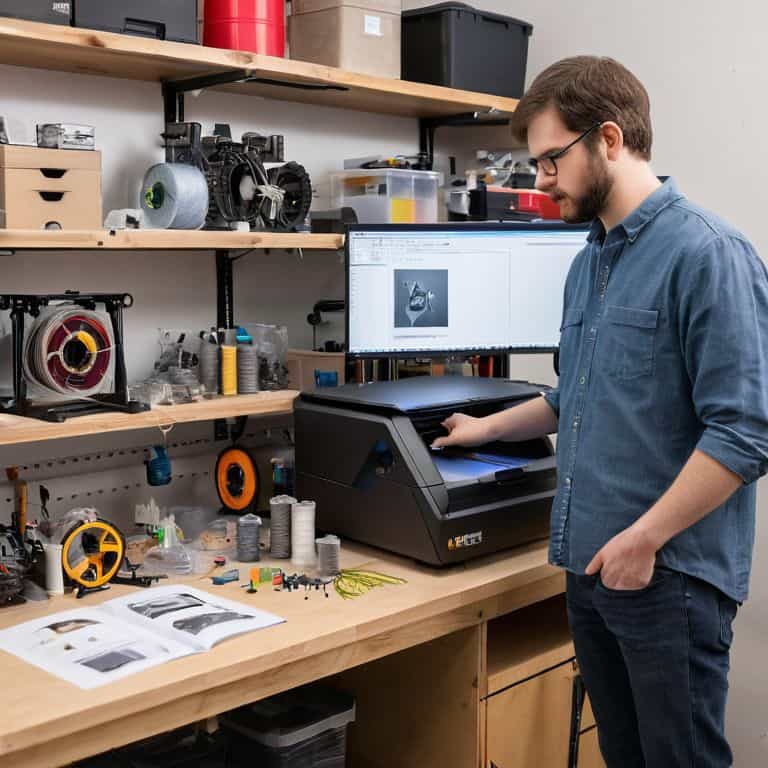
- 6. Next up, update your slicer software to the latest version. An outdated slicer can lead to compatibility issues with your 3D model, causing errors during the printing process. I always make sure my drone’s software is up to date to ensure a smooth flight.
- 7. Now, re-slice your 3D model using the updated software. This can help resolve any issues related to the model’s geometry or the printing path. Think of it as re-routing your drone’s flight path to avoid obstacles – you need to find the most efficient and safe way to reach your destination.
- 8. Finally, run a test print to see if the issues have been resolved. Choose a simple model, like a calibration cube, to test your printer’s performance. If the test print turns out successfully, you can then proceed to print your desired model with confidence, just like I do when I’m flying my drone through a challenging course.
3d Printing Troubleshooting
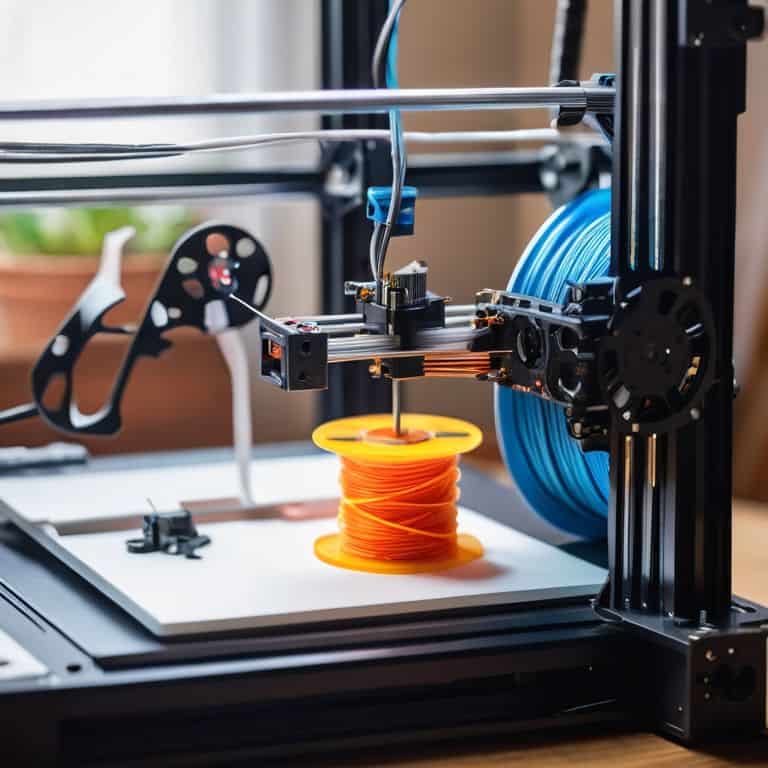
As I delve into the world of 3D printing, I’ve noticed that common 3d printing errors can be a major hurdle for enthusiasts. One of the key factors that can affect the quality of your prints is filament quality control. Using high-quality filament can make a significant difference in the overall finish and durability of your prints. I’ve seen this firsthand in my own experiments with drone components, where even the slightest variation in filament quality can impact the final product.
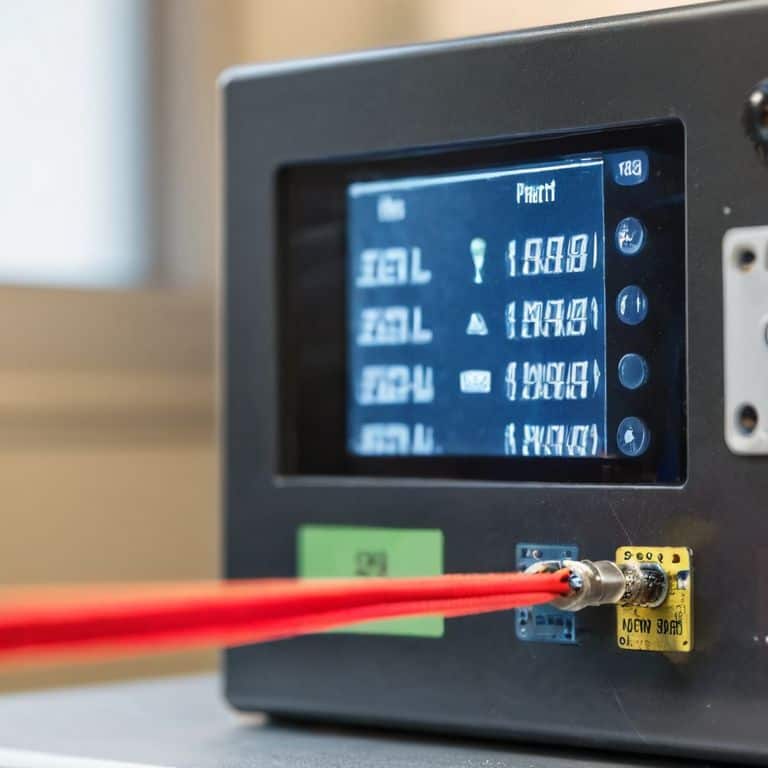
When it comes to optimizing your prints, 3d printing temperature optimization is crucial. Finding the right temperature balance can be a delicate process, but it’s essential for achieving the desired results. I’ve found that 3d printer calibration techniques can also play a significant role in ensuring that your prints turn out as expected. By fine-tuning your printer’s settings, you can minimize errors and improve the overall quality of your prints.
In my experience, troubleshooting 3d print layer adhesion is another critical aspect of 3D printing. By adjusting the print speed and temperature, you can improve the adhesion between layers, resulting in a stronger and more durable print. It’s all about finding the right balance between 3d print speed vs quality tradeoffs, and I’ve learned that taking the time to get it just right is well worth the effort.
Calibrating Time 3d Printer Techniques
When it comes to 3D printing, timing is everything. That’s why calibrating your printer is crucial. I like to think of it as fine-tuning a drone before a flight – you want to make sure all the components are working in harmony. By adjusting the printer’s speed, temperature, and layer alignment, you can avoid common issues like warping or layer shifting. It’s a bit like tweaking the settings on my vintage gadgets to get them running smoothly again.
By taking the time to calibrate your 3D printer, you’ll be able to produce prints with precision and accuracy. It’s a step that’s often overlooked, but trust me, it’s worth it. With a well-calibrated printer, you’ll be able to bring your designs to life with ease, and that’s what it’s all about – creating something amazing with technology.
Filament Fusion Quality Control Matters
When it comes to 3D printing, the quality of your filament can make or break the final product. I’ve seen my fair share of prints go wrong due to subpar materials. That’s why I always stress the importance of quality control. Look for filaments with consistent diameters and minimal moisture content. A good quality filament can be the difference between a successful print and a failed one. I like to think of it as the foundation of a strong build, much like how a sturdy drone frame is essential for a smooth flight.
By choosing the right filament, you’re already halfway to a successful print. It’s amazing how often a simple switch to a better quality filament can resolve issues that seemed insurmountable. So, take the time to research and invest in a good filament – your prints will thank you.
Flying High: 5 Drone-Tested Tips for 3D Printing Troubleshooting
- Check your printer’s bed leveling, just like I calibrate my drone’s GPS before a flight
- Ensure proper filament storage to prevent moisture absorption, a lesson I learned from my vintage gadget collection
- Monitor your printer’s temperature settings to avoid warping or delamination, a common issue I’ve seen in my tech consulting work
- Keep your printer’s moving parts well-lubricated to reduce friction and wear, much like maintaining my drone’s propellers for smooth flight
- Regularly update your printer’s firmware to take advantage of the latest features and bug fixes, a habit I developed from staying up-to-date with the latest tech trends
Key Takeaways for a Smoother 3D Printing Experience
Always calibrate your 3D printer before starting a new print job to ensure accurate and precise results, just like fine-tuning my drone before a flight
Select high-quality filament that matches your printer’s specifications to avoid common issues like warping, melting, or layer separation, which can be as frustrating as trying to troubleshoot an old gadget from my vintage collection
Regularly maintain and update your 3D printer’s software and firmware to take advantage of new features, improvements, and bug fixes, much like how I stay up-to-date with the latest tech trends to empower others in embracing our digital future
Navigating the Future of 3D Printing
The art of 3D printing troubleshooting isn’t just about fixing machines, it’s about bridging the gap between innovation and reality, one debugged layer at a time.
Lucas Thompson
Flying High with Troubleshooting Mastery
As we conclude our journey through the world of 3D printing troubleshooting, it’s essential to remember the basics. We’ve covered the fundamental steps to identify and fix common issues, from calibrating your printer to ensuring filament quality. By mastering these techniques, you’ll be well on your way to producing high-quality prints and unlocking the full potential of your 3D printer. Whether you’re a seasoned pro or just starting out, troubleshooting is an ongoing process that requires patience, persistence, and a willingness to learn.
So, the next time you’re faced with a faulty print or a malfunctioning machine, don’t be discouraged. Instead, see it as an opportunity to push the boundaries of what’s possible and to innovate. As someone who’s passionate about building and flying drones, I can attest that the thrill of creation and experimentation is what drives us forward. So, keep tinkering, keep exploring, and always remember that the future of technology is in your hands.
Frequently Asked Questions
What are the most common issues that can occur during the 3D printing process and how can I identify them?
Hey, let’s dive into those pesky 3D printing issues! Common culprits include misaligned prints, warped layers, and clogged nozzles. To identify them, keep an eye out for uneven layers, strange noises, or prints that just don’t stick. Think of it like debugging a drone’s flight path – you gotta troubleshoot and adjust on the fly!
How do I know if my 3D printer needs calibration and what are the steps to calibrate it?
Ah, calibration conundrums! If your prints are warped or misaligned, it’s likely time to recalibrate. Check your printer’s manual for specific steps, but generally, you’ll need to adjust the bed level, belt tension, and maybe even update your firmware. Think of it like fine-tuning my drone before a flight – it’s all about precision!
What are the differences between various types of 3D printing filaments and how can I choose the right one for my project?
Ah, filament frenzy! Let’s break it down – we’ve got PLA, ABS, PETG, and more. Each has its own superpowers: PLA is eco-friendly, ABS is impact-resistant, and PETG is flexible. Consider your project’s needs: durability, texture, or sustainability. I like to match my filament to my drone-building projects, ensuring a perfect flight every time.