
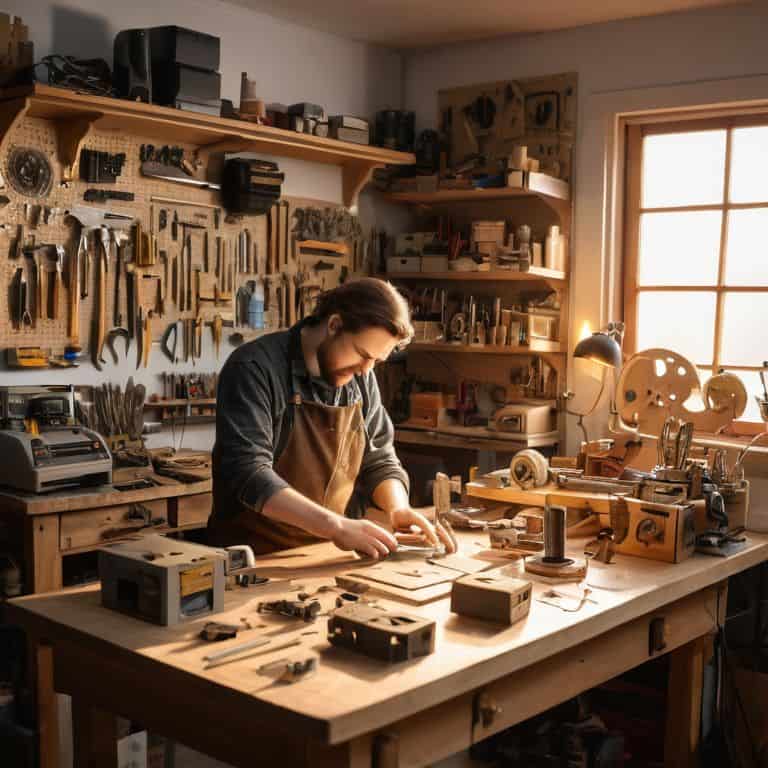
I still remember the first time I laid eyes on 3D printing tools – it was like stumbling upon a treasure trove of possibilities in my grandfather’s old workshop. The whirring of the machines, the smell of melted plastic, and the sheer magic of watching a design come to life layer by layer – it was nothing short of enchanting. As I delved deeper into the world of 3D printing, I began to notice a disconnect between the hype surrounding these tools and the reality of working with them. It seemed that everyone was touting 3D printing tools as a revolutionary solution, but few were talking about the practical challenges and creative limitations that come with the territory.
As someone who’s spent years tinkering with 3D printing tools, I want to cut through the noise and offer a no-nonsense guide to getting the most out of these incredible machines. In this article, I’ll share my personal experiences, hard-won lessons, and practical tips for unlocking the true potential of 3D printing tools. My goal is to empower you with the knowledge and confidence to create something truly remarkable, rather than simply following the crowd. So, if you’re ready to dive into the world of 3D printing tools with a critical and curious eye, then let’s get started on this journey of discovery and creativity together.
Table of Contents
- Rediscovering 3d Printing Tools
- Crafting With 3d Printing Tools
- Timeless Tales from the Workshop: 5 Essential Tips for Mastering 3D Printing Tools
- Timeless Tales of Transformation: 3 Key Takeaways
- Embracing the Art of Transformation
- Embracing the Timeless Charm of 3D Printing
- Frequently Asked Questions
Rediscovering 3d Printing Tools
As I delve into the world of 3D modeling software for beginners, I’m reminded of the countless hours I spent as a child, watching my parents repair and restore old items in our family’s hardware store. The concept of taking something broken and making it whole again has always fascinated me, and I see a similar magic in fused deposition modeling techniques. There’s an art to layering materials, to crafting something from scratch, that speaks to my love of storytelling through creation.
My journey with 3D printing has been a winding one, filled with trial and error. I’ve learned the importance of sterilization methods for 3D printed objects, not just for practical purposes, but for the peace of mind that comes with knowing my creations are safe and durable. It’s this attention to detail that I believe sets true craftsmen apart from mere hobbyists. When I’m working on a new project, I find myself lost in the process, much like I do when I’m upcycling vintage clocks – the slic3r settings for optimal print quality become an obsession, a puzzle to be solved.
In the end, it’s all about the narrative of transformation, of taking the old and making it new again. Whether I’m tinkering with post processing techniques for 3D prints or simply sketching out ideas with my vintage fountain pen, I’m always looking for ways to bridge the gap between past and present. The world of 3D printing is full of endless possibilities, and I feel grateful to be a part of it, to be able to inspire others to see the beauty in giving old materials new life.
Calibrating Dreams 3d Printer Tips
As I sit amidst the whirring of my 3D printer, I’m reminded of the countless hours I spent in my family’s hardware store, watching my parents bring old machines back to life. It’s this same spirit that drives me to fine-tune my printer’s settings, coaxing out the perfect balance of precision and creativity. The process is almost therapeutic, a symphony of trial and error that ultimately gives birth to something truly unique.
In the stillness of my workshop, I find solace in the gentle hum of the printer as it brings my designs to life. It’s here that I’ve learned the value of patience, allowing each layer to set before moving on to the next, much like the careful strokes of my vintage fountain pen as I sketch out new ideas.
Unveiling Fused Deposition Modeling Secrets
As I delve into the world of 3D printing, I find myself fascinated by the intricacies of Fused Deposition Modeling. This technology, with its ability to layer materials with precision, has opened up new avenues for my upcycling projects, allowing me to merge the old with the new in innovative ways.
My experience with Fused Deposition Modeling has taught me the importance of precision in design, ensuring that each layer adheres perfectly to create a sturdy and aesthetically pleasing final product.
Crafting With 3d Printing Tools
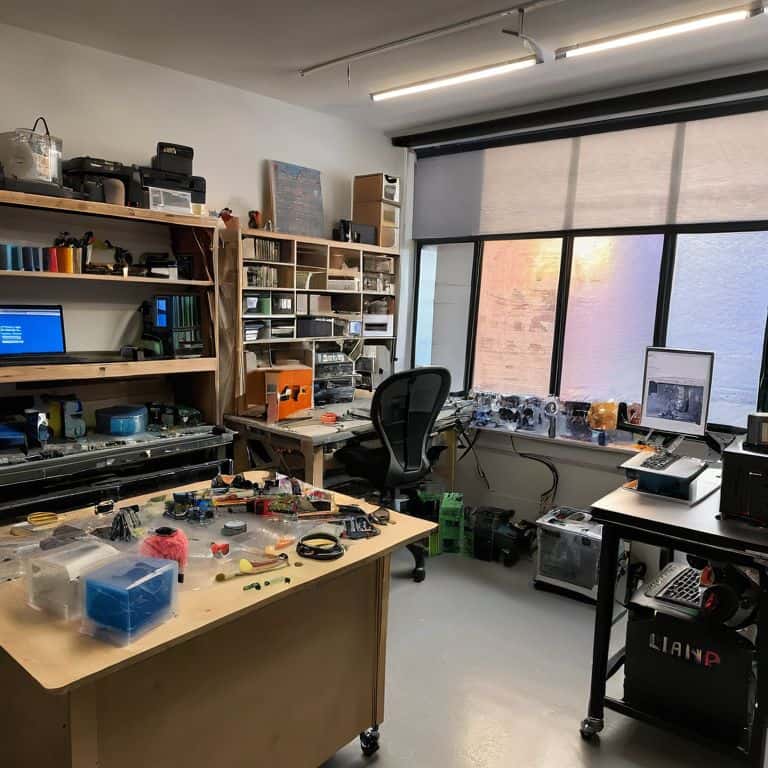
As I sit amidst the whir of my workshop, surrounded by the gentle hum of machinery and the faint scent of molten plastic, I find myself lost in the world of fused deposition modeling techniques. There’s something inherently beautiful about watching a concept transform into a tangible, three-dimensional object. I recall the first time I used 3d modeling software for beginners; it was like unlocking a treasure chest filled with endless possibilities. The software allowed me to bring my most whimsical ideas to life, and with each successful print, my passion for this craft only grew stronger.
My journey with 3D printing has been a wild ride, filled with trial and error. I’ve learned that sterilization methods for 3d printed objects are just as crucial as the printing process itself. Ensuring that my creations are not only visually stunning but also safe for use has become a top priority. Whether it’s a custom phone case or a intricate clock mechanism, I take pride in knowing that my finished products are both functional and hygienic.
As I continue to push the boundaries of what’s possible with 3D printing, I’ve come to realize the importance of post processing techniques for 3d prints. A well-calibrated printer, combined with the right slic3r settings for optimal print quality, can make all the difference in the world. By experimenting with different techniques and settings, I’ve been able to achieve results that I never thought possible, and it’s this sense of discovery that drives me to keep creating.
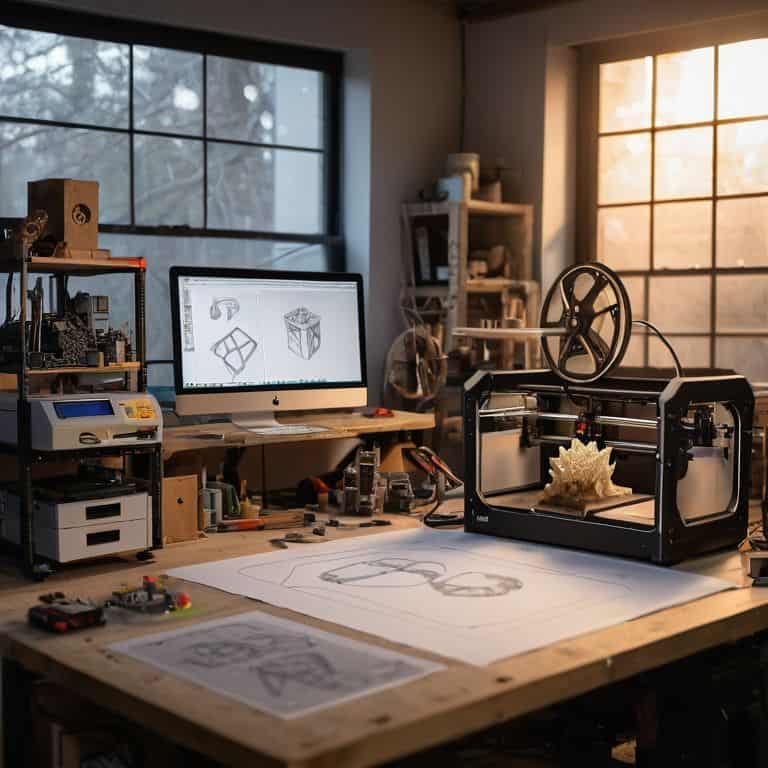
Forging Beginnings 3d Modeling Software
As I delve into the world of 3D printing, I find myself enchanted by the creative freedom it offers. With 3D modeling software, the boundaries of traditional craftsmanship begin to blur, and the possibilities for innovation become endless. I recall spending hours in my family’s hardware store, watching customers bring in broken items, and my mind would wander to the potential hidden within those discarded pieces.
My experience with upcycling vintage clocks has taught me the value of patience and attention to detail, skills that serve me well when navigating 3D modeling software. I’ve come to realize that precision is key in bringing my designs to life, whether it’s the intricate mechanisms of a clock or the complex layers of a 3D printed object.
Polishing Relics Post Processing Techniques
As I delve into the world of post-processing, I find myself enchanted by the art of refinement. It’s a stage where the raw, newly printed material transforms into a polished masterpiece, ready to tell its story. I recall the first time I applied a finish to a 3D printed clock, watching as the rough edges smoothed out, revealing a beautiful, timeless quality that seemed to whisper tales of the past.
With each project, I experiment with various techniques, from sanding to coating, to uncover the hidden beauty within the printed relic. The process is almost therapeutic, as I carefully bring out the details, allowing the true character of the piece to shine through. Whether it’s a vintage-inspired timepiece or a modern decorative item, the end result is always a testament to the magic of transformation, where the old and new blend seamlessly together.
Timeless Tales from the Workshop: 5 Essential Tips for Mastering 3D Printing Tools
- I recall the first time I struggled with layer adhesion – it was like trying to get two old friends to reconcile after years apart; the solution lay in adjusting the bed temperature, a simple tweak that made all the difference
- Learning to navigate the nuances of infill density was a journey of trial and error, akin to tuning a vintage clock’s mechanism; it’s amazing how a slight adjustment can transform the entire piece
- My grandmother once told me that patience is a virtue, especially when working with 3D printing tools; waiting for the perfect print, much like anticipating the chime of a restored clock, is an art in itself
- In the world of 3D printing, support material can be both a blessing and a curse – it’s like the scaffolding around a beloved old building; necessary for construction, but requiring careful removal to reveal the true beauty within
- Calibrating a 3D printer is much like fine-tuning a vintage fountain pen; it requires a gentle touch, an understanding of the intricate mechanisms at play, and a deep respect for the craftsmanship that goes into each and every print
Timeless Tales of Transformation: 3 Key Takeaways
I’ve found that the true essence of 3D printing tools lies not just in their technical capabilities, but in their ability to breathe new life into forgotten materials and stories, much like my own journey of upcycling vintage clocks
Through my experiments with fused deposition modeling and post-processing techniques, I’ve come to realize that the beauty of 3D printing tools lies in their capacity to blur the lines between past and present, creating objects that are both nostalgic and innovative
As I continue to explore the endless possibilities of 3D printing tools, I’m reminded of my grandmother’s wise words: that the greatest stories are often hidden in the relics of yesterday, waiting to be uncovered and reimagined with the help of these remarkable tools
Embracing the Art of Transformation
As I wield 3D printing tools, I am reminded that the true magic lies not in the technology itself, but in the stories it helps us tell – of dreams forged, of relics reborn, and of the timeless dance between human imagination and the relentless march of innovation.
Joseph Goto
Embracing the Timeless Charm of 3D Printing
As I reflect on my journey with 3D printing tools, I am reminded of the endless possibilities they have to offer. From rediscovering the fundamentals of Fused Deposition Modeling to calibrating my 3D printer for optimal performance, each step has been a testament to the transformative power of these tools. I’ve also explored the realm of post-processing techniques, learning to polish relics and bring out the full potential of my creations. Furthermore, delving into 3D modeling software has allowed me to forge beginnings and turn my ideas into tangible realities. Through this process, I’ve come to appreciate the value of patience, persistence, and creativity in bringing my projects to life.
As I look to the future, I am filled with a sense of wonder and excitement for the new beginnings that 3D printing tools can facilitate. Whether you’re a seasoned maker or just starting out, I encourage you to embrace the timeless charm of these technologies and see where they take you. Remember, the true beauty of 3D printing lies not just in the tools themselves, but in the stories they help us tell and the dreams they enable us to realize. So, let us continue to push the boundaries of what is possible, and in doing so, create a brighter, more imaginative future for ourselves and for generations to come.
Frequently Asked Questions
What are the most common materials used in 3D printing and how do they affect the final product?
I’ve found that PLA, ABS, and resin are staples in my 3D printing journey. PLA offers a biodegradable, plant-based option, while ABS provides durability. Resin, with its smooth finish, is perfect for intricate designs. Each material’s unique characteristics shape the final product, allowing me to tailor my creations to specific stories and textures I aim to evoke.
How do I troubleshoot common issues with my 3D printer, such as misaligned layers or failed prints?
When my 3D printer acts up, I head back to basics – checking belt tensions, ensuring proper bed leveling, and verifying that my slicer settings are on point. A simple tweak can make all the difference, and I’ve found that a methodical approach, paired with a dash of patience, helps resolve most issues, like misaligned layers or failed prints, and gets me back to crafting.
Can 3D printing tools be used to create functional parts, such as mechanical components or working clock mechanisms?
I’ve experimented with 3D printing functional parts, like clock mechanisms, and I’m thrilled with the results. With the right design and materials, 3D printing can produce fully operational components, such as gears and pendulums, that bring my upcycled clock creations to life.