As I sit in my workshop, surrounded by the soft tick-tock of vintage clocks and the hum of 3D printers, I’m reminded of the countless times I’ve heard people say that 3D printing troubleshooting is a daunting, impossible task. But I’m here to tell you that’s just not true. With a little patience and the right mindset, anyone can learn to troubleshoot their 3D printing issues and bring their projects back to life. I’ve seen it time and time again, from reviving my old grandmother’s broken clock using a 3D printed gear, to helping friends and family debug their own printing problems.
So, what can you expect to learn from this article? I’ll be sharing my personal, no-hype approach to 3D printing troubleshooting, gathered from years of experimentation and hands-on experience. You’ll get practical, straightforward advice on how to identify and fix common issues, from faulty prints to malfunctioning machines. My goal is to empower you with the knowledge and confidence to tackle even the toughest problems, and to inspire you to see the beauty in turning obstacles into opportunities. By the end of this guide, you’ll be well on your way to becoming a skilled troubleshooter, capable of breathing new life into your 3D printing projects and unlocking a world of creative possibilities.
Table of Contents
- Guide Overview: What You'll Need
- Step-by-Step Instructions
- 3d Printing Troubleshooting
- Whispers from the Workshop: 5 Timeless Tips for Taming the 3D Printing Beast
- Timeless Tips from the Workshop
- Navigating the Realm of 3D Printing
- Reflections from the Workshop: Troubleshooting as an Art Form
- Frequently Asked Questions
Guide Overview: What You'll Need
Total Time: 1 hour 30 minutes
Estimated Cost: $0 – $20
Difficulty Level: Intermediate
Tools Required
- Caliper (for measuring printed parts)
- Pliers (for removing stuck prints)
- Screwdriver (for adjusting printer settings)
- Level (for ensuring printer is level)
- Computer (with 3D printing software)
Supplies & Materials
- Filament (for testing prints)
- Printing surface (such as borosilicate glass or aluminum, 6 inches by 6 inches)
- Adhesive (such as glue stick or hairspray)
- Cleaning materials (such as isopropyl alcohol and lint-free cloth)
Step-by-Step Instructions
- 1. First, do this: when approaching a 3D printing troubleshooting project, I like to start by clearing my workspace and gathering all the necessary tools and materials, just as I do when I’m upcycling vintage clocks. This helps me get into a focused mindset, allowing me to tackle the issue at hand with a clear head. I find that having a well-organized workspace is essential for effective troubleshooting.
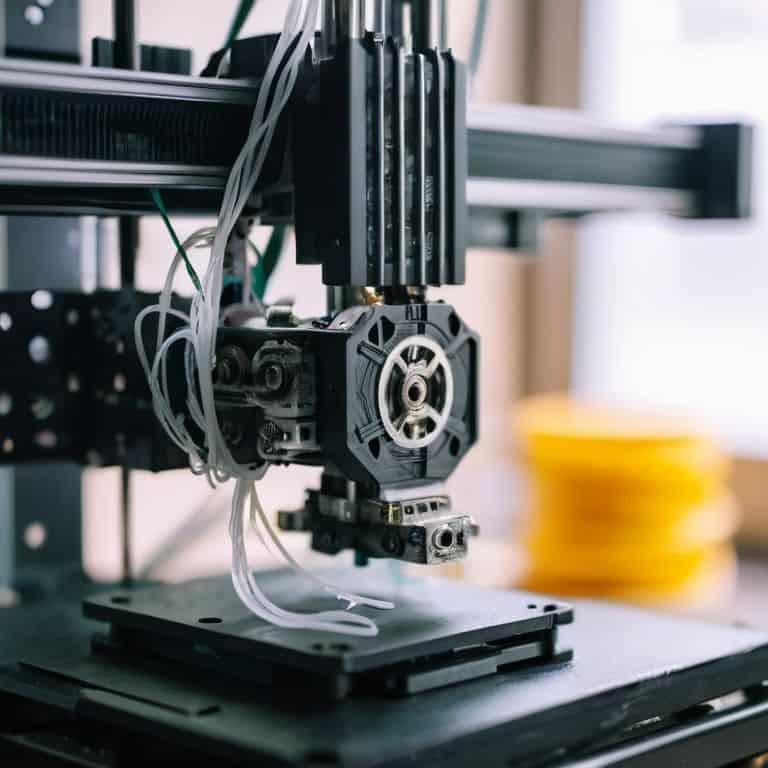
- 2. Next, I recommend taking a closer look at the 3D printer itself, checking for any obvious signs of wear or damage. This could be anything from a clogged extruder to a loose belt, and identifying the problem early on can save a lot of time and frustration in the long run. I’ve found that a simple visual inspection can often reveal the root cause of the issue.
- 3. Now, let’s move on to the actual troubleshooting process: consulting the user manual. I know it might seem old-fashioned, but trust me, it’s often the best place to start. The manual will likely have a troubleshooting section that can provide valuable insights and guidance on how to resolve common issues. I like to use a vintage fountain pen to make notes in the margins, as it helps me connect with the process on a more personal level.
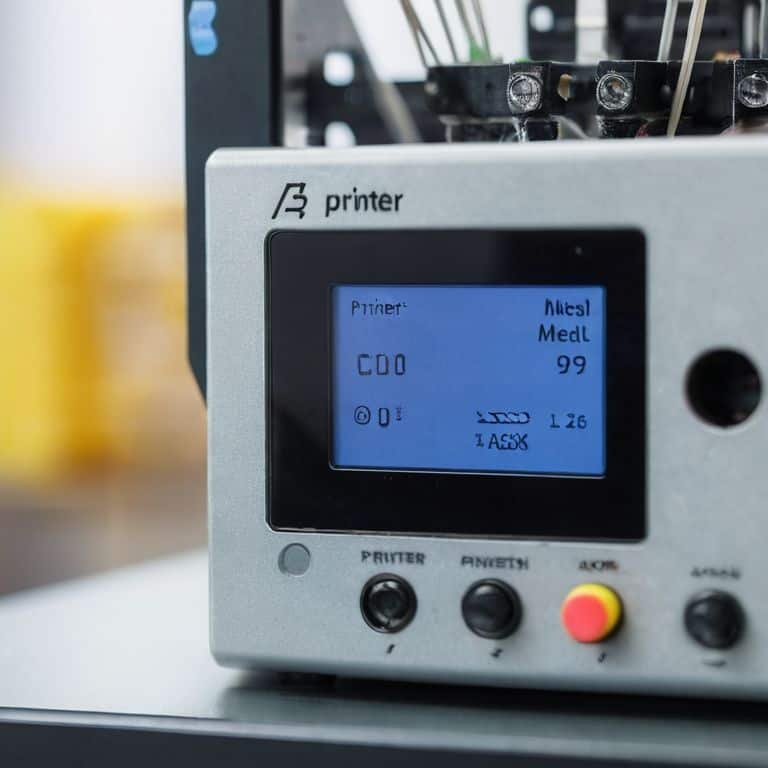
- 4. With the manual in hand, it’s time to start methodically testing each component of the 3D printer. This could involve checking the temperature settings, verifying the filament type, or even performing a test print to isolate the issue. I find that breaking down the process into smaller, manageable steps helps to simplify the troubleshooting process and makes it feel less overwhelming.
- 5. If the issue persists, I suggest re-calibrating the printer’s settings, as this can often resolve problems related to print quality or accuracy. This might involve adjusting the bed leveling, tweaking the extruder settings, or updating the firmware. I’ve found that taking a meticulous approach to calibration can make all the difference in achieving optimal print results.
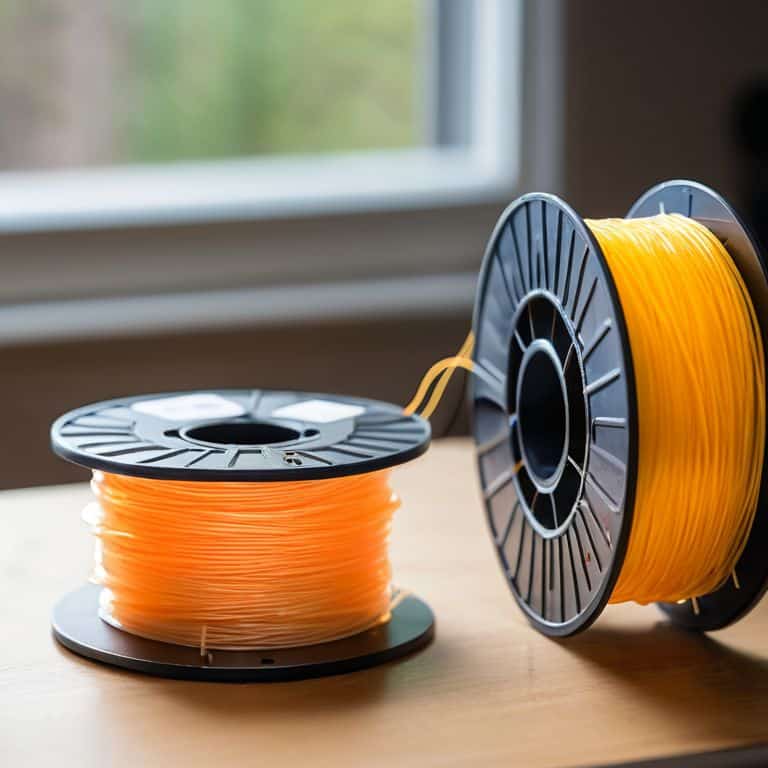
- 6. Another crucial step in the troubleshooting process is to inspect the filament itself. Check for any signs of damage, moisture, or contamination, as these can all affect print quality. I like to store my filaments in a dry, cool place, and I always make sure to handle them carefully to prevent damage. By ensuring the filament is in good condition, you can eliminate a potential source of problems.
- 7. Finally, if none of the above steps resolve the issue, it may be necessary to seek guidance from online communities or forums. I’ve found that connecting with other makers and enthusiasts can be a great way to learn from their experiences and gain new insights into the troubleshooting process. By sharing knowledge and expertise, we can all learn from each other and improve our skills.
3d Printing Troubleshooting
As I delve into the world of 3D printing, I’ve come to realize that common 3d printing errors can be a major setback. However, with the right mindset and techniques, these obstacles can become opportunities for growth. I’ve found that filament quality control is crucial in preventing issues down the line. By ensuring that my materials are of high quality, I can minimize the risk of errors and focus on bringing my creative vision to life.
When it comes to 3d printer calibration techniques, I’ve learned that patience and attention to detail are key. It’s essential to take the time to fine-tune my printer’s settings to achieve optimal results. I’ve also discovered that layer adhesion solutions can make all the difference in the success of a print. By experimenting with different techniques and materials, I’ve been able to develop a keen sense of what works best for each project.
In my experience, troubleshooting overheating issues has been a valuable learning experience. By identifying the root cause of the problem and making adjustments accordingly, I’ve been able to optimize my 3d print speed optimization and achieve better results. It’s all about finding that delicate balance between speed and quality, and I’m excited to continue exploring the possibilities of 3D printing.
Calibrating Filament Harmony
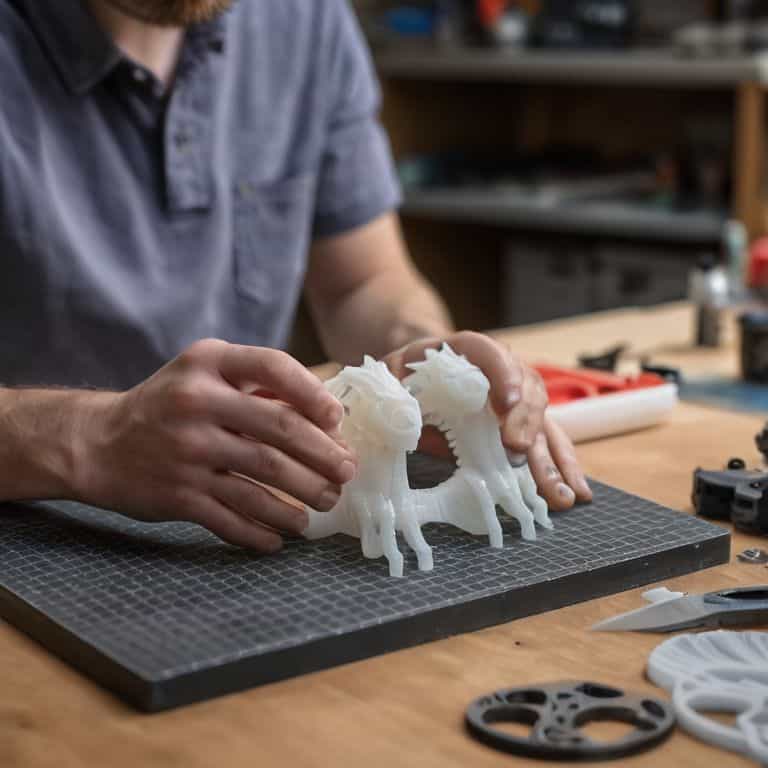
As I sit amidst the whirring of my 3D printers, I’m reminded of the delicate dance between filament and machine. It’s a harmony that, when disrupted, can lead to prints that are brittle, warped, or simply refuse to adhere. I recall a particularly frustrating project where my grandmother’s vintage clock design was being 3D printed, only to have the filament jam repeatedly. The solution lay in recalibrating the printer’s temperature settings to match the specific filament’s requirements – a small tweak that brought balance back to the process. By adjusting the temperature just so, I was able to revive the print and bring my grandmother’s design to life.
This experience taught me the importance of calibrating filament harmony, a crucial step in 3D printing troubleshooting. By ensuring that the filament and printer are in sync, you can prevent a multitude of issues and achieve prints that are strong, precise, and full of character. Whether I’m working with PLA, ABS, or experimental materials, I always take the time to fine-tune the settings, much like adjusting the gears of one of my vintage clock restorations. The result is a print that not only looks amazing but also tells a story of its own, one of patience, craftsmanship, and the beauty of transformation.
Deciphering Common Errors
As I sit amidst the whir of my workshop, surrounded by the gentle tick-tock of my upcycled clock creations, I’m reminded that even in the realm of 3D printing, experience is the best teacher. Deciphering common errors becomes second nature once you’ve spent countless hours tinkering with filament and firmware. I recall the first time I encountered a layer shift – it was as if the very fabric of my print had been torn asunder. But with patience and persistence, I learned to recognize the telltale signs: a slight misalignment, a whispered warning from the printer’s gentle hum.
Now, when I troubleshoot, I’m not just debugging code or adjusting settings – I’m listening to the story my printer tells me. A clogged nozzle whispers tales of dust and neglect, while a faulty thermistor screams of overheating and frustration. By tuning in to these narratives, I’ve developed a keen sense of what might be amiss, and how to gently coax my printer back into harmony. It’s a dance of trial and error, of give-and-take, where the reward is not just a successful print, but a deeper understanding of the intricate ballet between machine and maker.
Whispers from the Workshop: 5 Timeless Tips for Taming the 3D Printing Beast
- Listen to the Layers: Pay attention to the layer adhesion, for it’s often the silent culprit behind a failed print, much like how a slight misalignment in the gears of my vintage clock restorations can throw off the entire mechanism
- Filament Feng Shui: Ensure your filaments are stored in a dry, cool place, away from direct sunlight, to prevent moisture from disrupting the harmony of your prints, a lesson I learned from preserving my grandmother’s antique furniture
- The Dance of the Extruder: Keep your extruder clean and calibrated, for a well-tuned extruder is the heart of smooth 3D printing, similar to how a finely tuned clockwork requires precise care
- Bed of Dreams: A well-leveled print bed is the foundation of a successful print, just as a sturdy base is essential for my upcycled clock creations, where balance and harmony are key
- Patience of a Craftsman: Don’t rush the process, for 3D printing is as much about the journey as the destination; take your time, and you’ll find that the stories your prints tell are as valuable as the timepieces I create from forgotten relics
Timeless Tips from the Workshop
I’ve learned that a dash of patience and a pinch of creativity can transform even the most stubborn 3D printing issues into opportunities for growth, much like how I breathe new life into vintage clocks
By embracing the art of storytelling through DIY projects, we can unlock the hidden potential within discarded materials and forge a deeper connection to the craftsmanship of our past, as I do with my upcycled timepieces
Whether it’s troubleshooting a 3D printing mishap or reimagining a forgotten relic, the true magic lies not in the technology or the materials, but in the human touch and the tales that emerge from our hands, as I experience every time I start a new project with my trusty vintage fountain pen
Navigating the Realm of 3D Printing
In the whispers of malfunctioning gears and the gentle hum of revival, I’ve come to realize that 3D printing troubleshooting is not just about fixing machines, but about uncovering the stories they tell of human ingenuity and the relentless pursuit of innovation.
Joseph Goto
Reflections from the Workshop: Troubleshooting as an Art Form
As I reflect on our journey through the realm of 3D printing troubleshooting, I’m reminded of the importance of patience and creative problem-solving. We’ve navigated the complexities of deciphering common errors, calibrating filament harmony, and uncovering the often-overlooked details that can make or break a project. Through this process, I hope you’ve come to realize that troubleshooting is not merely a necessary evil, but an integral part of the creative process – a chance to reimagine and refine your vision. By embracing this mindset, you’ll find that the inevitable setbacks become opportunities for growth and innovation.
As you close this chapter on 3D printing troubleshooting, I encourage you to view each challenge as a catalyst for innovation. Remember, the true beauty of DIY projects lies not only in their end result, but in the story of transformation that unfolds along the way. So, the next time you’re faced with a puzzling error or a seemingly insurmountable obstacle, take a step back, breathe, and let your imagination guide you. For in the words of my grandmother, ‘the art of creation is not about avoiding mistakes, but about turning them into masterpieces.’
Frequently Asked Questions
What are some common signs that my 3D printer needs calibration?
You know, I’ve learned to recognize the whispers of a misaligned 3D printer – uneven layers, inconsistent extrusion, or that telltale wobble in the print head. These signs often signal that it’s time to recalibrate and find harmony between the machine and the material, much like fine-tuning the gears of one of my vintage clock restorations.
How can I troubleshoot issues with warping or delamination in my 3D prints?
Warping and delamination, the nemesis of many a 3D print enthusiast. I’ve found that tweaking bed adhesion and adjusting layer cooling times can work wonders. For instance, adding a Brim or Raft to your design can improve adhesion, while slowing down layer cooling can reduce delamination. It’s all about finding that delicate balance, much like tuning the gears of my vintage clock restorations.
Are there any specific software tools or plugins that can help me identify and resolve 3D printing errors more efficiently?
I’ve found that tools like Simplify3D and Cura’s plugin suite can be total game-changers in identifying and resolving 3D printing errors. They offer advanced diagnostics and simulation features that help me pinpoint issues before they even happen, saving me a world of trouble and tinkering time.