I still remember the day I unboxed my first 3D printer like it was yesterday. It was a thrilling moment, filled with anticipation and a hint of uncertainty. I had heard stories about the complexity of these machines, but I was determined to dive in and explore the world of additive manufacturing. As I began my journey, I realized that finding the best 3D printer for beginners wasn’t as straightforward as I thought it would be. There were countless models, each with its unique features and price points, making it difficult for a newcomer to make an informed decision.
As you navigate the process of selecting your first 3D printer, I want to assure you that this article will provide you with practical advice and honest recommendations. We’ll cut through the noise and focus on the essential factors to consider when choosing the best 3D printer for beginners. From understanding the different types of 3D printing technologies to setting up your machine for the first time, we’ll cover it all. My goal is to empower you with the knowledge and confidence to start creating amazing projects, and to make the most out of your 3D printing experience.
Table of Contents
Guide Overview: What You'll Need
Total Time: 2 hours 30 minutes
Estimated Cost: $300 – $800
Difficulty Level: Easy
Tools Required
- Computer (for software installation and printer operation)
- Calipers (for precise measurements)
- Level (to ensure printer is properly aligned)
- Pliers (for tightening and loosening parts)
- Screwdriver set (for assembly and maintenance)
Supplies & Materials
- 3D printer kit (-select a beginner-friendly model)
- Filament (1.75 millimeters diameter, various colors)
- Print bed adhesive (for improved print quality)
- Power cord (to connect the printer to a power source)
- USB cable (for connecting the printer to a computer)
Step-by-Step Instructions
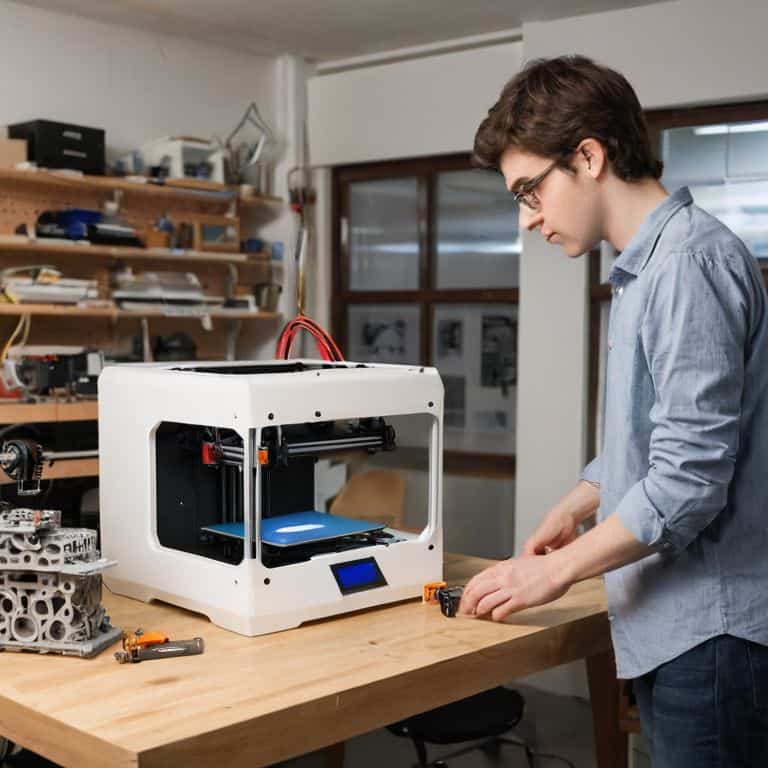
- 1. First, unboxing is an essential part of the process, and I always get excited to see what’s inside. When you receive your 3D printer, carefully unpack it, and make sure all the components are included. This usually involves the printer itself, a power cord, a USB cable, and some instructions. Take your time, and don’t rush through this step, as it’s crucial to ensure everything is accounted for.
- 2. Next, familiarize yourself with the printer’s components and the workspace. You’ll need a dedicated area for your 3D printer, preferably with good ventilation. Clear any clutter, and ensure the surface is level and stable. I like to think of this step as setting up my own little maker’s garage, where creativity and innovation can thrive.
- 3. Now, let’s move on to calibration, which is a critical step in getting your 3D printer up and running. This process involves adjusting the printer’s settings to ensure accurate and precise prints. Follow the manufacturer’s instructions, and don’t hesitate to reach out to their support team if you encounter any issues. I find it helpful to refer to the manual or online resources for specific calibration guides tailored to my printer model.
- 4. With your printer calibrated, it’s time to choose your software. Most 3D printers come with recommended slicing software, which prepares your 3D models for printing. I’m a fan of open-source options, as they often provide a high degree of customization and community support. Take some time to explore the software, and get comfortable with its interface and features.
- 5. Once you’ve selected your software, it’s time to prepare your first print. Start with a simple model, like a calibration cube or a small toy. This will help you get a feel for the printing process and allow you to fine-tune your settings. I always keep an eye on the print during this initial stage, as it’s essential to monitor the printer’s performance and make any necessary adjustments.
- 6. As your print job commences, monitor the progress closely. Keep an eye on the printer’s temperature, layer adhesion, and overall print quality. Don’t be afraid to pause or cancel the print if you notice any issues, as it’s better to address problems early on. I find it helpful to take notes on my prints, documenting what works and what doesn’t, to refine my technique over time.
- 7. Finally, post-processing is an often-overlooked but crucial step in the 3D printing process. Once your print is complete, remove it from the printer, and inspect it carefully. You may need to sand or apply a finish to achieve the desired texture and appearance. I enjoy this stage, as it’s a chance to add a personal touch to my prints and make them truly unique.
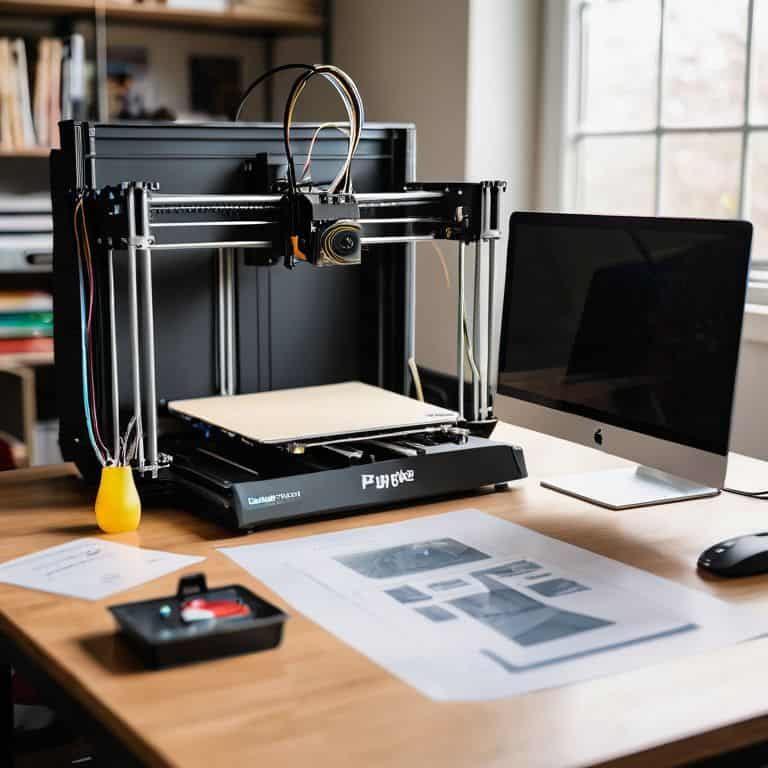
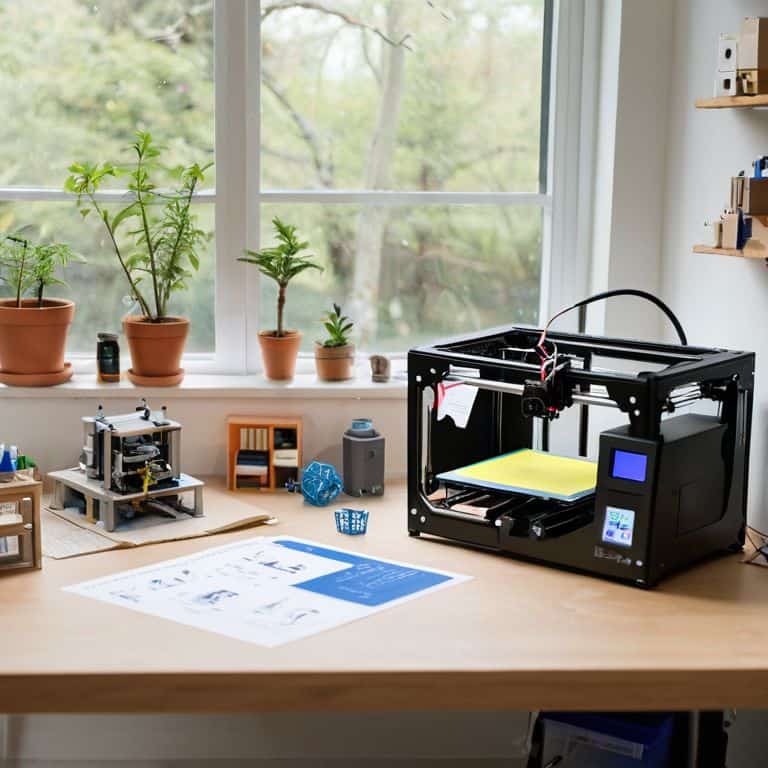
Best 3d Printer for Beginners
As I delve into the world of 3D printing, I’m reminded of my own journey with drones – building and flying these incredible machines requires a deep understanding of technology and innovation. When it comes to selecting a 3D printer, it’s essential to consider entry level 3d printing software that’s both intuitive and user-friendly. This will enable you to focus on the creative aspects of 3D printing, rather than getting bogged down in complex technical details.
One of the most critical aspects of 3D printing is calibrating a 3d printer for beginners. This process can seem daunting, but with the right guidance, it’s relatively straightforward. I recommend taking the time to carefully read through the instruction manual and watching online tutorials to ensure you’re getting the best possible results from your printer. Additionally, 3d printing safety precautions should always be top of mind, as these machines can pose a risk if not used properly.
When designing your first 3D models, it’s best to start with beginner friendly 3d model design software that offers a gentle learning curve. This will allow you to gradually build your skills and confidence, before moving on to more complex projects. Furthermore, exploring cheap 3d printer filament options can help you save money and experiment with different materials, without breaking the bank.
Calibrating for Beginner Friendly Outputs
To get the most out of your beginner-friendly 3D printer, calibrating it is key. Think of it like tuning a musical instrument – you want to ensure every note (or in this case, every printed layer) is perfectly in sync. I like to use my vintage gadgets as a reminder that even the most complex tech can be simplified with the right approach. For a smooth printing experience, start by adjusting the printer’s bed leveling and extruder calibration. This will guarantee that your prints adhere well to the bed and that the extruded plastic is evenly distributed.
By calibrating your 3D printer, you’ll be able to achieve consistent and high-quality outputs, making it easier to produce amazing prints right from the start. Trust me, the extra few minutes spent on calibration will be worth it – you’ll be flying high with your drone-worthy prints in no time!
Entry Level Printing Software Tips
When diving into 3D printing, it’s not just about the hardware – the software is just as crucial. As a beginner, you’ll want to explore entry-level printing software that’s intuitive and user-friendly. I recommend starting with popular options like Cura or Slic3r, which offer a gentle learning curve and are compatible with most beginner-friendly 3D printers. These programs allow you to slice your 3D models, adjust settings, and prepare your designs for printing.
Tips for navigating these software options include taking advantage of preset profiles, experimenting with different settings to optimize print quality, and joining online communities to learn from others. By mastering the basics of 3D printing software, you’ll be well on your way to creating amazing prints and unlocking the full potential of your 3D printer.
5 Blast-Off Tips for Beginner 3D Printing Enthusiasts
- Start with a user-friendly 3D modeling software that simplifies the design process, like Tinkercad or Fusion 360, to create amazing prints without getting overwhelmed
- Choose the right filament type for your first projects, such as PLA or PETG, which are easier to work with and produce less warping, ensuring a smoother learning curve
- Invest in a 3D printer with a decent build volume, like a minimum of 200x200x200mm, to give you the freedom to create a variety of projects, from small gadgets to more complex designs
- Don’t underestimate the power of proper calibration – take the time to adjust your printer’s settings, like bed leveling and extruder calibration, to guarantee high-quality prints and minimal frustration
- Join online communities, like Reddit’s r/3DPrinting, or YouTube channels dedicated to 3D printing, to connect with fellow enthusiasts, learn from their experiences, and stay updated on the latest trends and technologies in the 3D printing world
Key Takeaways for Beginner 3D Printing
Choose a 3D printer model that’s specifically designed for beginners, with features like automatic calibration and a user-friendly interface to make your learning journey smoother
Experiment with different printing software to find the one that works best for you, and don’t be afraid to try out new designs and models as you gain more experience and confidence
Remember, calibration is key to achieving high-quality prints, so take the time to adjust your printer settings and get familiar with the process to ensure beginner-friendly outputs that will leave you thrilled and eager to create more
Demystifying 3D Printing for the Next Gen
The best 3D printer for beginners is not just a device, it’s a time machine that brings your most daring ideas to life, and I believe that with the right tools and a spark of curiosity, anyone can become a master creator of the future!
Lucas Thompson
Embracing the Future of 3D Printing
As we conclude our journey to find the best 3D printer for beginners, it’s essential to remember that the key to unlocking your creative potential lies in understanding the basics. We’ve covered the main steps to get you started, from choosing the right printer to mastering entry-level printing software tips and calibrating for beginner-friendly outputs. By following these guidelines, you’ll be well on your way to creating incredible projects that showcase your imagination and skill. Whether you’re a hobbyist or an aspiring professional, the world of 3D printing has something to offer everyone.
So, as you embark on this exciting adventure, keep in mind that the true magic of 3D printing lies in its ability to demystify technology and make it accessible to all. Don’t be afraid to experiment, try new things, and push the boundaries of what’s possible. With the right mindset and tools, you’ll be unleashing your inner innovator in no time, and the possibilities will be endless. Happy printing, and let’s shape the future together!
Frequently Asked Questions
What are the most important features to consider when choosing a 3D printer as a beginner?
When choosing a 3D printer as a beginner, I always say consider the Big Three: ease of use, print resolution, and compatibility with your computer. Think of it like flying my drone – you want a smooth takeoff, crisp navigation, and seamless communication with your device. These features will get you printing like a pro in no time!
How much can I expect to spend on a good quality 3D printer for hobbyist projects?
For a good quality 3D printer, you can expect to spend anywhere from $200 to $1,500, depending on the features and brand. As a hobbyist, you can find a solid starter printer for around $500-$800, which should handle most of your projects with ease.
What kind of maintenance and upkeep can I expect with a 3D printer, and are there any specific models that are known for being low-maintenance?
Maintenance for 3D printers is relatively straightforward, involving regular cleaning and calibration. Some models, like the Prusa i3, are known for being low-maintenance, while others may require more frequent upkeep. I’ve found that a quick weekly wipe-down and monthly deep clean keeps my printers humming along nicely.