I still remember the first time I tried to calibrate my 3D printer – it was like trying to tune an old clock, a process that required patience, attention to detail, and a willingness to listen to the machinery. The myth that 3D printer calibration is a daunting, overly complex task is one I’ve heard often, but the truth is, with the right approach, it can be a straightforward process that brings your designs to life. My experience with upcycling vintage clocks has taught me that even the most intricate mechanisms can be understood and perfected with time and practice.
As you delve into the world of 3D printer calibration, I want to assure you that this guide will offer practical, hands-on advice to help you navigate the process. You’ll learn how to identify and adjust the key components of your 3D printer, ensuring that your prints come out with precision and accuracy. From tweaking the printer’s bed level to fine-tuning the extruder, we’ll cover it all in a way that’s easy to follow and apply. My goal is to empower you with the knowledge and confidence to take control of your 3D printing journey, and to inspire you to see the beauty in the process of creation, just as I do when I’m sketching ideas for a new timepiece with my vintage fountain pen.
Table of Contents
- Guide Overview: What You'll Need
- Step-by-Step Instructions
- Unlocking 3d Printer Calibration
- Fine-Tuning Your Craft: 5 Essential Tips for 3D Printer Calibration
- Embracing the Rhythm of Calibration: 3 Key Takeaways
- Calibration as Craftsmanship
- Calibration: The Heartbeat of Creation
- Frequently Asked Questions
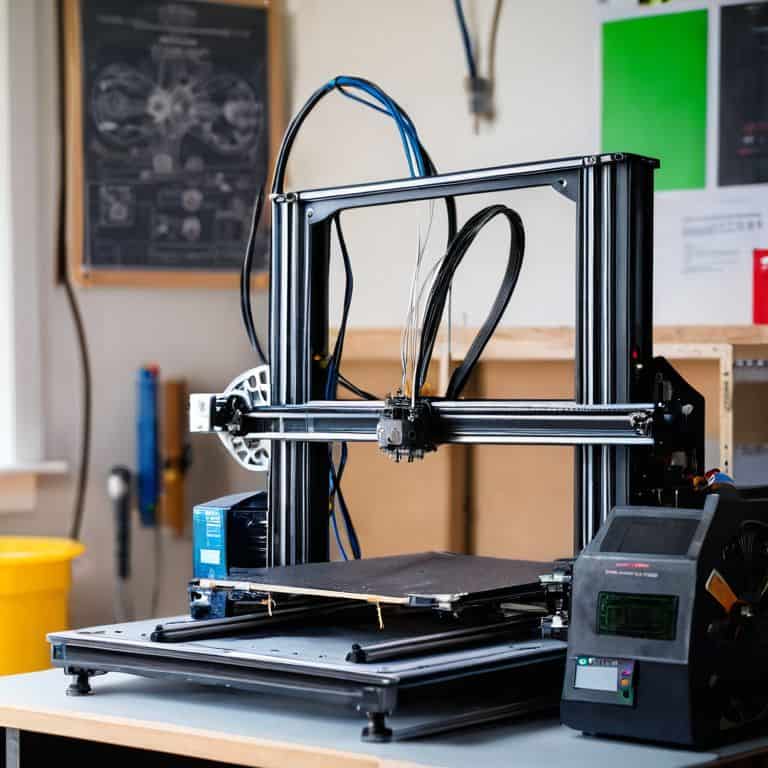
Guide Overview: What You'll Need
Total Time: 1 hour 30 minutes
Estimated Cost: $0 – $20
Difficulty Level: Intermediate
Tools Required
- Caliper (for precise measurements)
- Level (to ensure printer is level)
- Screwdriver (for adjusting printer components)
- Computer (with 3D printing software installed)
Supplies & Materials
- 3D printer test prints (for calibration purposes)
- Printer calibration kit (optional, but recommended)
- Ruler (for measuring 6 inches or more of clearance around printer)
Step-by-Step Instructions
- 1. First, let’s start by understanding the importance of calibration in bringing our designs to life. Just as my grandmother used to meticulously adjust her old sewing machine, we need to fine-tune our 3D printer to ensure that every print is a masterpiece. Begin by making sure your 3D printer is properly assembled and all the necessary software is installed.
- 2. Next, we need to prepare our printer for calibration by leveling the bed. This step is crucial as it ensures that our prints adhere evenly to the surface. I like to think of it as preparing a canvas for a painter – you want it to be smooth and even. Use the adjustment screws to level the bed, and don’t hesitate to refer to your printer’s manual if you’re unsure.
- 3. Now, let’s move on to calibrating the Z-axis, which can be a bit tricky but don’t worry, with patience and practice, you’ll get the hang of it. The Z-axis is responsible for the height of our prints, so it’s essential to get it just right. Start by homing the Z-axis and then use the adjustment screws to fine-tune it. Remember, small adjustments can make a big difference.
- 4. The next step is to calibrate the X and Y axes, which control the width and depth of our prints. This is where things can get a bit tedious, but trust me, it’s worth it. Use a calibration test print to adjust the X and Y axes, and don’t be afraid to make multiple adjustments until you get the desired results.
- 5. With our axes calibrated, it’s time to configure the print settings. This is where we can get creative and experiment with different settings to achieve the perfect print. Think of it as adding the final touches to a masterpiece – you want to make sure everything is just right. Take your time, and don’t hesitate to refer to online resources or your printer’s manual for guidance.
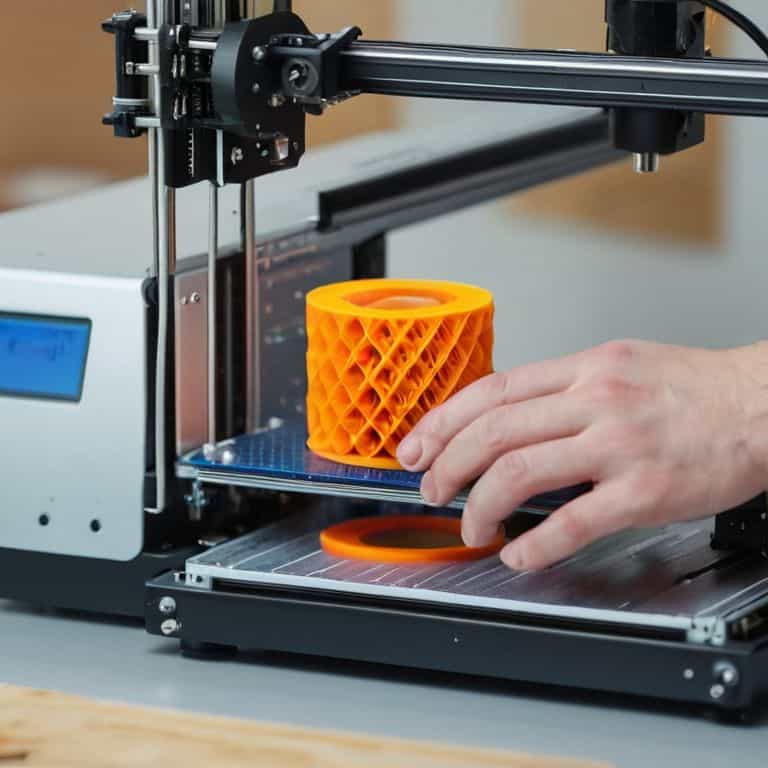
- 6. Now that we have our settings configured, it’s time to test our calibration with a test print. I like to use a simple calibration test print, like a cube or a sphere, to see how our printer performs. This is the moment of truth – if everything is calibrated correctly, our print should turn out perfectly.
- 7. Finally, fine-tune and repeat the calibration process as needed. Calibration is not a one-time task, and our printer’s settings may need to be adjusted over time. Don’t be discouraged if you need to make adjustments – it’s all part of the process, and with practice, you’ll become a pro at calibrating your 3D printer. Remember, the key to successful calibration is patience and attention to detail.
Unlocking 3d Printer Calibration
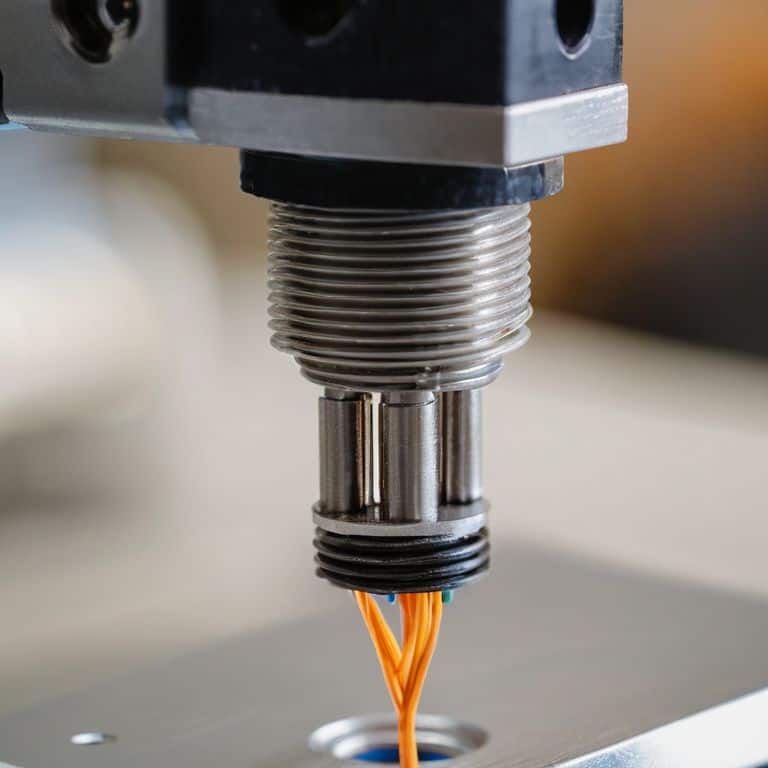
As I delve into the world of precision crafting, I find myself drawn to the nuances of fine-tuning the printing process. It’s akin to adjusting the gears of a vintage clock, where a slight misalignment can throw off the entire mechanism. In the context of 3D printing, hotend calibration is a crucial step that can make or break the quality of the final product. By ensuring that the hotend is properly calibrated, you can avoid common issues such as under or over-extrusion, which can lead to print quality troubleshooting.
When it comes to achieving optimal print results, 3d print bed adhesion techniques play a vital role. A well-calibrated print bed can make all the difference in preventing warping or delamination. I recall my grandmother’s advice on the importance of a sturdy foundation, whether it’s a piece of furniture or a 3D print. By applying a similar principle to 3d printer belt tensioning, you can ensure that your prints come out smooth and even.
In my experience, the key to mastering 3D printing lies in understanding the interplay between different components. Calibrating 3d printer z offset is a case in point, where a slight miscalculation can affect the entire print. By taking the time to adjust and fine-tune these settings, you can unlock a world of creative possibilities and produce prints that are truly exceptional. Whether you’re a seasoned pro or a beginner, the art of 3D printing is all about experimentation and precision crafting.
Mastering Z Offset for Perfect Prints
As I sit amidst the soft ticking of my upcycled clocks, I’m reminded of the delicate dance between precision and harmony. Mastering Z offset is akin to fine-tuning the chimes of a vintage grandfather clock – it requires patience and a gentle touch. By adjusting this critical parameter, I’ve found that even the most intricate prints can emerge with flawless layers, much like the subtle nuances of a well-crafted timepiece.
With each careful adjustment, I feel a sense of connection to the craftsmen of the past, who painstakingly honed their skills to create marvels of precision. As I sketch out my thoughts with my trusty vintage fountain pen, I’m inspired by the potential for perfection that lies within every 3D print. By mastering Z offset, we can unlock a world of possibilities, where every layer is a testament to the beauty of human ingenuity and the pursuit of perfection.
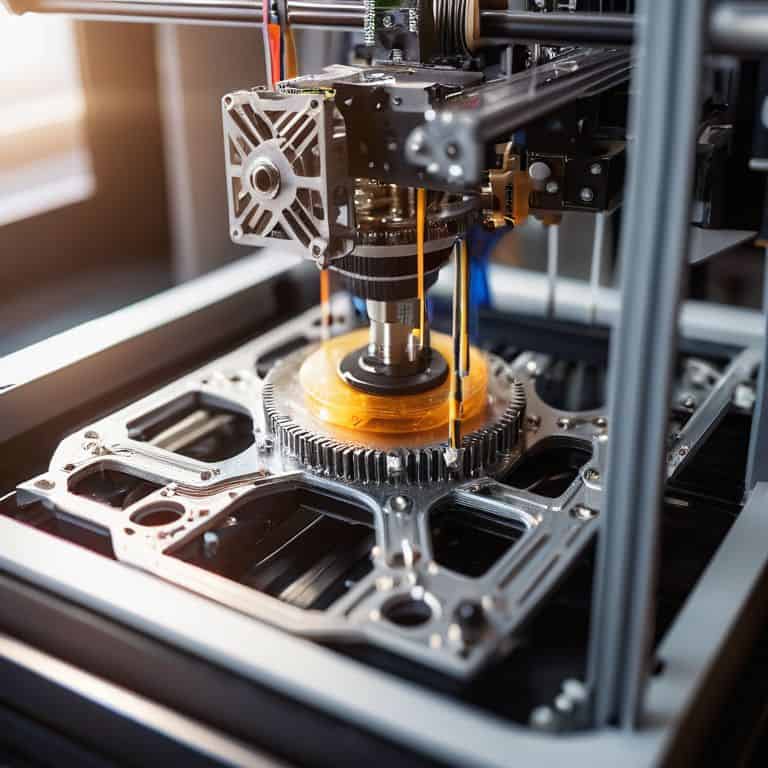
Tuning Belts and Wires for Harmony
As I delve into the nuances of 3D printer calibration, I’m reminded of the intricate dance between belts and wires. It’s akin to the delicate balance of gears in my vintage clock upcycling projects – each component must work in harmony to create a masterpiece. To achieve this symphony, I carefully inspect and adjust the belt tensions, ensuring they’re not too loose or too tight, which can lead to prints that are either sloppy or overly restricted.
By fine-tuning these elements, I’ve found that even the most minor adjustments can significantly impact the overall print quality. It’s a process that requires patience, much like the meticulous sketching I do with my vintage fountain pen before embarking on a new project. As the belts and wires begin to work in harmony, I can almost hear the gentle tick-tock of my grandmother’s old sewing machine, a soothing rhythm that signals the birth of something truly remarkable.
Fine-Tuning Your Craft: 5 Essential Tips for 3D Printer Calibration
- Let the machine warm up before calibration, just like how my grandmother would let her old sewing machine hum to life before starting a new project
- Use a combination of visual inspection and test prints to fine-tune your Z offset, it’s all about finding that sweet spot where art meets science
- Regularly cleaning and lubricating the printer’s moving parts can make a world of difference in calibration, much like how a well-oiled clockwork keeps perfect time
- Don’t be afraid to experiment and tweak settings between prints, it’s a process of discovery and patience, just like upcycling an old clock into a unique timepiece
- Keep a calibration log to track changes and identify patterns, it’s a great way to develop a deeper understanding of your machine and its quirks, just like how I keep a sketchbook for my upcycling projects
Embracing the Rhythm of Calibration: 3 Key Takeaways
As I sit here, surrounded by the gentle ticks of my upcycled clocks, I’m reminded that calibration is not just about numbers, but about finding harmony in the machinery, much like tuning the intricate mechanisms of a vintage timepiece
Through my journey of calibrating 3D printers, I’ve come to realize that mastering the Z offset is akin to setting the perfect pendulum swing – it’s all about balance and precision, a lesson I learned from watching my grandmother meticulously adjust her old sewing machine
Whether you’re a seasoned maker or just starting out, remember that calibration is a story of transformation, where the old and the new blend together in perfect symphony, as evidenced by the way a well-calibrated 3D printer can bring a design to life, much like my own transformations of forgotten materials into unique, storytelling pieces of art
Calibration as Craftsmanship
Just as a vintage timepiece requires precise tuning to keep perfect rhythm, a 3D printer needs calibration to harmonize its components, transforming mere metal and wire into a symphony of creation, where every print is a testament to the beauty of human ingenuity and machine precision.
Joseph Goto
Calibration: The Heartbeat of Creation
As I reflect on our journey through the world of 3D printer calibration, I’m reminded of the intricate dance between technology and human touch. From tuning belts and wires for harmony to mastering the elusive Z offset, each step is a testament to the beauty of transformation that occurs when we merge the old with the new. It’s a process that echoes my own experiences with upcycling vintage clocks, where the rhythm of gears and springs is not so different from the pulse of a well-calibrated 3D printer. By embracing this synergy, we not only ensure the optimal performance of our machines but also tap into a deeper sense of creation and innovation.
And so, as you close this chapter on 3D printer calibration, I invite you to see beyond the technicalities and into the narrative of transformation that each project embodies. Whether you’re a seasoned maker or just beginning your journey, remember that every print is a story waiting to be told, woven from the threads of imagination, skill, and a dash of inventive nostalgia. As I sit here, sketching ideas with my vintage fountain pen, I’m filled with a sense of wonder at the countless tales that await us at the intersection of past and present, where the beauty of what’s been meets the promise of what’s yet to come.
Frequently Asked Questions
What are the most common issues that can arise from improper 3D printer calibration?
Improper calibration can lead to a host of issues, from layer shifts and uneven prints to clogged nozzles and misaligned belts – it’s like trying to tune a vintage clock with mismatched gears, everything just doesn’t click into place. I’ve seen it time and again, a slight miscalibration throwing off an entire print, a reminder that precision is key in this delicate dance of metal and wire.
How often should I calibrate my 3D printer to ensure optimal performance?
For me, calibration is like winding one of my vintage clocks – it’s a ritual that keeps everything ticking in harmony. I calibrate my 3D printer after every 10 to 15 prints, or when I notice even the slightest deviation in quality, to ensure it remains in perfect sync and produces prints that are as precise as the gears of a well-crafted timepiece.
Can I use automated calibration tools or is manual calibration still the best approach?
I’m a fan of getting my hands dirty, but automated tools can be a huge time-saver. For precise control, I still prefer manual calibration, especially for vintage printer models. However, for newer machines, automated tools can be a great starting point, allowing for finer tweaks later on. It’s all about finding that balance between technology and traditional craftsmanship.